The Gradient Fill tool ![]() lets you apply a gradual blend of colors to a layer. You can use it on raster, shape, and Fit Text to Path layers.
lets you apply a gradual blend of colors to a layer. You can use it on raster, shape, and Fit Text to Path layers.
To apply a gradient, press the left mouse button at the starting point of the gradient, drag the cursor to the place where the end point of the gradient should be located, and release. If you hold down the Shift key while applying the gradient, the angle of inclination will change in steps of 45o. Once a gradient has been applied, it can be modified using a guide. While holding down the Alt key, the gradient guide can be moved with the mouse beyond its extreme points.
The basic tool settings are shown in the Tool Options panel above the Image Window or by right-clicking on the image. To display the full list of parameters, press the tool icon in the Tool Options panel or use the F5 key. To specify the parameter settings, enter a numerical value in the parameter’s field or use the slider.
Select the Gradient Type from the drop down list:
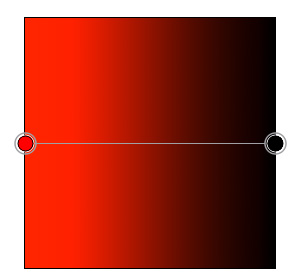
Linear Gradient ![]() . The option draws the gradient from the starting point to the end point in a straight line.
. The option draws the gradient from the starting point to the end point in a straight line.
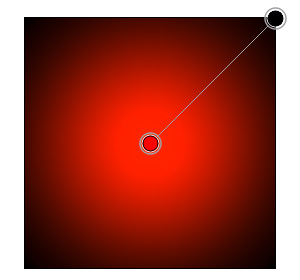
Radial Gradient ![]() . The option defines a fill pattern that radiates out from the center of an object.
. The option defines a fill pattern that radiates out from the center of an object.
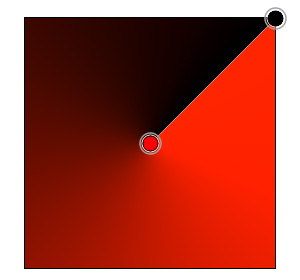
Angular Gradient ![]() . The option defines a spiral fill pattern which rotates counterclockwise back to its starting point.
. The option defines a spiral fill pattern which rotates counterclockwise back to its starting point.
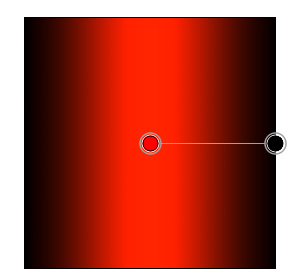
Reflected Gradient ![]() . The option draws the linear gradient which extends in both directions from the starting point.
. The option draws the linear gradient which extends in both directions from the starting point.
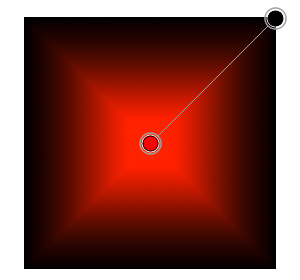
Diamond Gradient ![]() . Creates a gradient extending from the center point in a diamond shape.
. Creates a gradient extending from the center point in a diamond shape.
Reverse ![]() . The button reverses the order of colors in the gradient fill. Click the button again to restore the original sequence.
. The button reverses the order of colors in the gradient fill. Click the button again to restore the original sequence.
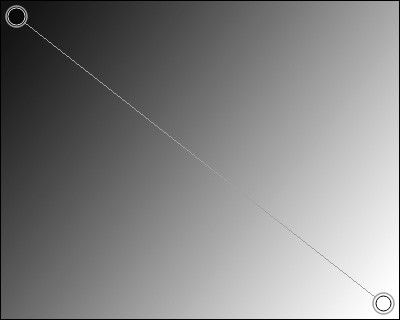 Original Sequence
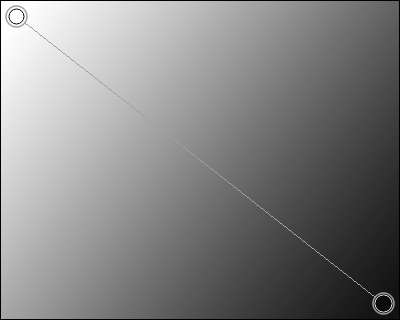 Reverse Sequence
Blend Mode. The parameter defines how the pixels of the gradient blend with the pixels of the current layer. The program provides 27 blend modes.
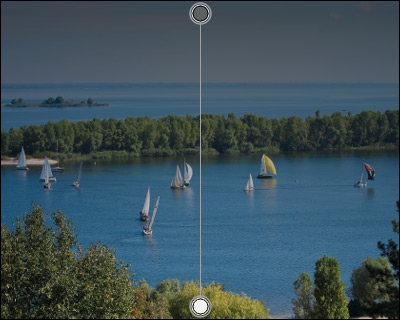 Multiply
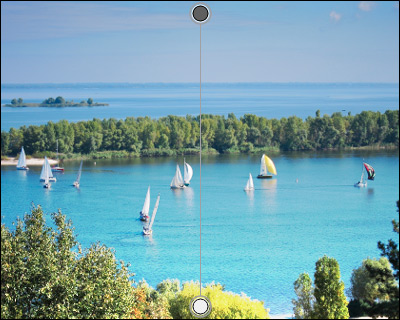 Overlay
Angle (-180..180). The parameter allows you to rotate the gradient around the starting point. Holding down the Shift key will change the angle in increments of 5o, while holding down the Ctrl - in increments of 10o.
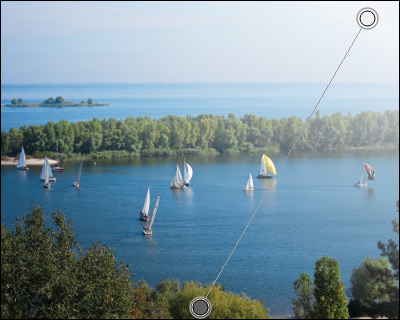 Angle = 60
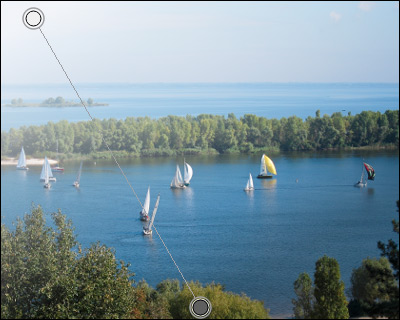 Angle = 120
Opacity (0-100). The transparency of the gradient in relationship to the colors of the background. The parameter sets the overall opacity of the gradient: the lower the value, the paler the color of the gradient and the stronger the interaction with the colors of the background.
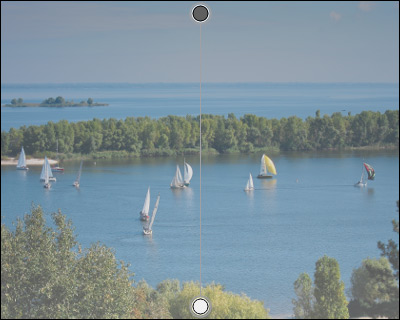 Opacity = 40
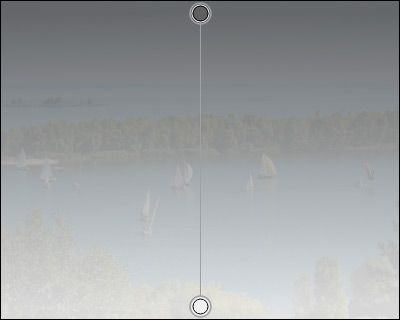 Opacity = 90
Smoothing (0-100). The parameter makes the gradient smoother by smoothing the transitions between the individual colors and shades of colors. As the value of this parameter is reduced, the transitions become more visible.
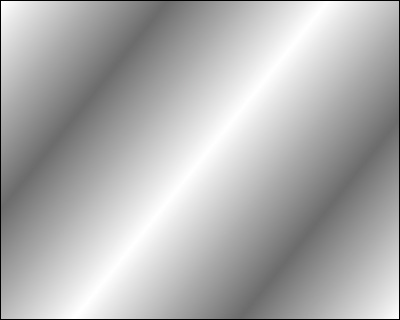 Smoothing = 0
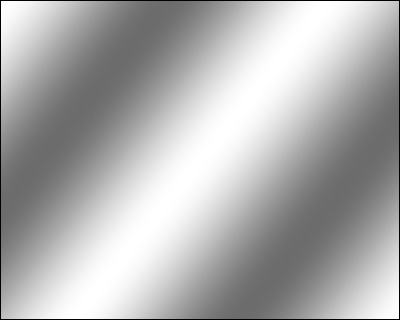 Smoothing = 100
Dithering check-box. Activate the check-box to make the gradient smoother and reduce the number of stripes.
 Check-box is disabled
 Check-box is enabled
After the gradient is created, you can edit it using the options in the Tool Options panel. Using the gradient line you can increase the number of gradient colors and adjust the color and transparency of the gradient components.
To add colors to the gradient, click the gradient line in the Image Window. To remove a color point from the gradient, drag it aside and release the mouse button.
To adjust the color, transparency and position of the gradient points, call the menu by right-clicking on a point.
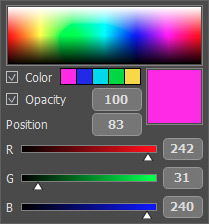
Using the spectral bar, you can specify the color of the point. Also, you can use the color selection dialog, which is displayed by clicking on the color square.
The Color check-box enables/disables for the point the selected color shown in the square box to the right. Smaller squares represent the last colors used when creating the gradient. If the check-box is disabled, the color of this point is determined depending on adjacent pixels and cannot be changed.
The Opacity (0-100) check-box controls the transparency of the gradient at that point. If the Opacity value is less than the maximum, the transparency of the gradient varies smoothly from point to point. If the check-box is disabled, the transparency of the gradient at that point cannot be changed and depends on the total opacity of the gradient.
Using the Position (0-100) parameter you can specify the exact position of each point of the gradient.
Nota: At the extreme points of the gradient the Color and Opacity check-boxes are always enabled, and the Position parameter cannot be changed.
You can save the gradient to use it in the future. Click the tool's icon in the Tool Options panel (F5) to see the full list of gradients - the Gradient Library.
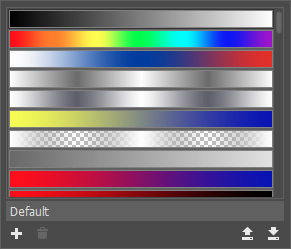
To name the new gradient or rename the selected one, enter a new name in the field at the bottom of the list and press Enter.
Click ![]() to create a new list item.
to create a new list item.
Click ![]() to delete the selected gradient from the library/list.
to delete the selected gradient from the library/list.
Click ![]() to save all gradients to a file with the .gradlib extension.
to save all gradients to a file with the .gradlib extension.
Click ![]() to load a gradient library.
to load a gradient library.
To apply a gradient to the image, click anywhere in the image or select another tool.
