The Glitch Art effect brings digital noise and distortions giving the impression of an allegedly spoiled image. In reality, such interferences appear due to errors in the reproduction of digital recordings, technical failures, or physical damage of a device. Now this effect is achieved intentionally. This visual technique is used to increase the aesthetic value of the pictures and provides an added impact on a viewer.
Attention! The effect is not available in the Free version of AliveColors.

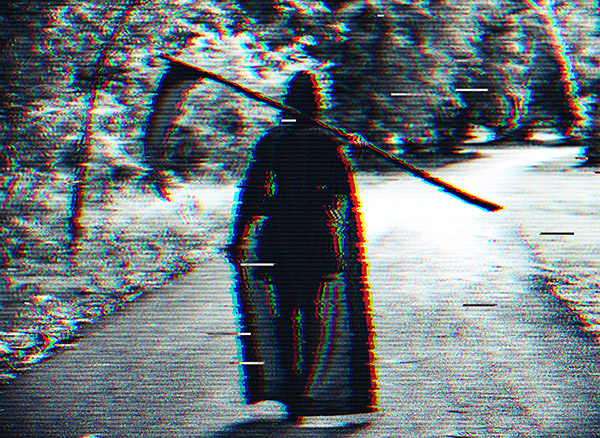
(hover the mouse over the picture to see the original image)
The effect parameters are presented in two tabs: Interferences and Stripes and Shifts.
Interferences tab
Channel Shift. The parameters of this group separate and shift the color components of the image, forming additional color outlines (the so-called 3D anaglyph effect).
Red. Shift of the red channel.
Green. Shift of the green channel.
Blue. Shift of the blue channel.

Red Channel
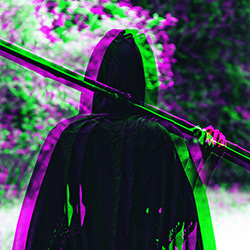
Green Channel

Blue Channel
Scan Lines. Raster lines that simulate an old TV noise effect.
Blend Mode: Overlay or Soft Light. The mode affects the degree of contrast between the lines and the image.
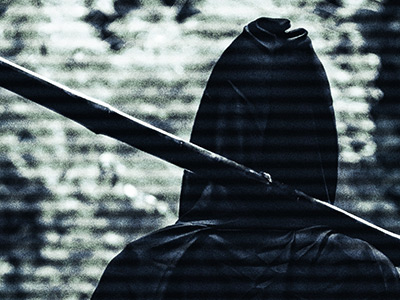 Overlay
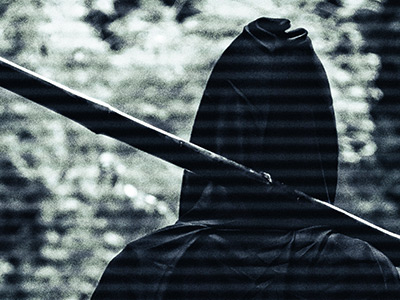 Soft Light
Thickness. Thickness of the scan lines.
 Thickness = 5
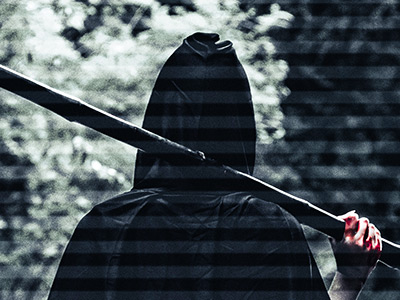 Thickness = 20
Sharpness. Sharpness of the edges of the lines.
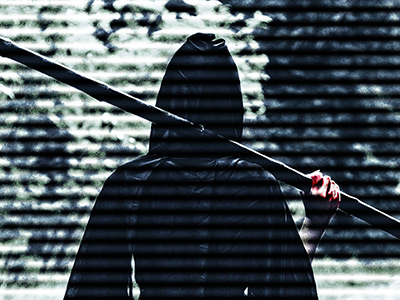 Sharpness = 0
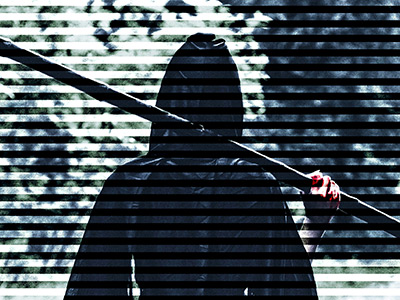 Sharpness = 50
Intensity. The degree of visibility of the lines. At 0, there is no scan line effect.
 Intensity = 25
 Intensity = 75
Noise. Adding digital noise and film grain to the image.
Strength. The degree of visibility of noise.
 Strength = 0
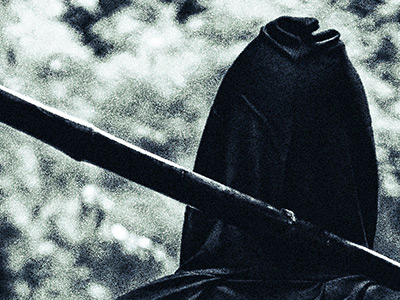 Strength = 100
Stripes and Shifts Tab
Size and Position. A group of the parameters responsible for the geometry of the stripes.
Min/Max Height. Range of change of the height of the stripes.
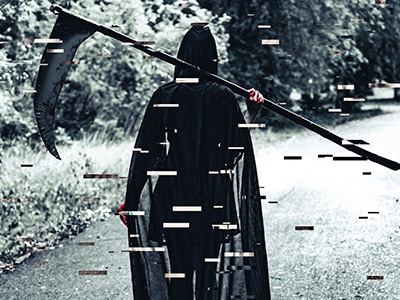 Min/Max Height = 1/10
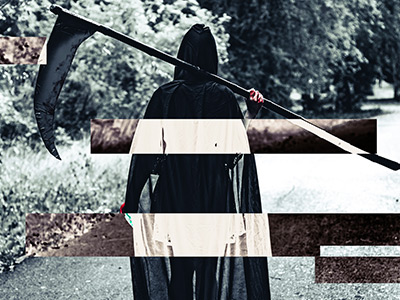 Min/Max Height = 50/100
Min/Max Length. Range of change of the length of the stripes.
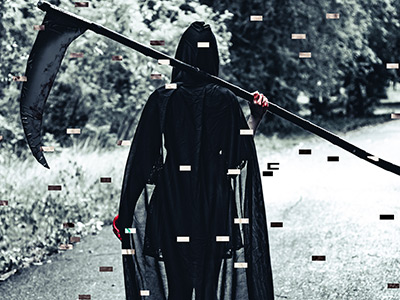 Min/Max Length = 20/30
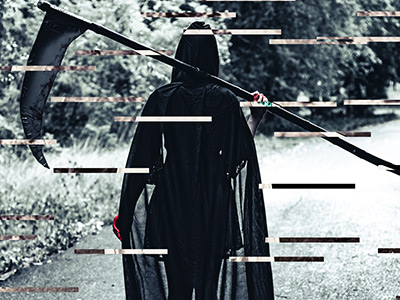 Min/Max Length = 190/200
Displacement. Shift amount (for simple and inverted stripes).
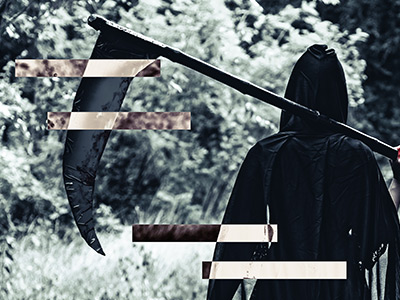 Displacement = 0
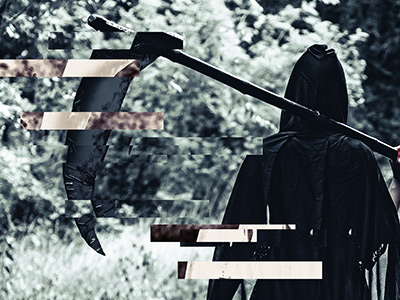 Displacement = 15
Simple Shifts. The number of stripes created by displaced rectangles.
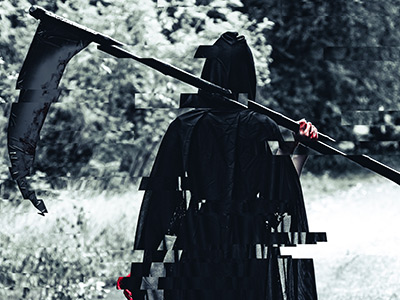 Simple Shifts = 60
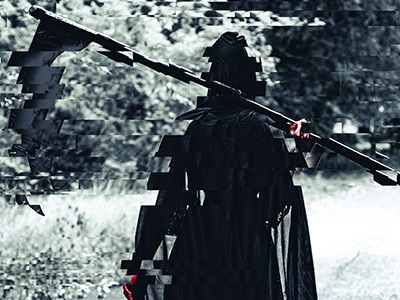 Simple Shifts = 90
Simple Stretches. The number of stripes formed by stretching of rectangles.
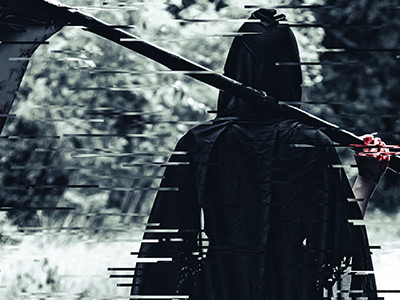 Simple Stretches = 60
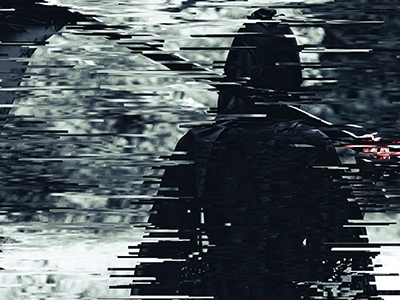 Simple Stretches = 90
Min/Max Stretch. Range of change of the length of the stretches.
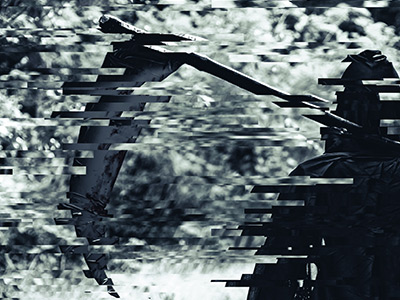 Min/Max Stretch = 12/12
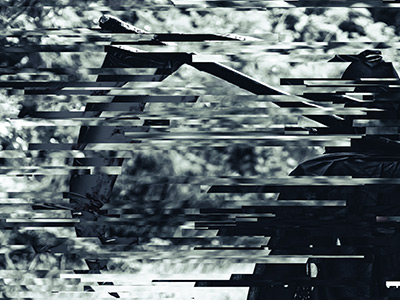 Min/Max Stretch = 14/15
Inverted Shifts. The number of stripes with color inversion.
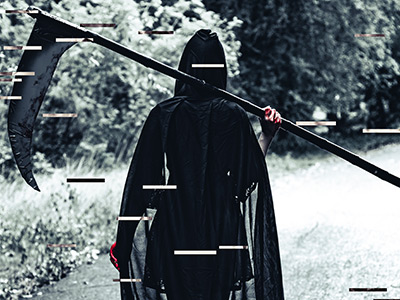 Inverted Shifts = 40
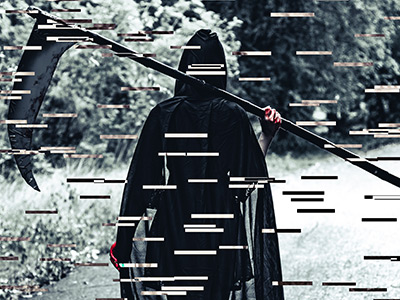 Inverted Shifts = 60
The Vertical check-box enables vertical effects instead of horizontal ones.
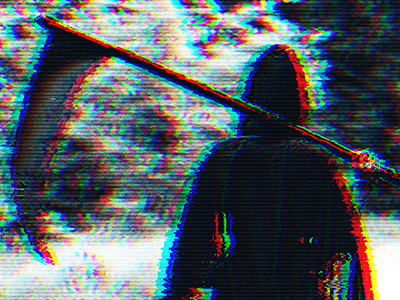 Vertical Check-Box Is Disabled
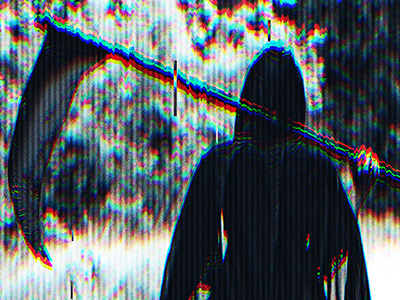 Vertical Check-Box Is Disabled
The Random Seed button generates a different distribution of stripes in the image.
If the Fixed Preview Area check-box is enabled, all changes will be displayed in a small preview area. If the check-box is disabled, the changes will be applied to the area visible in the Image Window.
Click Default to restore the original settings.
Click OK to apply the changes to the image and close the effect dialog box.
Click Cancel to close the dialog box without applying changes.
