Recolor Brush ![]() is used to colorize the layer with the selected color.
is used to colorize the layer with the selected color.
You can adjust the brush color in the Color, Swatches, or Color Wheel panel as well as sample it directly from the image. To select a color from the image, hold down the I key to access the Eyedropper tool. When you release the hotkey, the tool will be activated again.
The basic tool settings are shown in the Tool Options panel above the Image Window or by right-clicking on the image. To display the full list of parameters, press the tool icon in the Tool Options panel or use the F5 key. To specify the parameter settings, enter a numerical value in the parameter’s field or use the slider.
Element - in the drop-down list, select the type of the basic element of the brush: Ellipse or Select Shape.
Size (1-5000). The maximum width of a line drawn with the tool (in pixels).
Hardness (0-100). The amount of blurriness of the brush’s edge. As the value of this parameter increases the edge of the brush becomes harder. Near 100% the border between processed and unprocessed areas will be more distinct; at lower values the boundary between these areas will be smoother.
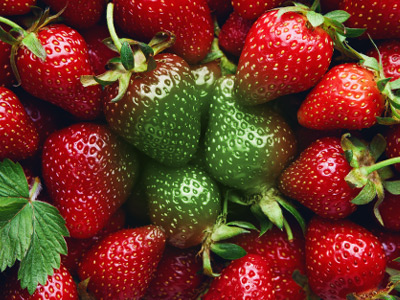 Hardness = 40
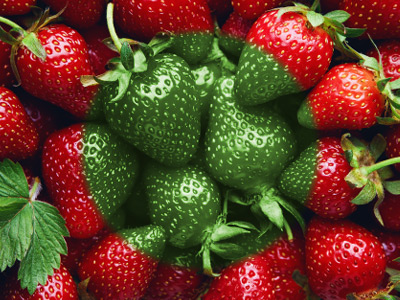 Hardness = 90
Strength (1-100). The amount of influence on the image. The higher the value of the parameter, the more intense the color overlay is when drawing with the brush.
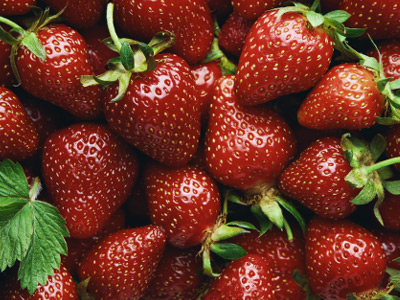 Strength = 25
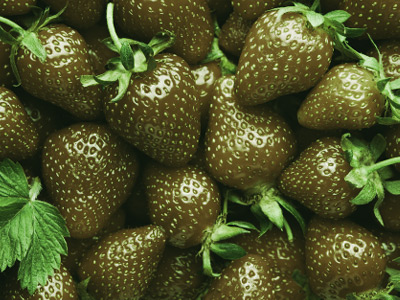 Strength = 75
Fill (1-100). The parameter determines the density of paint in the brush stroke. If you hold the mouse button while drawing, the strokes are overlapped and the filling effect increases. The smaller the parameter, the thinner and more transparent the layer of the color is. At the value = 100%, the brush strokes are as opaque as possible.
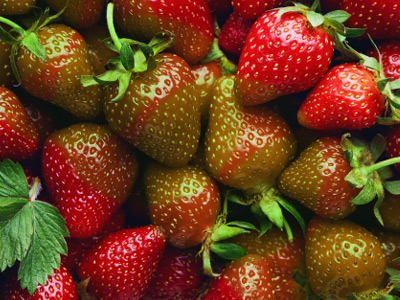 Fill = 25
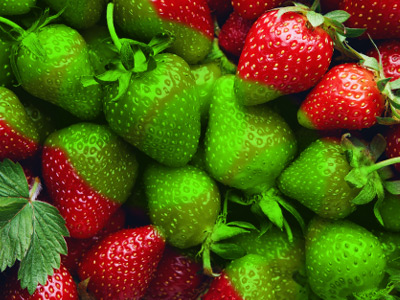 Fill = 75
Mode. The option indicates how the brush color pixels blend with the pixels of the layer being processed. There are 2 coloring modes for the brush:
Contrast - the contrast of the image is preserved; the color will be lighter in the light areas and darker in the dark areas. Light colors have greater saturation.
Uniform - the coloring is more uniform; the color becomes darker in dark areas, the light areas get colorized. Dark colors have greater saturation.
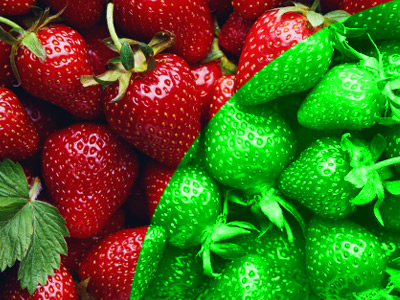 Contrast Mode
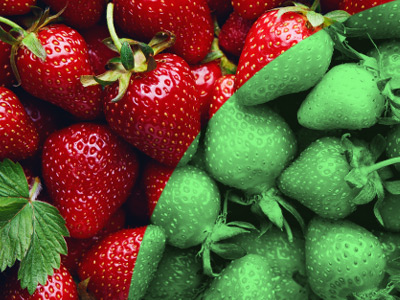 Uniform Mode
In addition to the above-mentioned parameters, you can adjust the advanced settings that affect the shape and position of the brush marks.
Press the Default button to set all settings to their default values.
To draw a straight line, first select the starting point by clicking the left mouse button, then, while keeping Shift pressed, bring the cursor to the desired end point and release Shift. If Shift is not released, additional lines will be drawn to each point where the mouse is clicked.
