AliveColors allows you to create inscriptions designed in various ways. The layer effects allow you to create realistic text or patterns embossed or etched into a hard surface: stone, wood, metal. This example shows how to create a stone engraving effect.
 Stone Engraving Effect
In the AliveColors graphics editor, open an image with a texture. We used a stone texture. Instead of stone, you can use the texture of metal or wood - the effect will be similar.
 Stone Texture
Select the Rounded Rectangle tool  and draw a rectangle with rounded corners in the original image. Change the mode to Subtract From Shape Area
  and inside the created rectangle draw another smaller one. The result should be a frame like this:
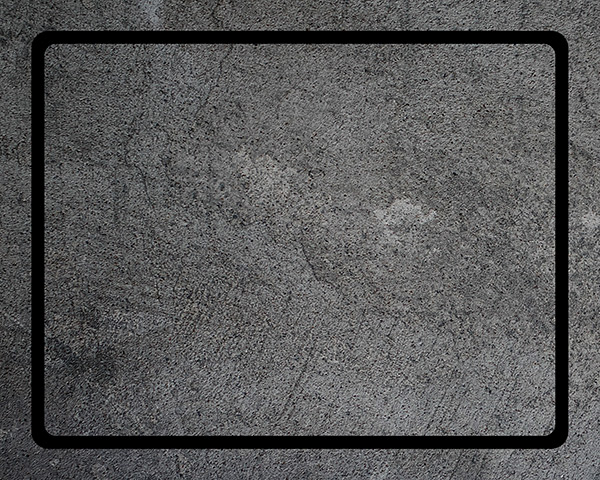 Creating a Frame
Note: To align multiple layers relative to each other, you can use the Move tool  . To do this, select the aligned layers by holding down the Ctrl key, and then in the tool options panel, press the buttons
 ![]() and
and ![]() to center the selected layers.
to center the selected layers.
Similarly, you can align multiple shapes in the same vector layer using the Edit Shape tools.
Select the Text tool  and add a custom caption in the center of the image.
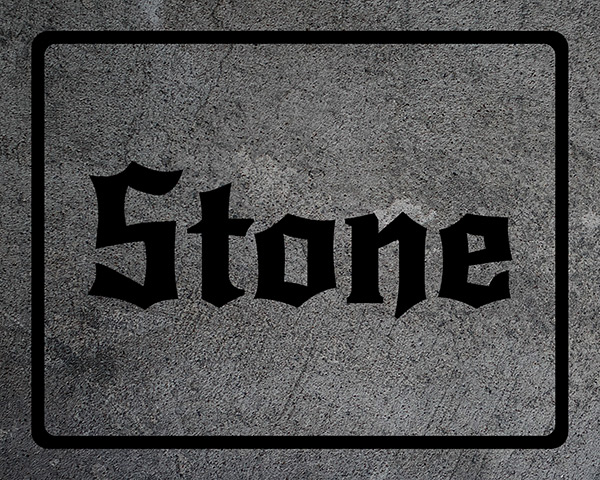 Adding Text
You can diversify the engraving with various images that suit the theme. In this example, we added the decorative vignettes.
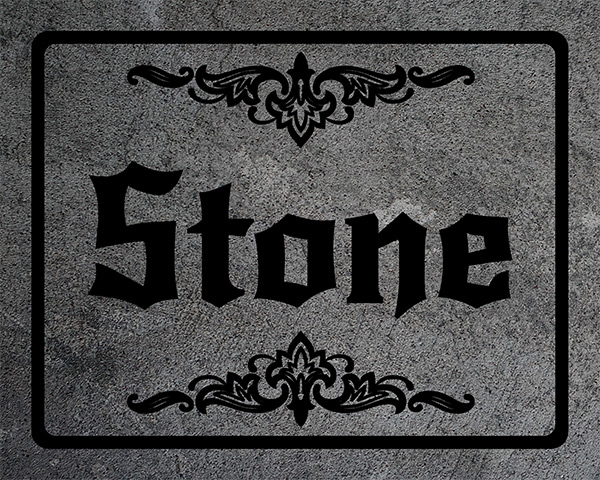 Adding Decorative Vignettes
Hold down the Ctrl key and select all three layers: with the frame, text and vignettes. Merge the selected layers using the Merge Layers command or the Ctrl+E key combination.
Change the layer's blend mode to Overlay and reduce the Opacity to 15.
In the Layers panel, right-click the resulting layer to open the context menu and select the command Add Alpha Channel to Selection.
Switch to the layer with the stone texture and create a new layer from the selection (Ctrl+J).
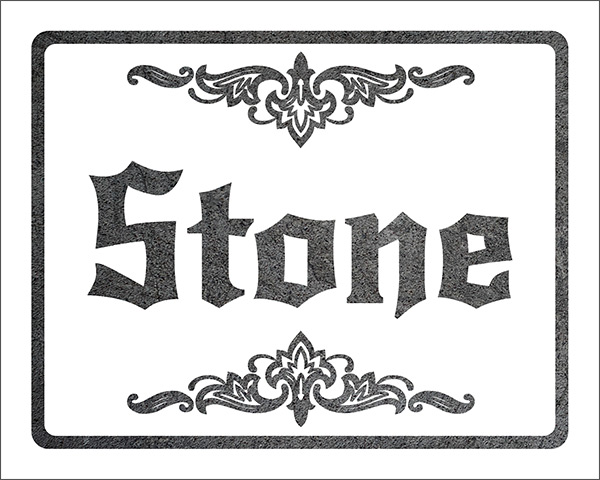 All Elements in Texture
Add the Deboss and Inner Shadow layer effects to the new layer (button  in the Layers panel) with the following settings:
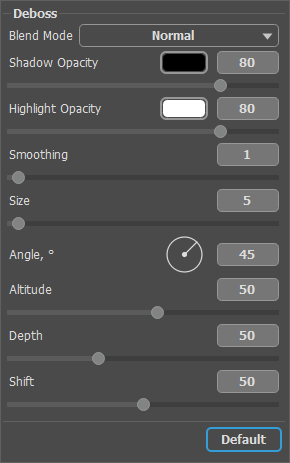 Deboss
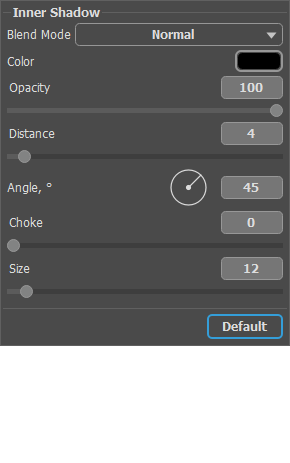 Inner Shadow
The finished result is text and pattern engraved in stone.
 Engraving on a Stone
By using your imagination, you can get different and very impressive engraving results.
 Compass
