
The Tuning Brush  allows you to slightly change the colors of an object, add shades, midtones, smooth creases, folds, and wrinkles, get rid of odd tones or unnecessary details.
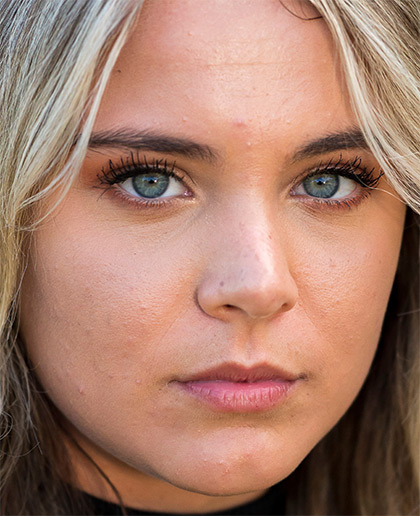

(hover the mouse over the picture to see the original image)
Adjust the brush color in the Color, Swatches, or Color Wheel panel as well as sample it directly from the image. To select a color from the image, hold down the I key to access the Eyedropper tool. When you release the hotkey, the tool will be activated again.
The tool settings are shown in the Tool Options panel above the Image Window or by right-clicking on the image. You can also show the parameters by clicking the tool icon in the Tool Options panel or using the F5 key. To specify the parameter settings, enter a numerical value in the parameter’s field or use the slider.
Size (1-5000). The diameter of the brush (in pixels).
Hardness (0-100). The amount of blur of the outer edge of the brush. The higher the value of the parameter, the harder the edge becomes.
Strength (1-100). The amount of influence on the image.
Smoothing Radius (1-10). At low values, the parameter smoothes out large details. At large values, it smoothes out smaller details and keeps large ones.
Sample (0-100). When set to 0, the brush uses the color from the starting point of the stroke. The higher the value of the parameter, the weaker the original color and the brighter the color from the palette appears. At the value = 100, the original color is not used.
Color Mixing (0-100). The amount of blending with the selected color.
Click Default to reset all settings to their default values.