Black and white photography is an expressive form of art, aesthetic and timeless. The AliveColors graphics editor provides many options to convert a color photo to a stylish black and white image. The effects will be different. Experiment and achieve a variety of results!
 Original Image
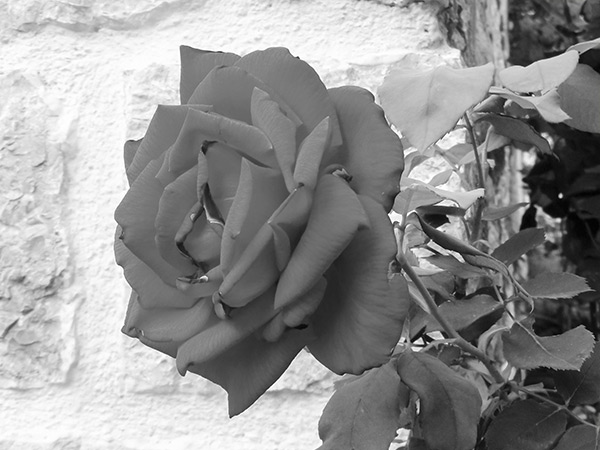
Method 1. Using the Grayscale Mode.
In the Image menu, select Mode -> Grayscale. In the Grayscale color space, it is possible to obtain images composed exclusively of shades of gray (from black to white).
 Using Grayscale Mode
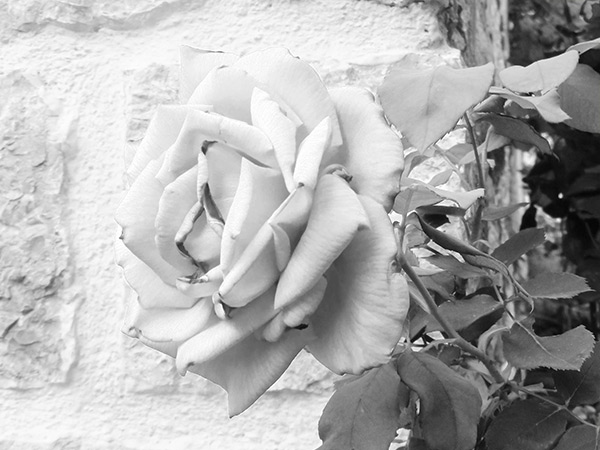
Method 2. Using the Vibrance adjustment.
Select the Vibrance adjustment (in the menu Image -> Adjustments) or the Vibrance adjustment layer (in the menu
To get a black and white image, reduce the Saturation parameter to the minimum value (-100).
 Using Vibrance Adjustment
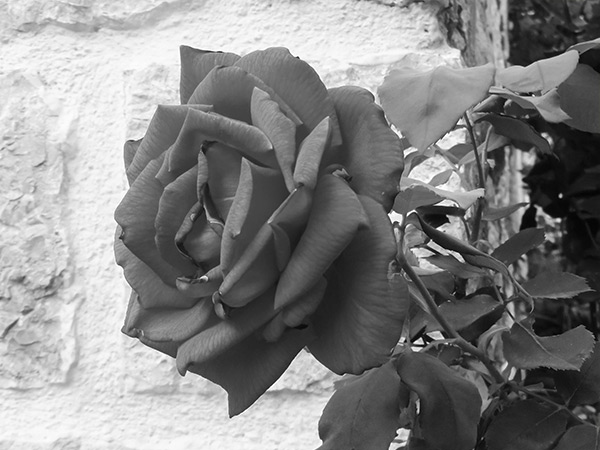
Method 3. Using the Hue/Saturation adjustment.
Select the Hue/Saturation adjustment (in the menu Image -> Adjustments) or the Hue/Saturation adjustment layer (in the menu Layers -> New -> Adjustment Layer).
To make a black and white image, reduce the Saturation parameter to the minimum value (-100).
 Using Hue/Saturation Adjustment
Method 4. Using the Black & White adjustment.
Select the Black & White adjustment (in the menu Image -> Adjustments) or the Black & White adjustment layer (in the menu Layers -> New -> Adjustment Layer).
Using the multi-colored hexagon, change the gray tones corresponding to the original colors of the image.
 Using Black & White Adjustment
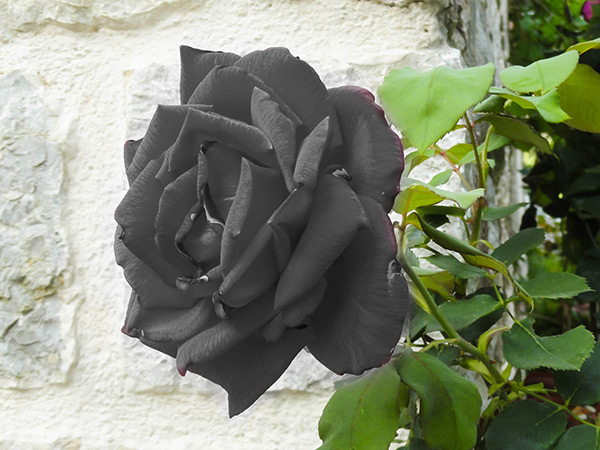
Method 5. Using the Saturation tool  .
.
In the tool options, select the Desaturate mode, set the Strength parameter to 100, and draw over the image. The tool allows you to convert the processed areas to black and white. You can process the entire image or just a part of it.
 Using Saturation Tool
