AliveColors contains many eye-catching filters. This example shows a way to creatively process a photo using the spectacular Glitch Art effect. Let your imagination run wild - bring a new idea to your photo!
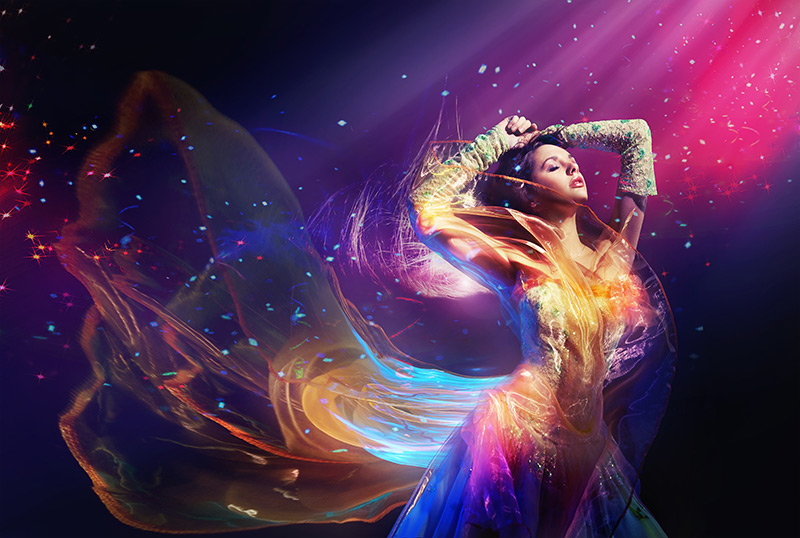
Open your image in the AliveColors graphics editor.
Duplicate the background layer twice. Right click the layer and select Duplicate from the context menu.
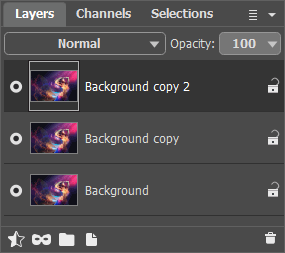 Layers Panel
Select the top layer and call the Glitch Art effect. Adjust the settings so that the image is divided into many small stripes scattering horizontally.
 Glitch Art Effect
In the layers panel, turn off the visibility of the processed layer and switch to the layer below.
Select again the Glitch Art effect. This time we want to remove all stripes and shifts, so set the Simple Shifts, Simple Stretch, and Inverted Shifts parameters to 0.
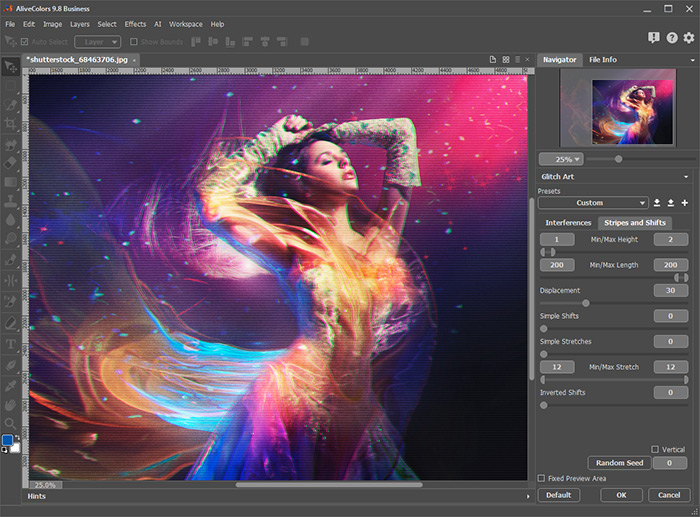 Glitch Art Effect
Turn off the visibility of this processed layer as well and switch to the background layer.
Create a selection outline around the girl's figure using the AI tool Select Object (in the Select menu).
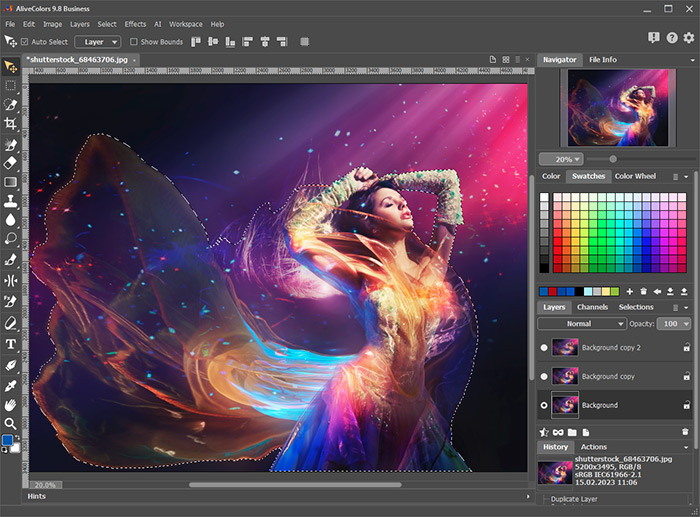 Selection
Turn on the visibility of all layers and switch to the top layer. Create a layer mask using the Hide Selection command (in the Layers -> Layer Mask menu).
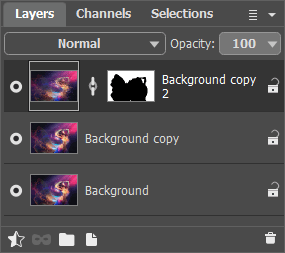 Layers Panel
In the Layers panel, switch to the created mask and call the Gaussian Blur effect. Adjust the Radius parameter to make the edges of the mask softer.
If necessary, use a soft semi-transparent brush to refine the mask.
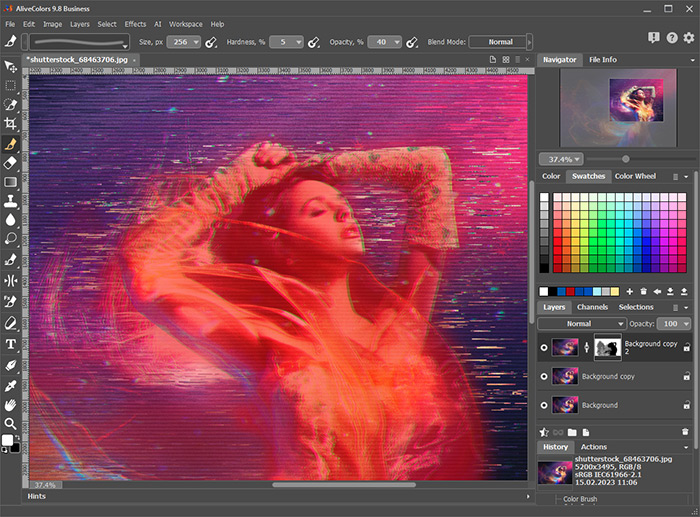 Added Blur to Mask
Switch to the middle layer and add a layer mask (the  button in the Layers panel). Using a soft black semi-transparent brush, paint on the mask those places on the girl’s figure where you want to weaken the Glitch Art effect.
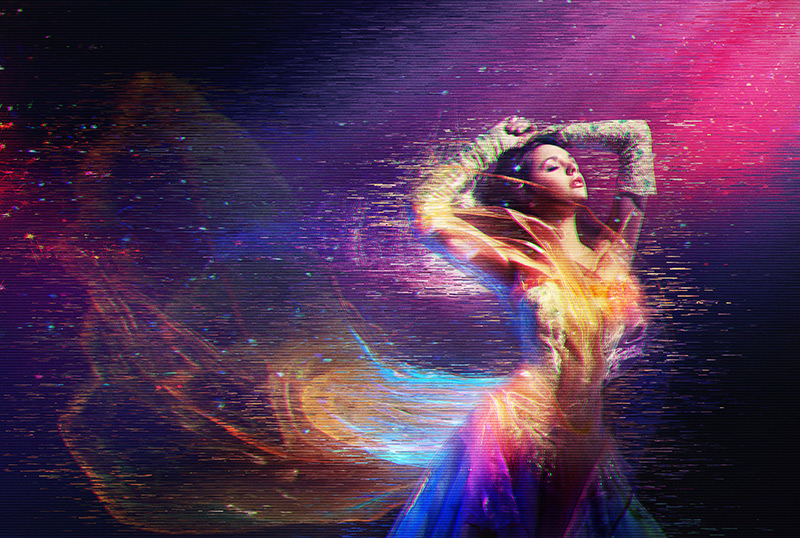
Here is a creative processing result:
