The General Settings tab  contains settings for adjusting the white balance, tone and saturation of an image. In this tab, you can perform the basic correction, and then use the parameters of other tabs to fine-tune the image and get rid of some optical defects.
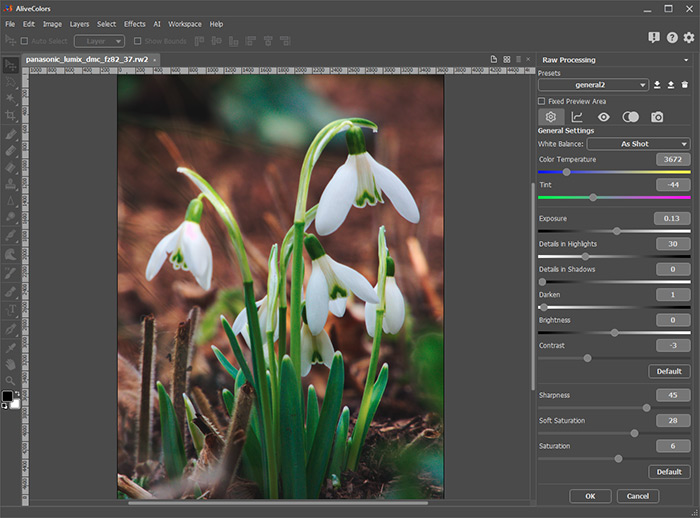
The following parameters are used for tonal and color correction of an image:
In the White Balance section, you can adjust the color correction settings to provide more accurate color reproduction of an image.
White balance is a process of color correction that makes white appear white, with no color tinge.
You can automatically adjust the Color Temperature and Tint parameters using the presets in the White Balance drop-down list. The entire color tone of the image changes according to the chosen preset.
The default preset is As Shot. It applies camera white balance settings to the image if they are available (recorded in the image metadata area).
When you select Auto, the program will analyze the image and automatically adjust the white balance.
If the white balance was set incorrectly when shooting, you can choose one of the presets whose name most closely matches the ambient light conditions in the photo: Daylight, Cloudy, Shade, Incandescent Lamp, Fluorescent Lighting, or Flash.
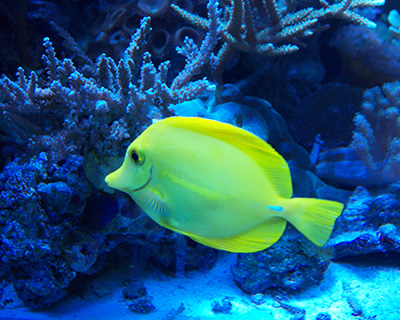 As Shot
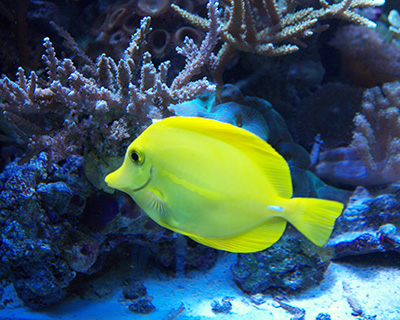 Shade
Shade
If you are not happy with the automatic adjustment, you can change the parameter values manually:
Color Temperature (2000-50000). The parameter moves the color temperature of the image between blue and yellow along the Kelvin scale. If the photo was taken at a higher color temperature of light (bluish), increase the value of the parameter. If the image was photographed at a lower color temperature of light (yellowish), reduce the value of the parameter.
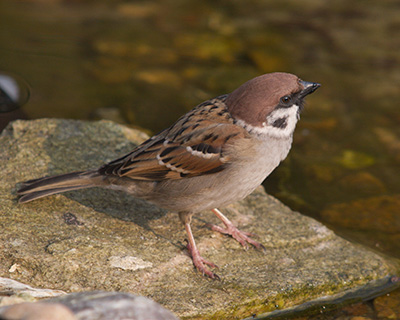 Color Temperature = 4760
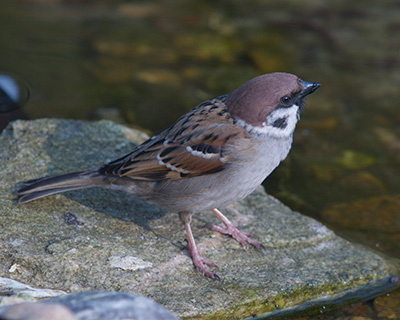 Color Temperature = 3552
Tint (-150..150). Changing the value of the parameter compensates for a green or magenta tint. Decreasing the value of the parameter adds more green, and increasing the value adds more magenta.
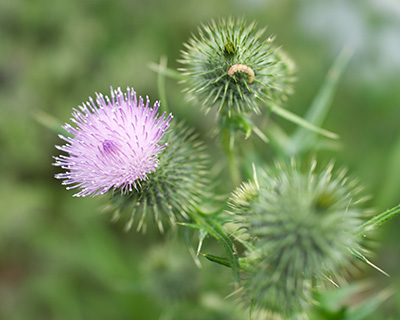 Tint = 5
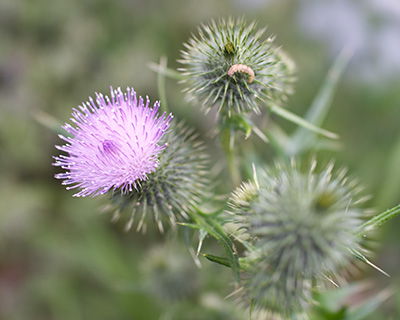 Tint = 50
When setting the parameter values manually, the name of the preset will change to Custom.
In the Tone Correction section, you can even out the brightness in certain areas of the image as well as reveal details in the overexposed and underexposed areas.
Exposure (-4.00..4.00). The parameter allows you to increase/reduce the amount of light being rendered. As the value of the parameter decreases, the image becomes darker. When increasing the parameter value, the image becomes lighter.
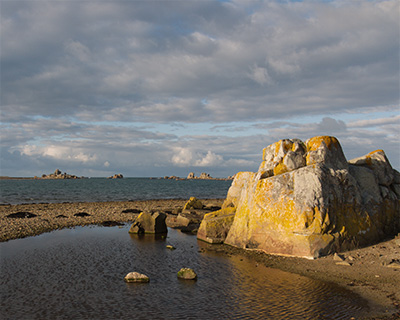 Exposure = -1.00
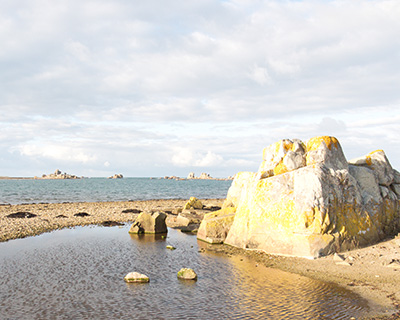 Exposure = 1.00
Details in Highlights (0-100). The parameter allows you to reveal the details hidden in over-exposed areas. As the parameter increases, the bright areas become darker, the details in these areas become clearer.
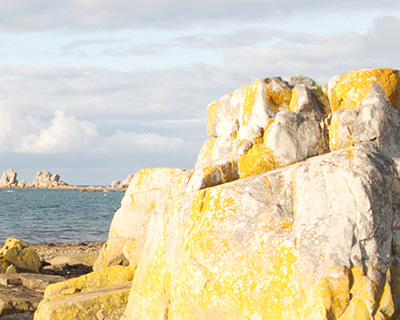 Details in Highlights = 5
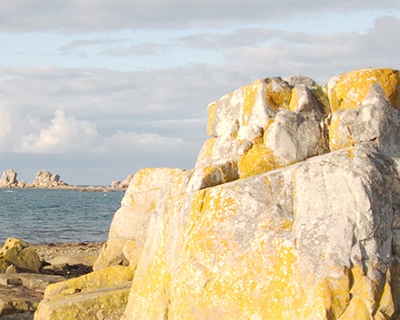 Details in Highlights = 50
Details in Shadows (0-100). The parameter allows you to reveal the details hidden in under-exposed areas. As the parameter increases, the shaded areas become brighter, the details in these areas become clearer.
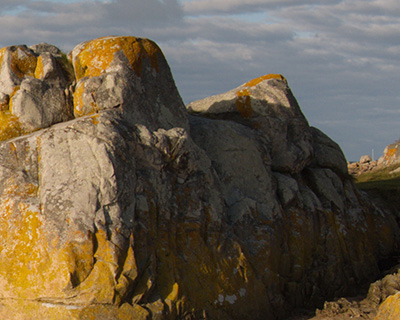 Details in Shadows = 5
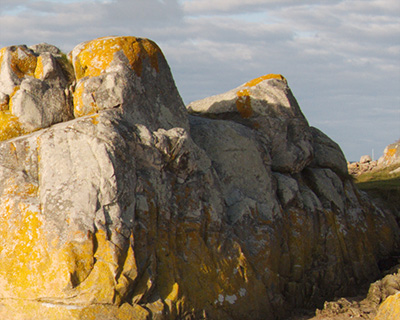 Details in Shadows = 50
Darken (0-100). The parameter enhances the shadows in the image. The impact in the dark areas is more intense, while light and mid-tone areas change less. The parameter increases the contrast of the image.
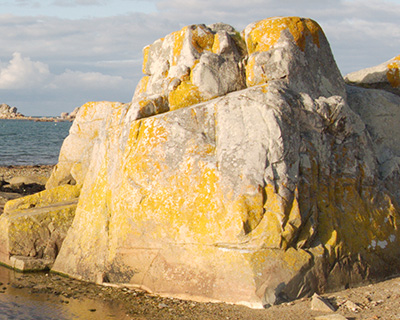 Darken = 0
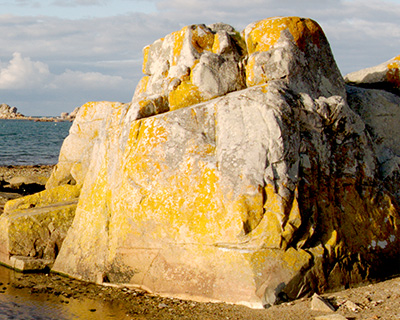 Darken = 15
Brightness (-150..150). The parameter allows you to adjust the overall brightness of the image, make it darker or lighter. When increasing the parameter, the image becomes lighter. When decreasing the parameter, the image becomes darker.
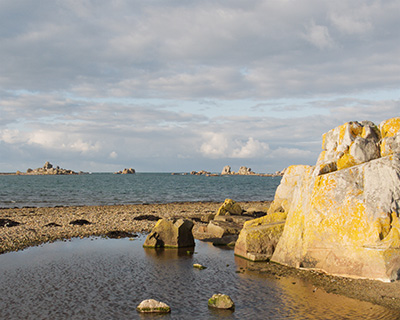 Brightness = -50
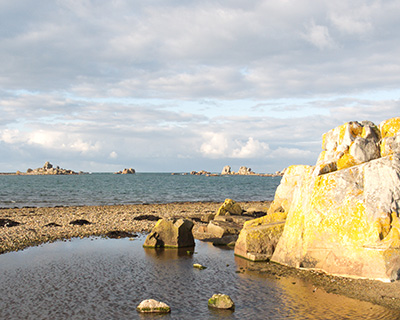 Brightness = 50
Contrast (-50..100). The parameter allows you to increase or decrease the contrast of the image. When increasing the parameter, the dark areas of the image become darker, and the light areas become lighter.
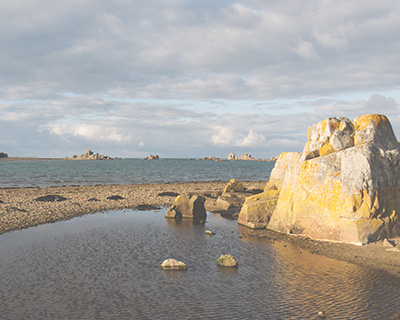 Contrast = -25
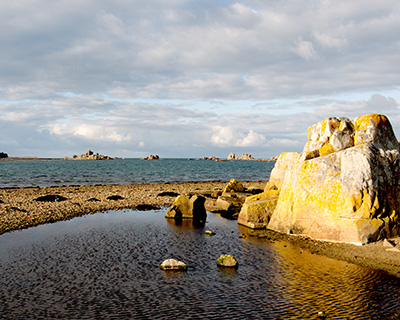 Contrast = 25
Click the Default button to revert the settings to their defaults.
In the Color Correction section, you can change the sharpness of the image as well as the saturation of colors.
Adjust the following parameters:
Sharpness (-100..100). The parameter enhances the details by increasing the difference between the pixels located at the edges of the light and dark areas. The local change in contrast affects mainly the halftone areas. By increasing the parameter, the image becomes sharper.
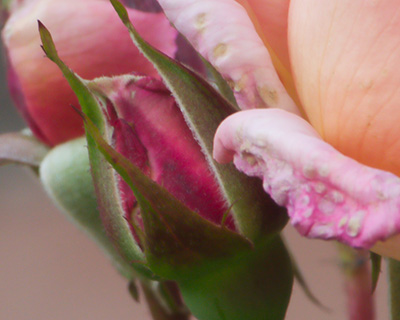 Sharpness = -50
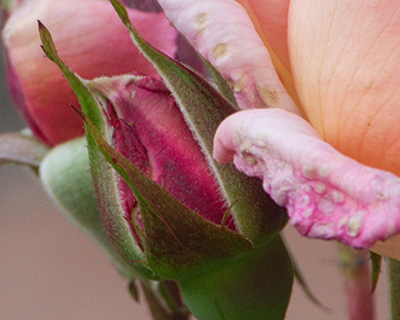 Sharpness = 50
Soft Saturation (-100..100). The parameter enhances less saturated colors without affecting saturated colors.
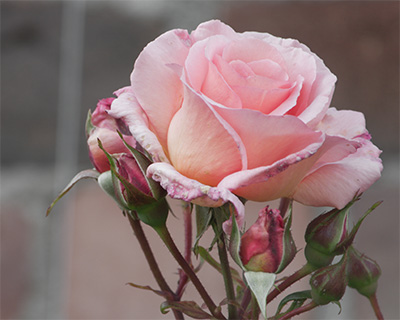 Soft Saturation = -50
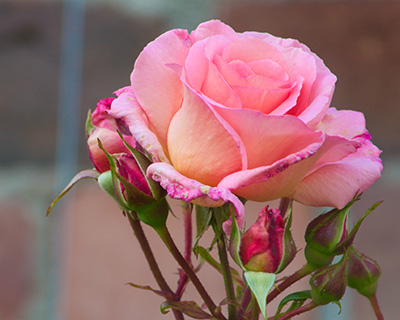 Soft Saturation = 50
Saturation (-100..100). The parameter adjusts the intensity of all colors in the image. The parameter value varies from -100 (black and white image) to +100 (most-saturated colors).
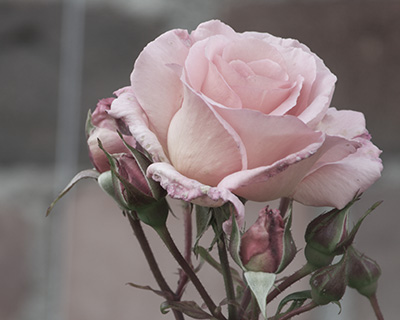 Saturation = -50
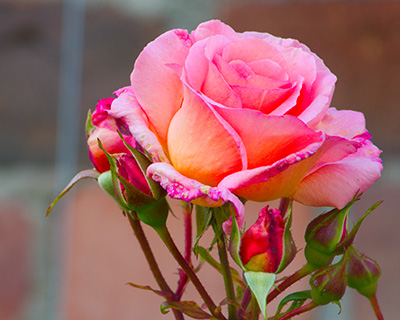 Saturation = 50
Click the Default button to revert the settings to their defaults.
Adjusting the parameters of this tab is usually sufficient to achieve a good result.
If needed, you can apply additional effects to the image or remove some defects using the parameters of other tabs.
You can save the selected parameters as a preset in the Presets tab in order to reuse them when processing other RAW files.
