The Paint Bucket tool ![]() is used to quickly fill solid areas of an image with color or texture.
is used to quickly fill solid areas of an image with color or texture.
You can change the fill color using the Color panel, Swatches panel, or by clicking the image with the Eyedropper tool. To pick a color sample, press and hold the I key and then click the image with the Eyedropper tool. After the hotkey is released, the painting tool becomes active again.
You can also use the Fill command in the Edit menu to fill an entire layer or a selection area. When using the command, you can choose between the following fill types: Color, Pattern, and History.
The basic tool settings are shown in the Tool Options panel above the Image Window or by right-clicking on the image. To display the full list of parameters, press the tool icon in the Tool Options panel or use the F5 key. To specify the parameter settings, enter a numerical value in the parameter’s field or use the slider.
Opacity (0-100). The transparency of the fill relative to the background. The parameter determines the opacity of the color: the smaller the value, the more transparent the fill color and the stronger its interaction with background colors.
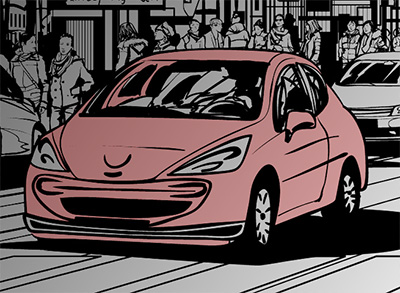 Opacity = 25
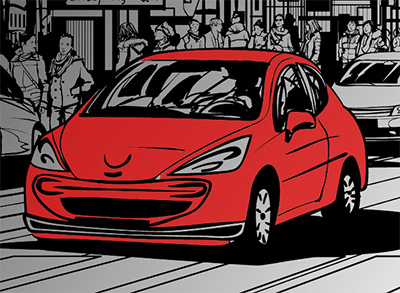 Opacity = 75
Tolerance (0-250). At the minimum value, the tool fills only pixels of the same color nearby to the one you click. The higher the value, the wider the range of colors to be filled.
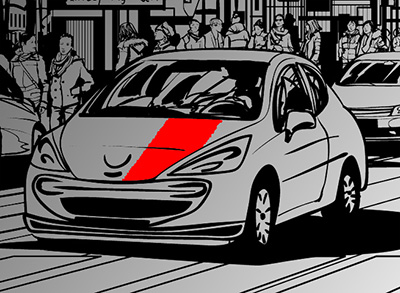 Tolerance = 5
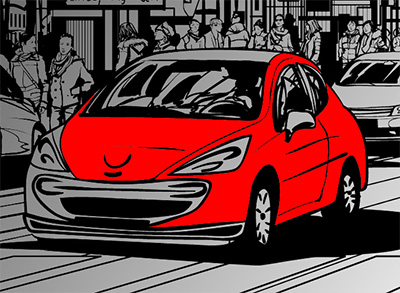 Tolerance = 50
Blend Mode. The parameter controls how the fill pixels are mixed with the ones of the layer. The program provides 27 blend modes.
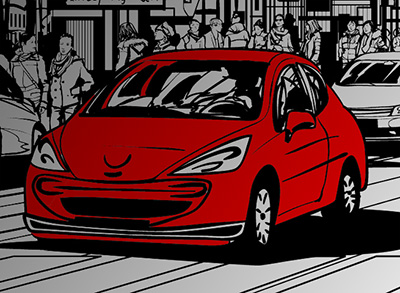 Multiply Blend Mode
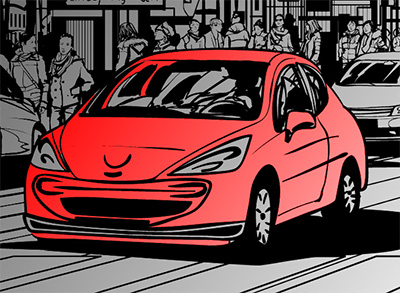 Overlay Blend Mode
Contiguous check-box. If the check-box is activated, only adjacent pixels of the same color are filled. If it is deactivated, all pixels of the same color throughout the image will be filled.
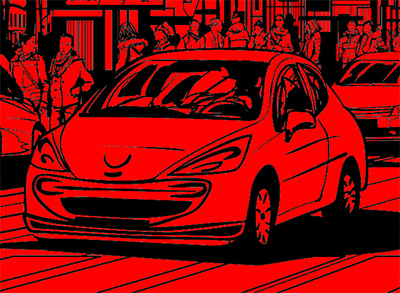 Check-box is Disabled
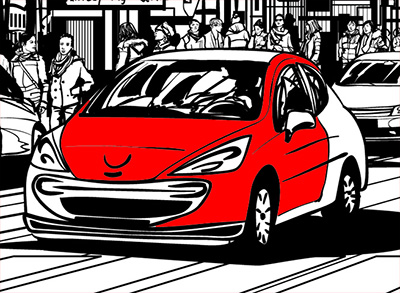 Check-box is Enabled
Anti-Aliasing check-box. The check-box eliminates irregularities in the boundaries of the fill area. To make the edge smoother, enable the check-box before using the tool.
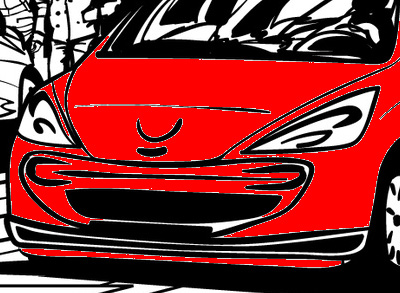 Check-box is Disabled
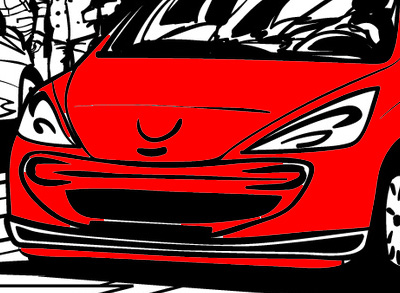 Check-box is Enabled
All Layers check-box. If the check-box is enabled, the pixels are filled based on the merged color data from all visible layers. Otherwise, based on the color data of the current layer.
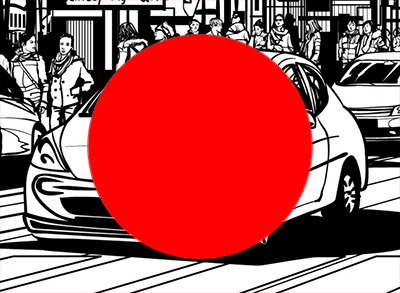 Check-box is Disabled
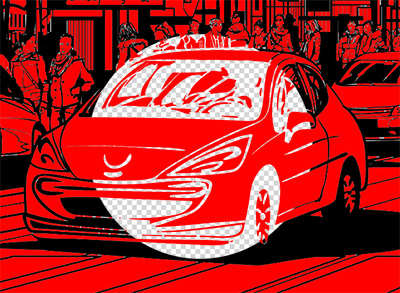 Check-box is Enabled
Fill with Pattern check-box. When the check-box is enabled, the area will be filled with the selected pattern.
Open the Texture Library by left-clicking on the selected texture sample.
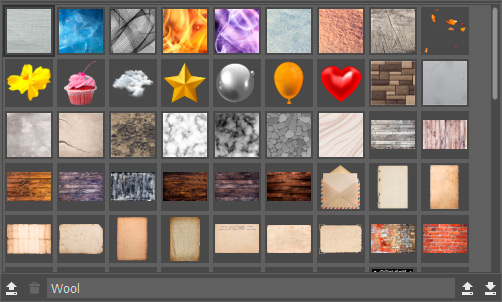 Texture Library
In the Library, below the list of texture samples, there are the following icons:
Add Texture  . Upload an image to be used as a pattern.
Delete Texture  . Remove the selected pattern from the library.
Texture Name. Click to make the field editable. Enter a new pattern name and press Enter to apply it.
Import Library  . Load the library from disk (.brush_textures file).
Export Library  . Save the library to disk (to the .brush_textures file).
Texture Parameters:
Scale (10-400). The size of the texture pattern.
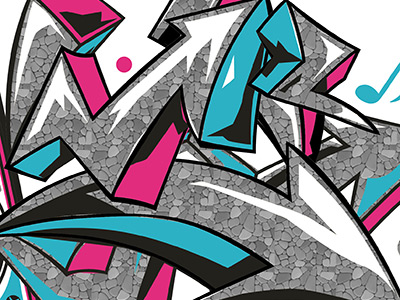 Scale = 50
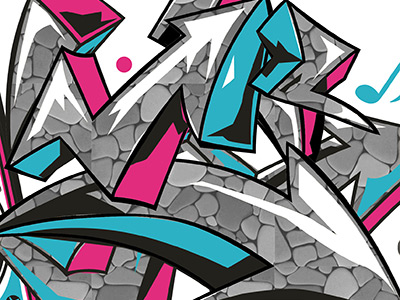 Scale = 150
Angle (-180..180). The texture rotation angle.
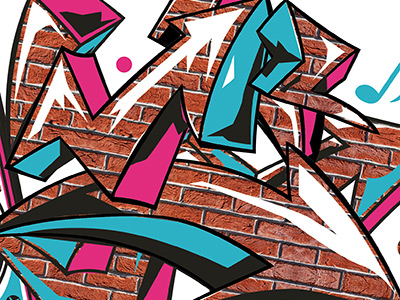 Angle = -10
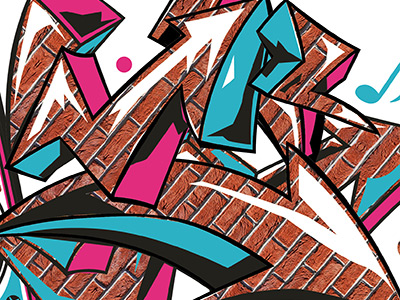 Angle = 50
Mirror. When the check-box is enabled, adjacent textures are mirrored.
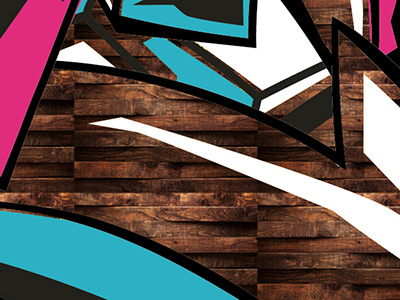 Check-box is Disabled
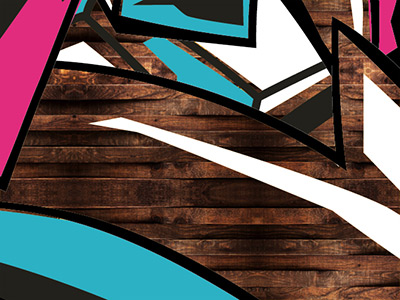 Check-box is Enabled
Flip Horizontal. Enable the check-box to interchange the left and the right parts of the texture.
Flip Vertical. Enable the check-box to interchange the top and the bottom parts of the texture.
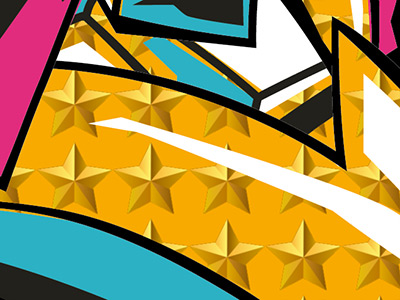 Without Flip
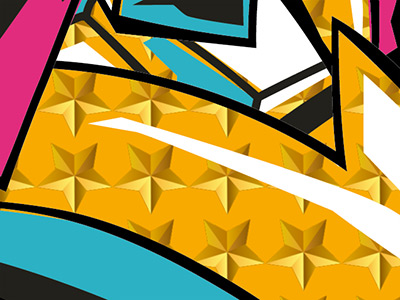 Flipped Vertically
When using the Fill command in the Edit menu, in addition to the Color and Pattern fills, the following fill type is available:
History. The layer will be filled with the selected history state. You can select the state to fill with the Source for History Brush command in the context menu of the History panel. By default, the original state of the document is selected.
Preserve Transparency (only for the Fill command). If the check-box is enabled, the transparency of the areas will be preserved when filling.
Press the Default button to set all settings to their default values.
