The Color Range tool selects areas with the specified color or tonal range. To call it, choose Select -> Color Range…
The pixels of the current layer are selected based on all visible colors in the image.
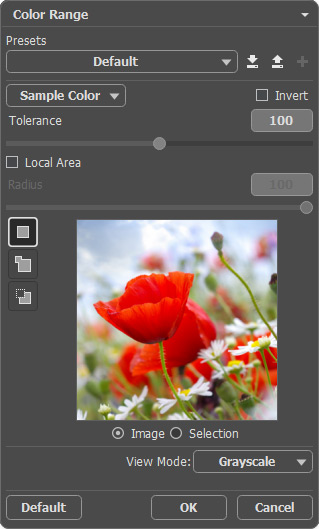
You can save the settings as Presets. Find all available presets in the drop-down list. If you modify the parameters, the preset name automatically changes to Custom, and the Save Custom Preset button  appears next to the list. To save the current settings, press this button.
A new preset is automatically assigned a name (for example, Custom_1, Custom_2, etc.) that can be changed as needed by entering any combination of letters and numbers in the highlighted field. After pressing Enter, a new preset will appear in the drop-down list.
To remove a user preset, select it and press the Delete Custom Preset button  .
.
Click on  to export user presets to a .presets file. To load the presets into the program, press on
  .
.
Adjust the color selection using the following parameters:
Selection Modes (in the form of icons) - logic operations, which determine the result of the interaction between selected areas.
New  . When creating a new selection, the previous selection disappears.
Add  . The selection area will be increased by adding new fragments. The mode is activated by holding the Shift key.
Subtract  . This mode lets removing the part of the selection. The mode is activated by holding the Alt key.
Use a drop-down list to select one of the standard color (red, yellow, etc.) or tonal ranges (highlights, midtones, shadows). Also, you can pick a color using the Eyedropper tool. Only the pixels corresponding with the chosen color or brightness will be selected.
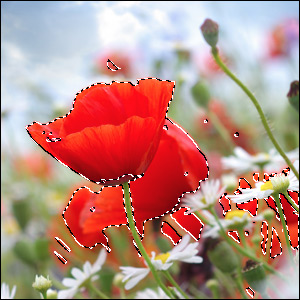 Red areas are selected
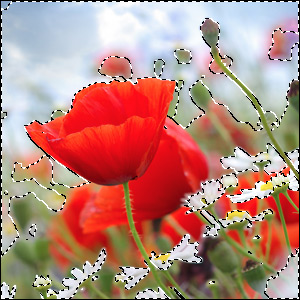 Light areas are selected
Tolerance (0-200). The parameter specifies the width of the color range included into the selection when picking a color from the image.
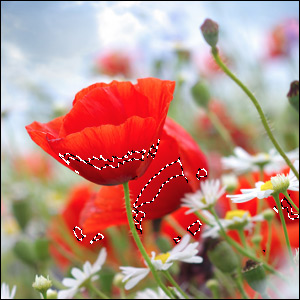 Tolerance = 20
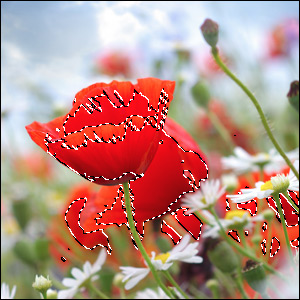 Tolerance = 100
Local Area check-box. Using the check-box, you can create a selection with the specified radius, whose center is located at the point where you clicked with the eyedropper.
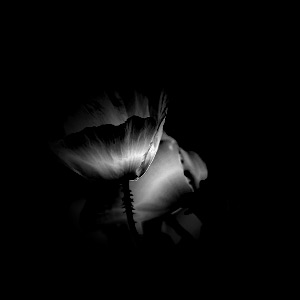 Radius = 25
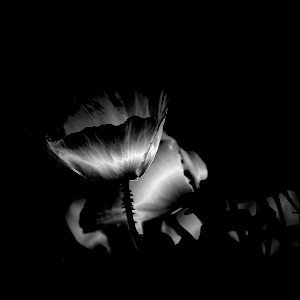 Radius = 50
The Invert check-box. The option inverts the selection.
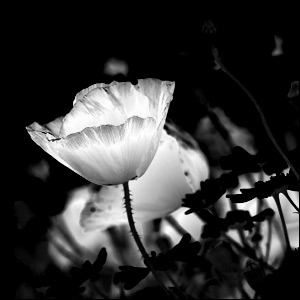 Selection
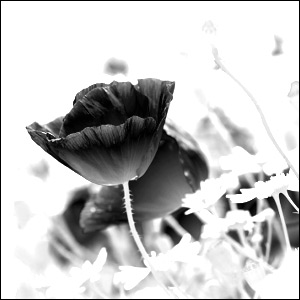 Inverted Selection
The Preview Window displays either the source image or the selected area in the grayscale mode. In the second case, white indicates the selected areas, black - not selected areas, and gray - the transition zone.
In the View Mode drop-down menu, you can determine how the selection will be displayed in the Image Window.
Press OK to create a selection, or Cancel to close the window without saving the changes.
To create and manipulate selections, you can also use the standard commands.
All selections are displayed in the Selections Panel.
