AliveColors is the all-in-one graphics software for detailed image editing and retouching, high-quality photo enhancement, creating stylization effects as well as professional painting and drawing.
Follow the basic processing steps:
Step 1. Run the AliveColors image editor.
Step 2. Open a file (supported formats: TIFF, BMP, JPEG, PNG, RAW, SVG, PSD, WEBP, and AKVIS) or create a new image.
To open an image, click the Open File button  in the start screen window, select the File -> Open command in the menu, or press Ctrl+O on Windows, ⌘+O on Mac.
Alternatively, you can drag an image shortcut directly to the program workspace. When dragging into an opened file, the image will be added as a new layer.
You can load multiple selected files from disk into a single document as separate layers, using the Load Files into Layers command in the File -> Automate menu.
You can view the recently opened files on the start screen. You can also select in the menu: File -> Recent Files.
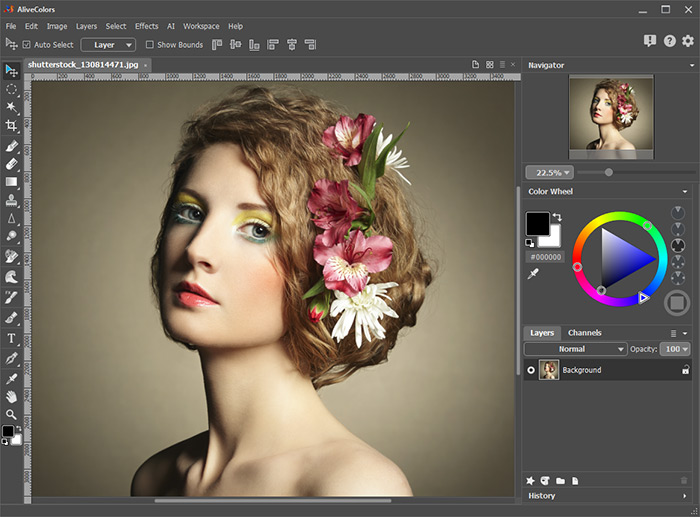
 AliveColors Window
It is possible to open multiple images at once.
Step 3. You can adjust the color and hue of an image by selecting Image -> Adjustment.
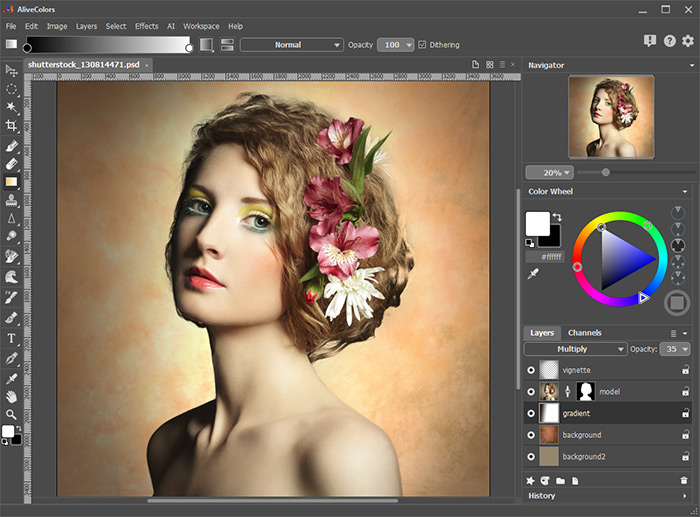
Step 4. To edit the image, use appropriate tools from the Toolbar.
Step 5. Apply effects and filters to the image by using the Effects menu in the Control Panel.
 Image Editing in AliveColors
Step 6. To save the result, use the command File -> Save As or the key combination Ctrl+Shift+S on Windows, ⌘+⇧+S on Mac.
In the Save As dialog box, enter a name for the file, select a format (TIFF, BMP, JPEG, PNG, SVG, WEBP, PDF, PSD, or AKVIS) and indicate a target folder.
Note: If your image has multiple layers, you can use the AKVIS format to save all checkpoints, all types of layers, selections, and masks. The end result can be saved in any supported format.
Use the command File -> Save or the key combination Ctrl+S on Windows, ⌘+S on Mac to replace the original image with the edited one.
You can save each layer of the image to a separate file using the File -> Save Layers to Files command. When saving, select the folder, file name, and desired format.
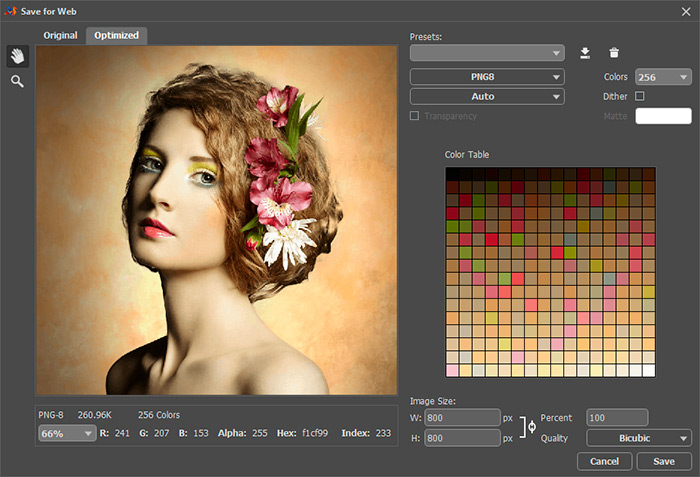
Using the File -> Save for Web command, you can prepare and save an image for posting on the Internet. The dialog box allows you to select the optimal format, quality, and file size.
 Save for Web
Step 7. To print the image, select File -> Print or use the keyboard shortcut Ctrl+P on Windows, ⌘+P on Mac.
Step 8. Use one of the options to close the active image:
- press the button ![]() in the image tab;
in the image tab;
- press the button ![]() on the right of the image tabs;
on the right of the image tabs;
- select the command File -> Close in the Control Panel;
- use the keyboard shortcut Ctrl+W on Windows, ⌘+W on Mac.
Step 9. Use one of the options to exit the program:
- press the X symbol in the top right corner of the program window;
- select File -> Exit from the Control Panel;
- use the keyboard shortcut Ctrl+Q on Windows, ⌘+Q on Mac.
