
The Glamour effect is designed for processing portrait photos. It allows you to brighten and even the skin tone, get rid of wrinkles, conceal minor flaws, etc.
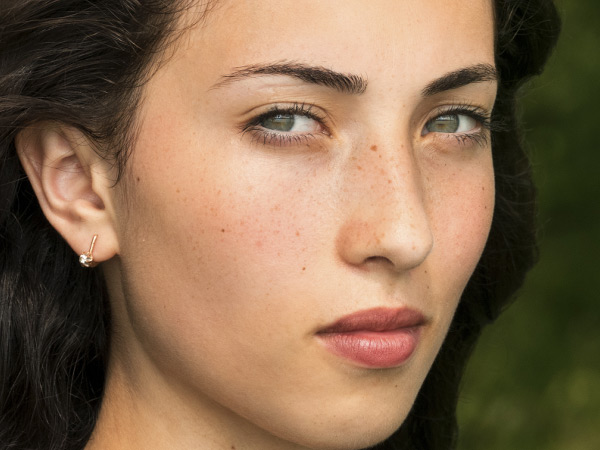

(hover the mouse over the picture to see the original image)
The effect has the following controls:
Colors. This field includes a set of colors that will be used for processing an image.
 Color Set
This set has 6 color squares. By default these color squares are empty. If you start image processing with default settings, there will be no changes.
Click within an empty square, the pointer will be transformed into an eyedropper, and pick a color from the image with a left-click. This square will display the chosen color.
To change the color of the square, left-click it and choose a color from your image.
To delete a color and clear the square, right-click the square. The square will return to the default state.
The Threshold parameter defines colors that will be used for processing. At minimum value of the parameter only the colors from the color set are involved into the process. If you increase the value of the parameter the colors similar to the colors of the set will change, too. The higher the value of the parameter, the more colors will be changed.
The Smoothness parameter softens and blurs the image by reducing the color contrast between the neighbouring pixels.
If the Fixed Preview Area check-box is enabled, all changes will be displayed in a small preview area. If the check-box is disabled, the changes will be applied to the area visible in the Image Window.
Click Default to restore the original settings.
Click OK to apply the changes to the image and close the effect dialog box.
Click Cancel to close the dialog box without applying changes.