If your photo appears too dark and gloomy and you want to make it look brighter, try AliveColors! It dramatically improves the visual impact of any photo, turning an ordinary photo into an stunning one. The image editor allows to brighten a dark photo, bring up shadows, restore lost details, and rescue the original color in an image.
In this tutorial, we’ll show you how to quickly fix an underexposed photo and find the happy middle ground between under- and overexposure using the built-in Enhancer plugin. We will also add more volume and vividness to the photo using special tools. Shine light on a dark photo using AliveColors!
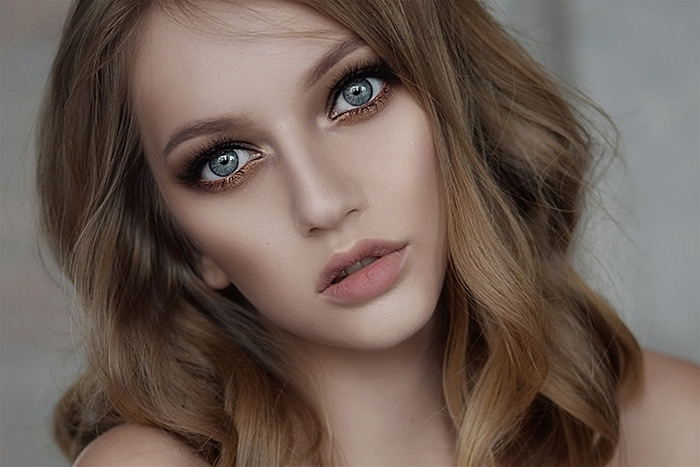
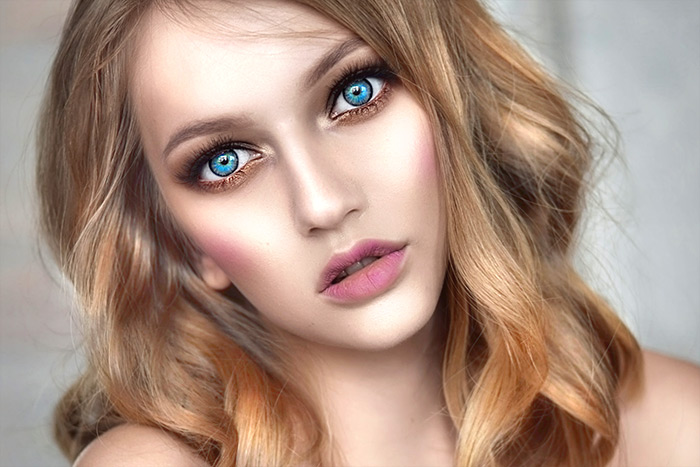
(mouse over to see the original image)
Start AliveColors. Open the source image File → Open...
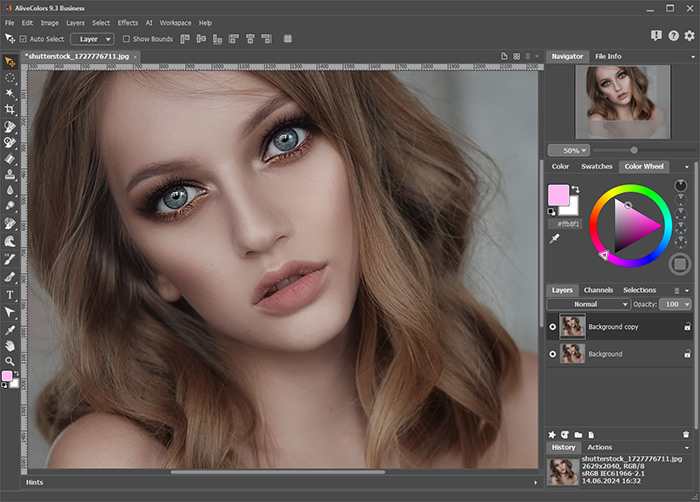 Program Window
Launch the built-in Enhancer plugin: Effects → Built-in Plugins → Enhancer → Improve Details...
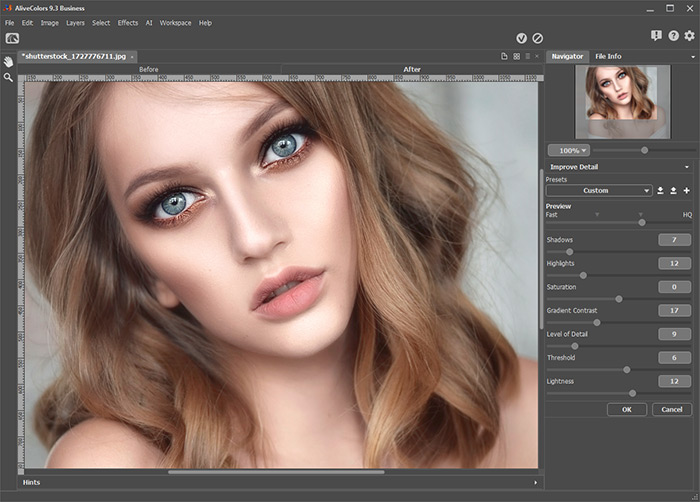 Edited Using Built-in Enhancer Plugin
Here are the settings we used:
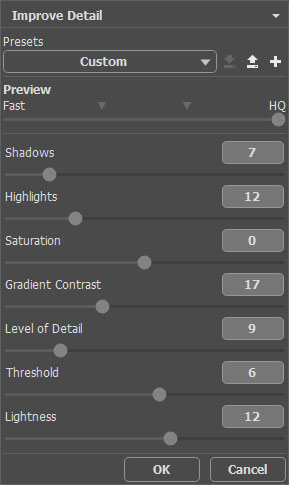 Settings in the Enhancer Plugin
Apply the changes by clicking  .
.
The result is really nice but it lacks some volume and vibrancy. Let's fix it!
Select the Lighten tool ![]() . Reduce the Strength and Fill parameter values, select the Highlights range and draw over the protruding parts of the face: nose, cheeks, chin. Now the face appears more voluminous, youthful-looking, and exudes natural vitality.
. Reduce the Strength and Fill parameter values, select the Highlights range and draw over the protruding parts of the face: nose, cheeks, chin. Now the face appears more voluminous, youthful-looking, and exudes natural vitality.
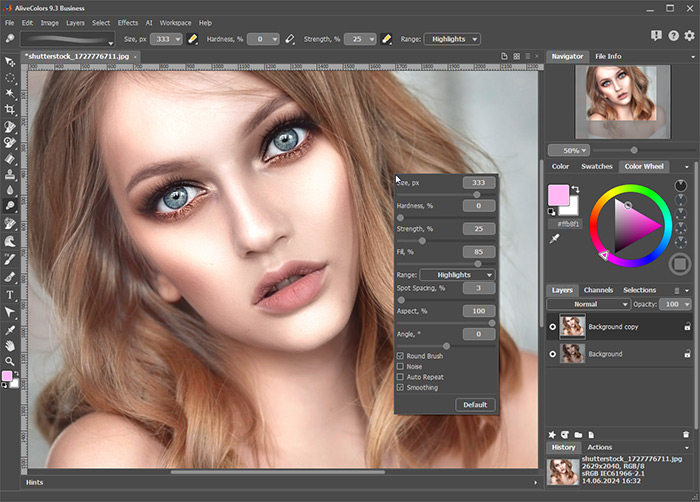 Lighten Tool
Now let’s add some color to the cheeks and make the lips more expressive.
Select the Recolor Brush ![]() and choose a muted pink shade. As with the Lighten tool, reduce the Strength and Fill parameter values and draw on the desired areas of the face. The pink tint gives the face freshness and radiance.
and choose a muted pink shade. As with the Lighten tool, reduce the Strength and Fill parameter values and draw on the desired areas of the face. The pink tint gives the face freshness and radiance.
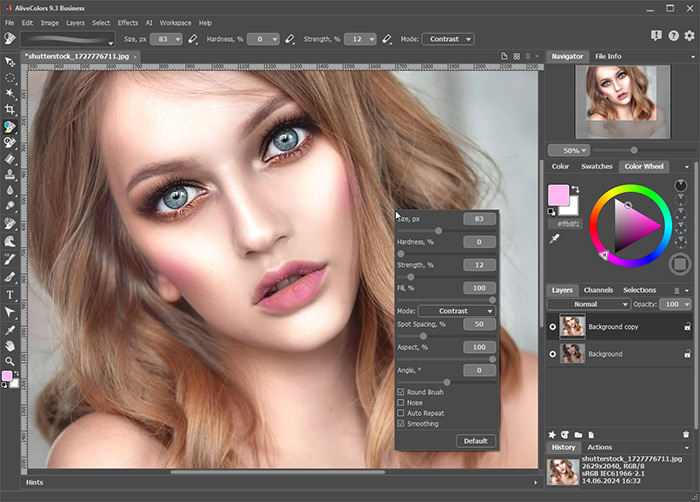 Recolor Brush
Let's take the Lighten tool ![]() again and this time lighten the hair strands. Hair highlights give the hair dimension and texture, creating a face-framing effect.
again and this time lighten the hair strands. Hair highlights give the hair dimension and texture, creating a face-framing effect.
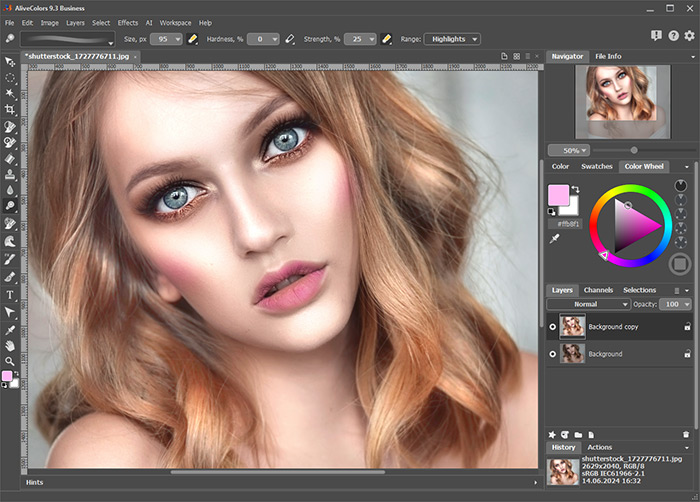 Lightening Hair Strands
Finally, let's give the eyes more depth and intensity. To do this, darken the outer edge of the iris using the Darken tool ![]() and process the inner area of the iris with the Saturation tool
and process the inner area of the iris with the Saturation tool ![]() .
.
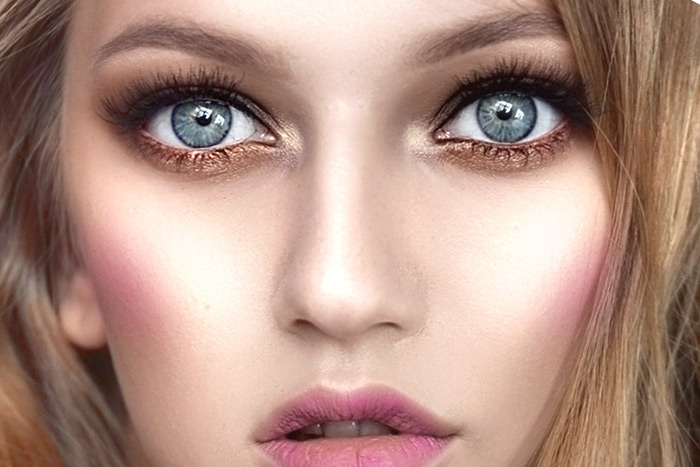
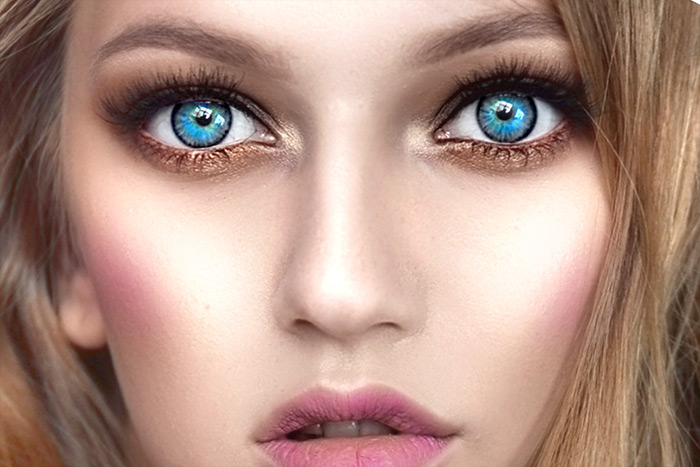
The result is a bright and vivid portrait with revealed engaging details.
