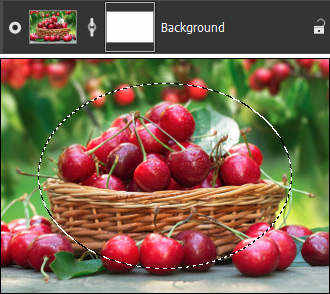
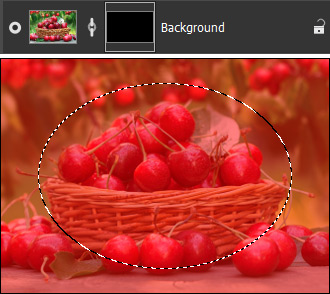
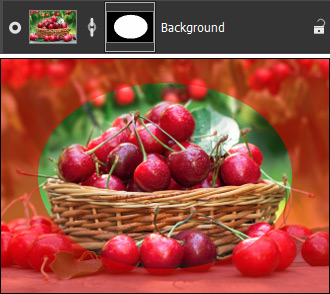
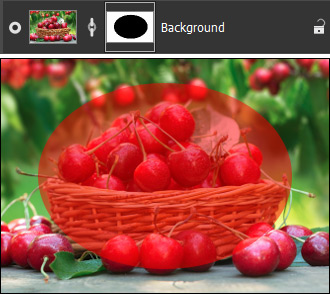
Using a mask, you can can hide portions of the layer and mask out the effect where desired.
The quickest way to create a layer mask is to press the button  in the Layers panel.

To create a mask, select one of the items in the menu Layers -> Layer Mask:
Reveal All - the command creates a transparent mask that reveals the entire layer.

Hide All - the command creates an opaque mask that hides the entire layer.

Reveal Selection - the command creates a mask that reveals the selection.

Hide Selection - the command creates a mask that hides the selection.

All the menu commands that are available as menu entries by right-clicking on the Layers panel.
You can edit the mask using the painting tools. Select a mask in the Layers panel by clicking on its thumbnail. Paint with black to create an opaque mask, paint with white to create a transparent mask; other colors will create a semi-transparent mask.
By default, the mask is linked to the active layer. To cancel/reestablish the link between the layer and mask, click ![]() /
/![]() between the thumbnails or select Layers -> Layer Mask -> Unlink/Link. Unlinking them lets you shift the mask separately from the layer.
between the thumbnails or select Layers -> Layer Mask -> Unlink/Link. Unlinking them lets you shift the mask separately from the layer.
You can move the mask to another layer by dragging it with the mouse cursor. If you hold down the Shift+Alt keys on Windows (⇧+Options on Mac), the active mask will be copied to the selected layer.
To invert a mask, select the Invert Mask command.
To remove a mask, select its thumbnail and click the button ![]() or use the command: Layers -> Layer Mask -> Delete.
or use the command: Layers -> Layer Mask -> Delete.
To disable/enable a mask, select the layer containing the mask and choose Layers -> Layer Mask -> Disable/Enable. When the mask is disabled, a "X" appears across its thumbnail, and the layer’s content is shown without masking effects.

To add a mask to the selection, right-click its thumbnail in the Layers or Channels panel and select one of the following commands:
Add Mask to Selection - The command adds a transparent area of a mask to the selection.
Subtract Mask from Selection - The command subtracts transparent mask areas from the selection.
Intersect Mask with Selection - The command creates a selection containing the overlapping area of the selection and the transparent mask area.
To apply a mask to the layer, choose Layers -> Layer Mask -> Apply (only for raster layers). After the command is selected, the hidden layer parts become transparent.
You can adjust the mask view mode in the Channels panel. Click the icon to the right of the Mask channel and select a view mode in the drop-down menu.
![]() - grayscale mask;
- grayscale mask;
![]() - trimap mask;
- trimap mask;
![]() - red semi-transparent mask in the source image;
- red semi-transparent mask in the source image;
![]() - inverted red mask;
- inverted red mask;
![]() - black mask in the source image;
- black mask in the source image;
![]() - white mask in the source image.
- white mask in the source image.
You can improve the mask's edges by using the Refine Edges feature in the Select menu.
