Read how to resize an image using AliveColors image editor. Alternatively, you can watch the video tutorial.
You can save the image resizing settings as Presets. Find all available presets in the drop-down list. If you modify the parameters, the preset name automatically changes to Custom, and the Save Custom Preset button  appears next to the list. To save the current settings, press this button.
A new preset is automatically assigned a name (for example, Custom_1, Custom_2, etc.) that can be changed as needed by entering any combination of letters and numbers in the highlighted field. After pressing Enter, a new preset will appear in the drop-down list.
To remove a user preset, select it and press the Delete Custom Preset button  .
.
Click  to export user presets to a .presets file. To load the presets into the program, press on
  .
.
Image Size:
To change the size of an image, you can use the command Image -> Image Size.
- The size of the current document is defined by Width and Height values. To resize an image, enter desired values in the relevant fields. Possible units (pixels, inches, centimeters, millimeters, points, picas, and percentages) are listed in the drop-down menu.
- Resolution. The parameter determines the density of pixels in an image (level of detail) and calculates the number of pixels per inch (ppi).
- Scale Layer Effects. If the check-box is enabled, the layer effect will be scaled proportionally with the image size. If the check-box is disabled, the original size of the effect remains unchanged.
- Maintain Aspect Ratio. Enable the check-box to maintain the proportions of an image (width and height).
-
Image Resampling. If the check-box is enabled, you can change the size and resolution of an image independently of each other (and change the total number of pixels in an image).
If the check-box is disabled, you can either resize an image or its resolution. The program automatically adjusts the remaining value to maintain the total number of pixels.
- If the Image Resampling check-box is enabled, you can choose a Resampling Method. This option determines how the pixels are added or deleted.
Resampling Methods:
Nearest Neighbor - a fast but less precise method;
Bilinear Interpolation - an optimal method delivering an average quality;
Bicubic Interpolation - the most accurate, but also the slowest method.
Reducing Image (Using Resampling Technique)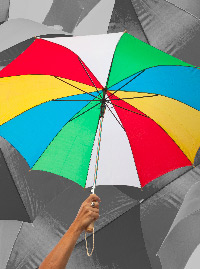 Nearest Neighbor
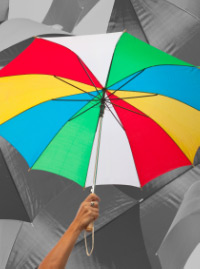 Bilinear Interpolation
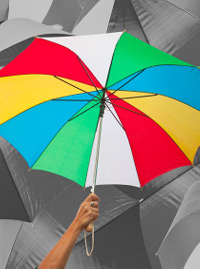 Bicubic Interpolation
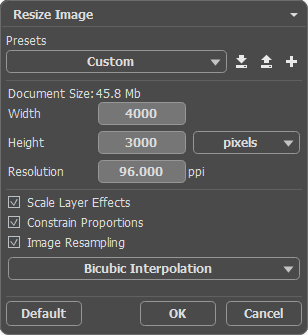 Resize Image Dialog Box
To resize the image, click OK. To exit the dialog without saving any changes, click the Cancel button.
Canvas Size:
Canvas is a workspace containing all the image layers and has a specific size. To change the size of a document, you have to change the size of its canvas.
Open the Resize Canvas dialog box using the command Image -> Canvas Size.
- The Actual Size section displays the current size in megabytes. The width and height are shown in the chosen measurement unit.
- In the New Size section you can change the size of a document by entering values in the Width and Height fields. If you increase the working area, an image will be enlarged by the border size. If you reduce the workspace, the edges of the picture will be cut off. Available units (pixels, inches, centimeters, millimeters, points, picas, and percentages) are listed in the drop-down list.
- Relative. If the check-box is checked, enter the desired values in the Width and Height fields. If the check-box is unchecked, enter the values by which the canvas size should be increased or decreased from its current size. To increase the canvas, set a positive value. To reduce the canvas, set a negative value.
- To adjust the Position of the resized image on the canvas, use eight arrow signs. The central point indicates the position of an image on the canvas.
-
If the Background check-box is turned on, you can specify the color of the added edges. Call the Select Color dialog by clicking the color plate. If you disable the check-box, the added areas will be transparent.
Note. The color edges can be added only to the lower layer. The borders in other layers are transparent.
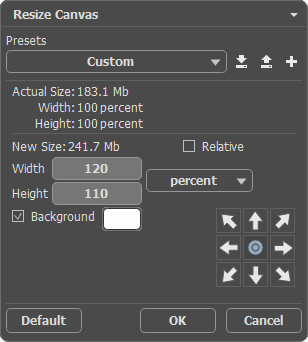
Resize Canvas Dialog Box
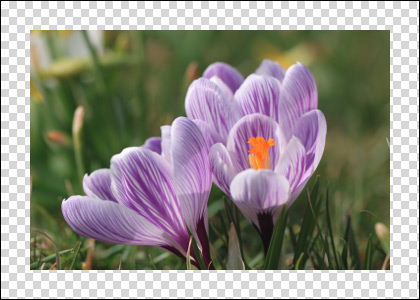
Increasing Canvas Size
To change the size of the canvas, press OK. To exit the dialog without applying any changes, click the Cancel button.
