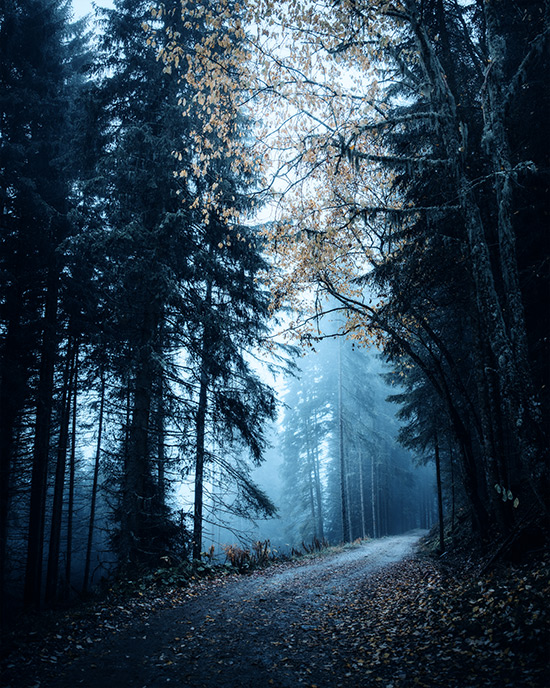
AliveColors provides a wide range of image editing options. This example shows how to change the weather in an image to give the photo a gloomy and rainy mood.


This photo has a warm yellowish tint. Let's make a dramatic landscape using adjustment layers and NatureArt plugin in AliveColors.
First of all make the image colder using the Photo Filter adjustment layer. Create a new adjustment layer above the background layer by clicking  in the Layers panel and selecting Adjustment Layer -> Photo Filter… from the list.
Change the settings of the adjustment layer. Select Deep Blue in the Filter list, enable the Preserve Luminosity check-box and adjust the Density parameter to remove the yellow tint from the photo.
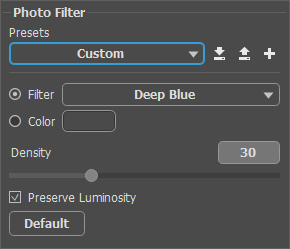 Photo Filter Adjustment Layer
Add a more intense dark blue tint to this photo.
Create a new Gradient Map: Solid adjustment layer and set new colors for the gradient. For the leftmost point - RGB(0,50,100), for the rightmost point - RGB(40,170,225). Change the layer's blend mode to Soft Light.
 Gradient Map Solid Adjustment Layer
Decrease brightness in bright areas.
Create a new adjustment layer by selecting Layers -> New -> Adjustment Layer -> Curves… and adjust the curve as follows:
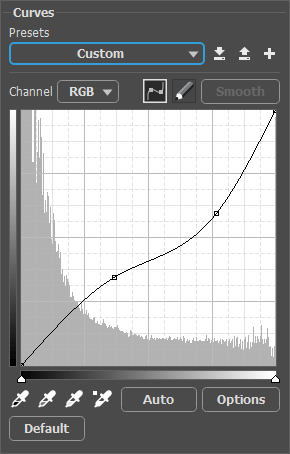 Curves Adjustment Layer
Create a new Brightness/Contrast adjustment layer and reduce the brightness and contrast of the entire image. For this example, we used the following values: Brightness = -18, Contrast = -26.
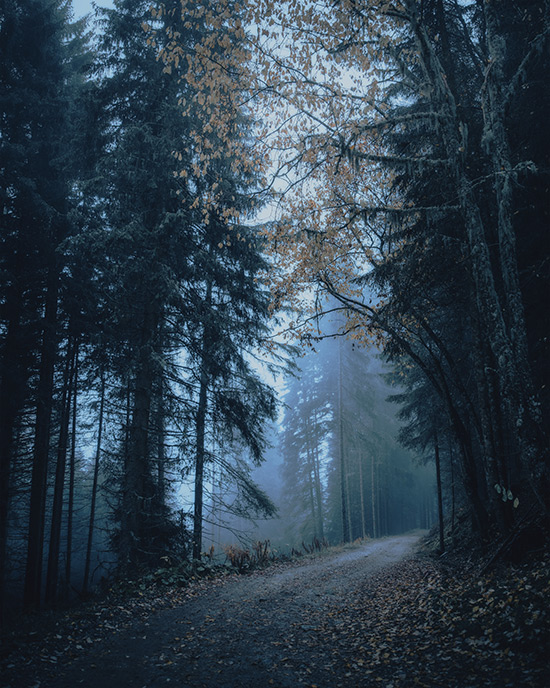 Brightness/Contrast Adjustment Layer
Add rain to the image.
Create a new raster layer by clicking  on the Layers panel and selecting Raster Layer from the list.
Call the NatureArt built-in plugin. Select Rain in the list of effects. Use the Selection Bucket tool in the plugin to select the entire image. Adjust the settings to your taste or choose one of the built-in presets. Click  to apply the changes.
Reduce the Opacity of the layer to 80. If necessary, add a mask to the layer  , and paint on it with a black semi-transparent brush in the places where the rain should be less noticeable.
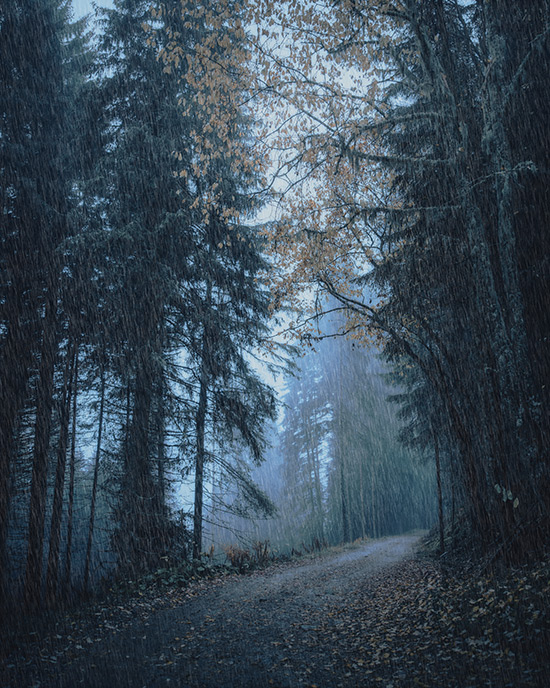 Adding Rain
You can add some details to the image, for example, put puddles on the road.
Here is the result:
 Result
