The AliveColors image editor runs on Windows, Mac, Linux (64-bit). See the supported operating systems.
Below you will find instructions on how to install AliveColors on Windows.
You must have administrator rights to install the software.
Follow the instructions:
- Run the alivecolors-setup.exe file.
- Select your language and press the Install button to launch the installation process.
All other necessary files will be downloaded and installed automatically.
If your computer is not connected to the Internet, use the offline method. - Click Next to continue.
- To continue the installation process, read and accept the End-User License Agreement.
Select "I accept the terms in the License Agreement" and press Next.
- You can choose a drive to install the program.
- Press Install.
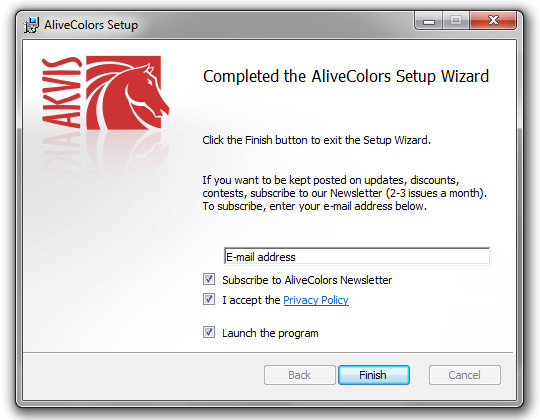
- The installation is completed.
You can subscribe to the AliveColors Newsletter to be informed about updates, events, and special offers. Enter your e-mail address and confirm that you accept the Privacy Policy.
- Press Finish to exit the AliveColors Setup.
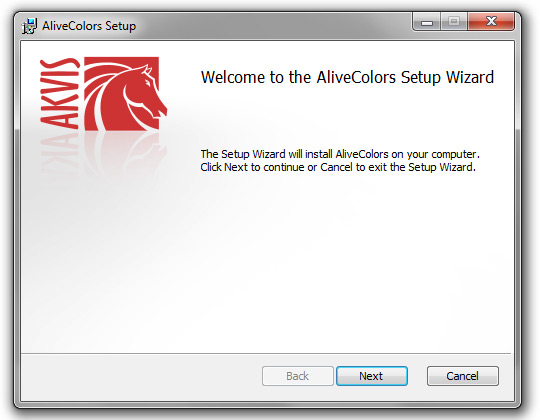
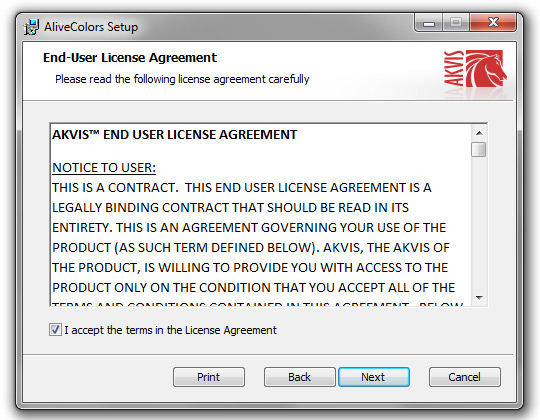
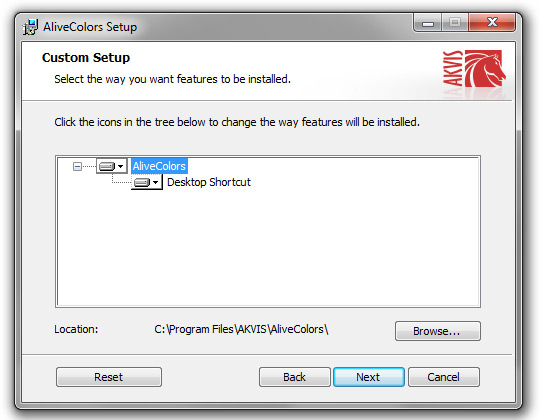
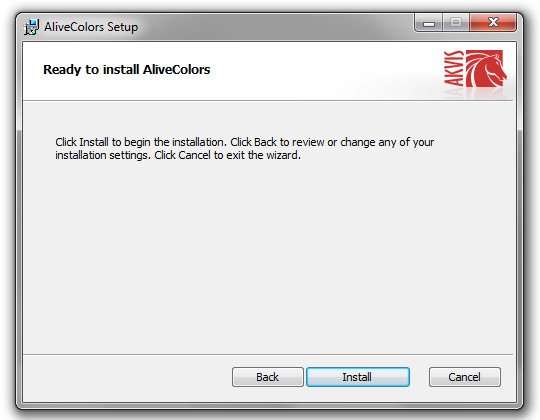
After the installation of AliveColors, you will see a new line in the Start menu and a shortcut on the desktop.
Installation on a Computer Not Connected to the Internet
On a computer connected to the Internet, download the file alivecolors-setup.exe file to an empty folder and run it with the /layout key. As a result of this action, other necessary .msi files will be downloaded here.
Then transfer this folder with all the files to a computer not connected to the Internet and run alivecolors-setup.exe. The installation of the image editor with all the functions and modules will proceed as usual.
Note: For optimal operation of AI filters, you need a discrete (not integrated) graphics card with at least 3 Gb memory and the latest version of a driver for the graphics card. Otherwise, the processing will be performed by the CPU. The program will still work, but a bit slower.
