Basic selection tools are designed to create selection areas in the form of rectangles, ellipses, various polygons, and areas of arbitrary shape.
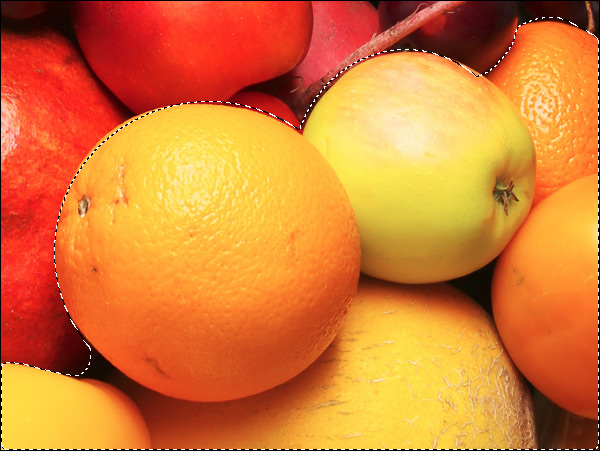 Selection
Basic Selections Tools in AliveColors:
Rectangular Selection  lets selecting rectangular and square areas. Drag over the area you want to select with the left mouse button.
Elliptical Selection  lets selecting elliptical or circular areas.
Lasso  allows creating freehand selections. Drag to draw a selection line around an object. When you release the left mouse button, the contour will be closed, the final point will be connected to the start one.
Polygonal Lasso  lets creating a freehand selection from straight segments. Move the cursor and left-click on each point, the program will automatically draw a straight line between two points. To close the contour bring the cursor to the first point or make a double-click in the final point.
Magnetic Lasso  allows you to create a selection outline that sticks to the edges of the image when you move the cursor. When you release the left mouse button, the outline closes.
Hold Shift to make a square or a circle and to draw a perfectly vertical/horizontal line.
The basic tool settings are shown in the Tool Options panel above the Image Window. To display the full list of parameters, press the tool icon in the Tool Options panel, or right-click the image.
Parameters (may vary depending on the tool):
Selection Mode defines the result of the interaction of selections:
New  . When creating a new selection, the previous selection disappears.
Add  . The selection area will be increased by adding new fragments. To activate this mode, you can also press the Shift-key.
Subtract  . This mode lets removing the part of the selection. To activate this mode, press the Alt-key.
Intersect  . This mode lets keeping only the intersection area of the selections. To activate this mode, press Shift+Alt.
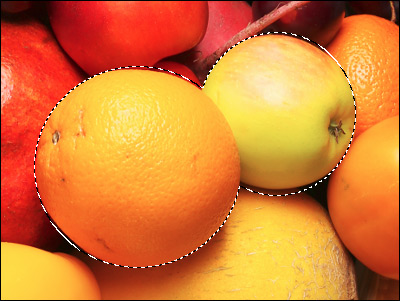 Add to Selection
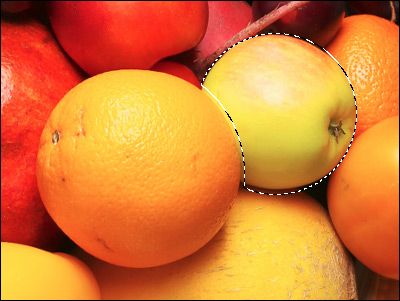 Subtract from Selection
Feather (0-250). The parameter lets blurring edges of the selection.
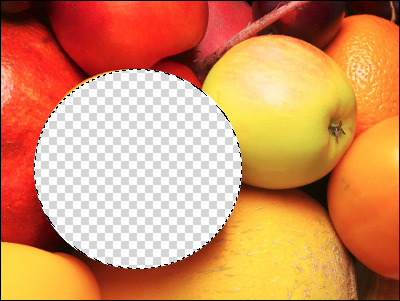 Feather = 0
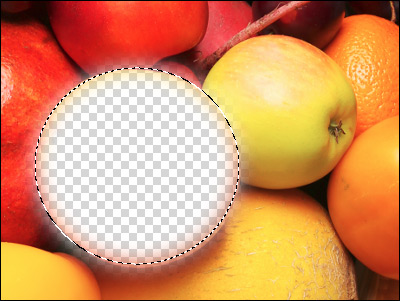 Feather = 10
Anti-Aliasing. The check-box smooths the jagged edges of the selection.
Enable this option before creating a selection.
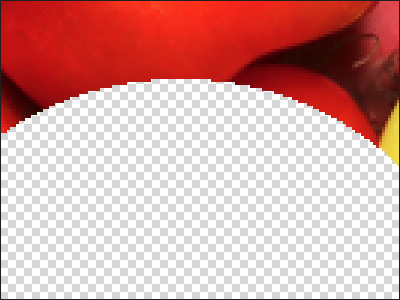 Anti-aliasing is Disabled
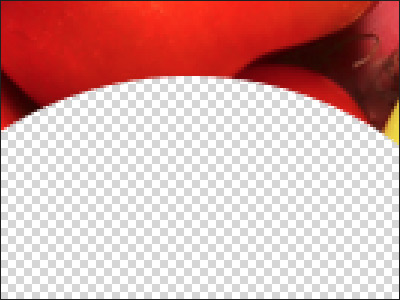 Anti-aliasing is Enabled
Width (0-250). It changes the radius of the area within which the boundary search will take place (for the Magnetic Lasso  ).
).
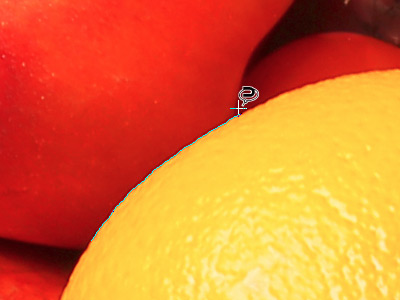 Width = 25
 Width = 75
From Center. The check-box lets creating a selection (a rectangle or an ellipse) using a start point, where the cursor is, as a center. Otherwise, selections are created from a corner.
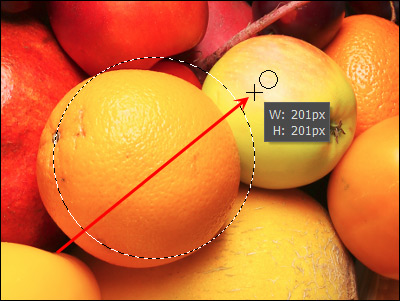 Selection from Corner
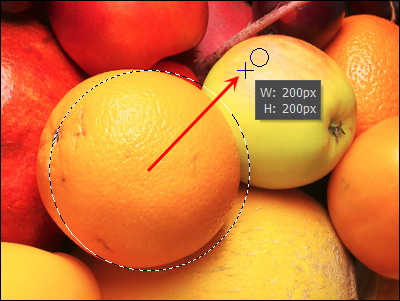 Selection from Center
Style. You can specify a size of a selection:
Normal. The size of a selection is determined by dragging the cursor.
Fixed Size. This option lets you create a selection with exact dimensions (height and width, in pixels).
Fixed Ratio. The ratio of height and width of a selection remains fixed.
In the View Mode drop-down list, choose a mask view mode. All view modes except for "marching ants" allows to edit the selection using the standard brushes.
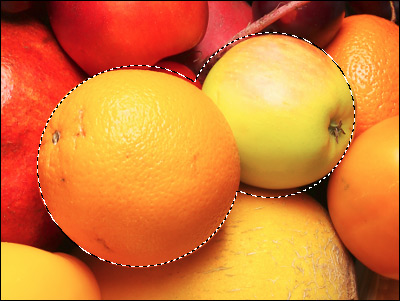 Selection: Marching Ants
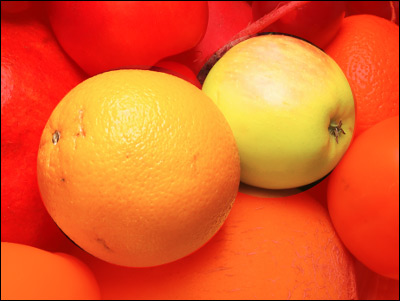 Selection: Fill with Red
Click the Default button to reset the settings to their original values.
Using the Refine Edges feature you can quickly adjust edges of selections.
To create and manipulate selections, you can also use the standard commands.
All selections are displayed in the Selections Panel.
