AliveColors includes a smart brush editor that expands your creativity and allows you to design a variety of brushes for all occasions. It also contains impressive shapes and textures libraries that provide a wide range of photo editing tools.
This tutorial shows how to create a personalized Valentine's day card using different brush settings.
 Valentine's Day Card
Create a new image in AliveColors (File -> New).
Make a new raster layer (Layers -> New -> Raster Layer). Select the Texture Brush  . Open the full menu of the tool's parameters with the F5 key, choose the Hard Square Brush preset, and set Element = Select Shape.
In the Shape tab, select one of the heart shapes (we used Valentine’s Day 15).
In the Texture tab, select a texture (for example, Valentine’s Day 02). Adjust the brush size and draw one heart on the left side of the image.
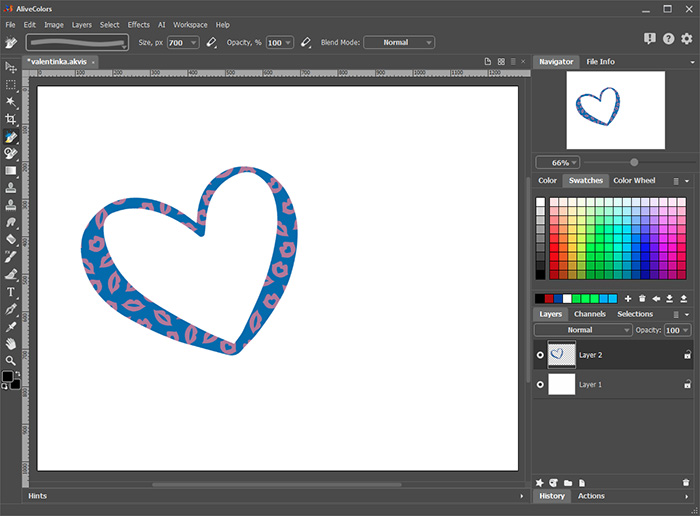 Adding a Heart
Create one more raster layer. In the Texture tab, select another texture (for example, Valentine’s Day 05) and draw another heart next to the first one so that it partially overlaps it.
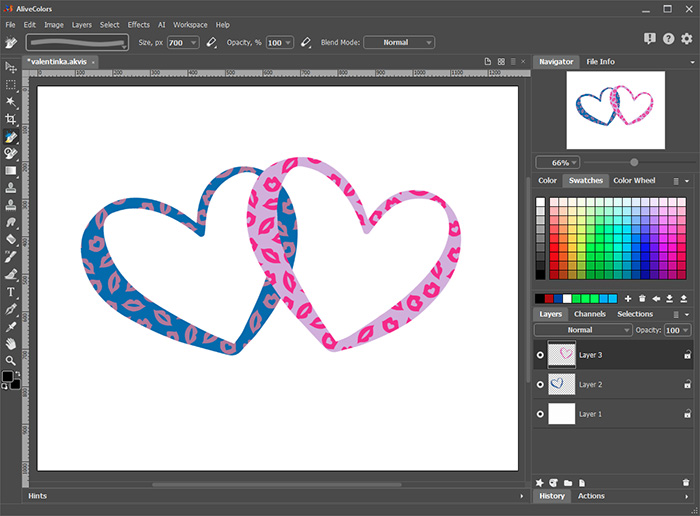 Two Hearts
Add a layer mask to the second heart (use  at the bottom of the Layers panel). Select a mask and paint over the heart with a black brush to chain the hearts.
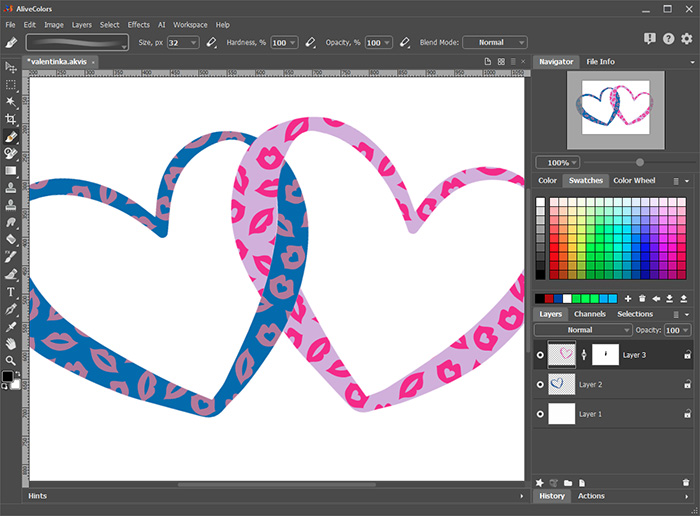 Chaining Hearts
Create a new raster layer. Select the Color Brush  and draw small hearts of various colors and sizes using the Valentine’s Day shapes.
Add the Outer Shadow layer effect to this layer.
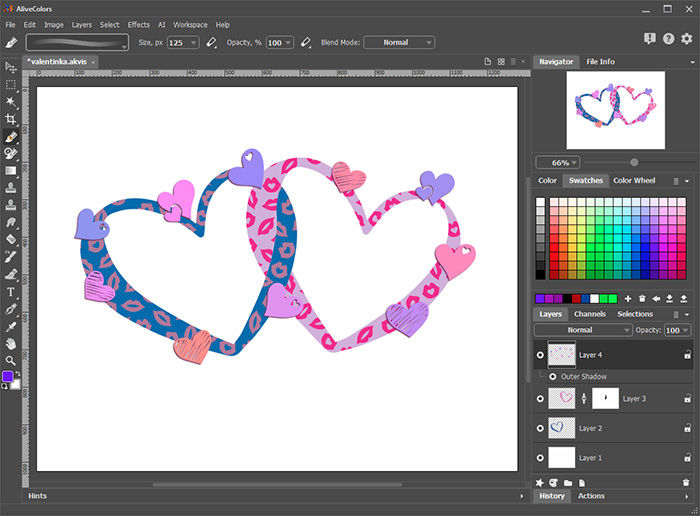 Adding Small Hearts
Switch to the background layer, select the Gradient Fill tool  and apply a radial gradient with various soft shades of warm colors: pink, yellow, lilac, etc.
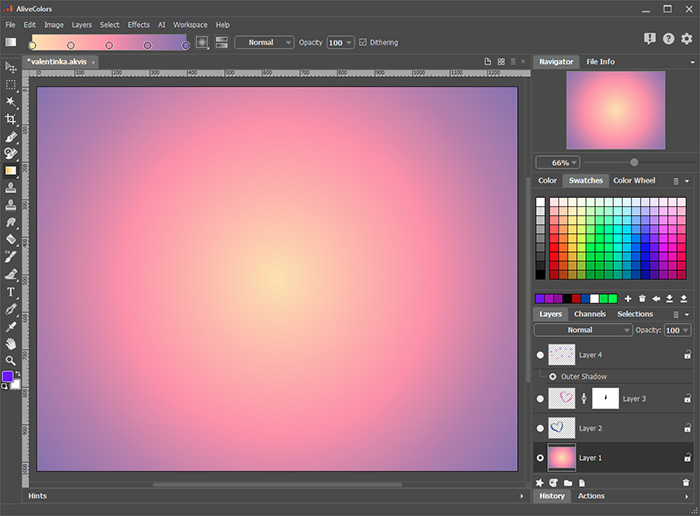 Gradient Fill
Select the Texture Brush  . Open the tool's parameters with F5 and choose the Hard Square Brush preset. Increase the brush size so that the cursor covers the entire image, reduce the Opacity to 10%, the Blend Mode = Lighten.
Switch to the Texture tab, select one of the textures with hearts (in our example Valentine’s Day 14), reduce the Scale to 25% and enable the Tile check-box. Apply a customized texture over the gradient.
Hint: You can also add more varied adorable hearts to the background using the semi-transparent Color Brush or Texture Brush of various shades.
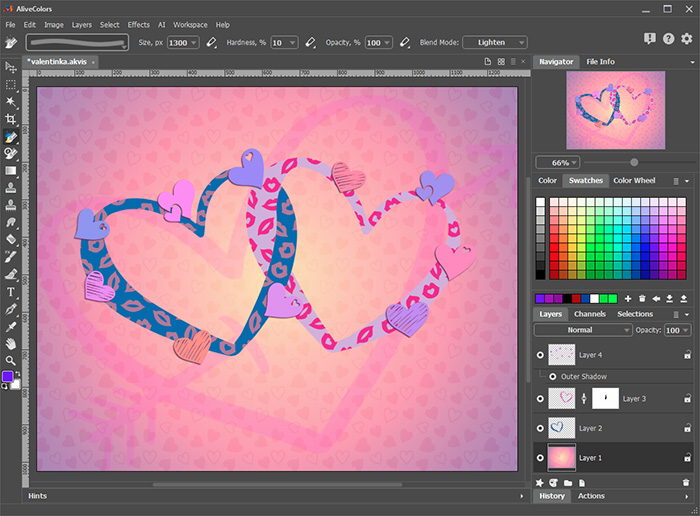 Creating a Background
Cut the holes for the portraits in the background. Select the Magic Wand tool  , set the Add mode, Tolerance = 25, enable the Contiguous and Anti-Aliasing check-boxes.
Switch to the first heart layer and select its inner part, then switch to the second heart and select its inner area as well.
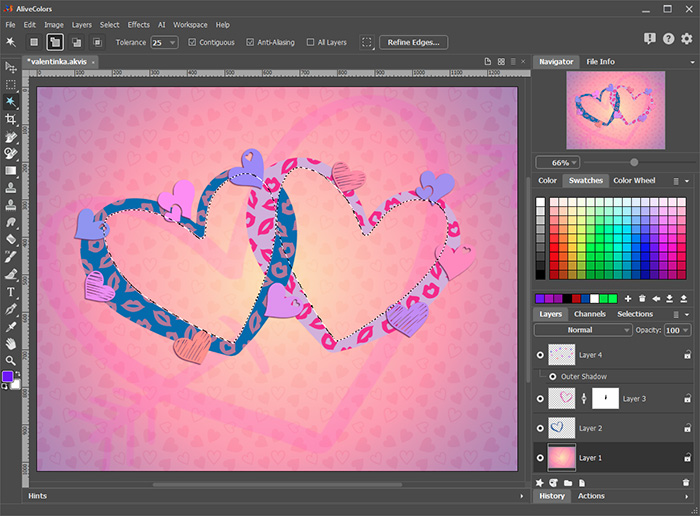 Creating a Selection
Go to the background layer and create a mask from the selection by right-clicking on the layer and choosing Hide Selection from the context menu.
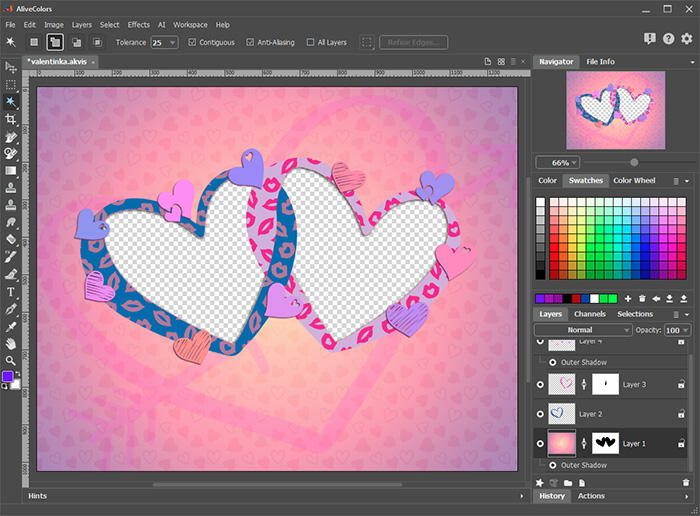 Creating a Mask
Choose the Text tool  and write a Valentine's Day message.
Hint: Using the layer effects, you can add more shadows and strokes to the image.
The personalized Valentine's Day card is ready! Just place yours and your sweetheart's photos. Now you have a romantic and unique gift for your special one!
 Result
