Texture Brush ![]() is designed to draw lines of arbitrary shape with soft edges filled with the specified texture.
is designed to draw lines of arbitrary shape with soft edges filled with the specified texture.
The basic tool settings are shown in the Tool Options panel above the Image Window or by right-clicking on the image. To display the full list of parameters, press the tool icon in the Tool Options panel or use the F5 key. To specify the parameter settings, enter a numerical value in the parameter’s field or use the slider.
The current appearance of the stroke, as well as all changes made to the parameters, are displayed in the preview window at the bottom of the expanded Tool Options panel.
Element - in the drop-down list, select the type of the basic element of the brush: Ellipse or Select Shape.
Size (1-5000). The maximum width of a line drawn with the tool (in pixels).
Hardness (0-100). The amount of blurriness of the brush’s edge. As the value of this parameter increases the edge of the brush becomes harder. Near 100% the border between processed and unprocessed areas will be more distinct; at lower values, the boundary between these areas will be smoother.
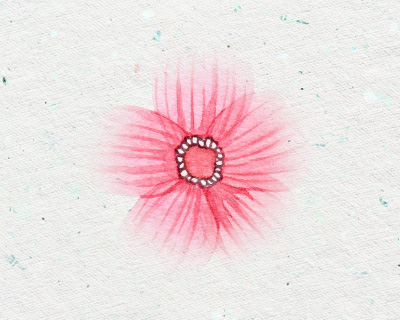 Hardness = 40
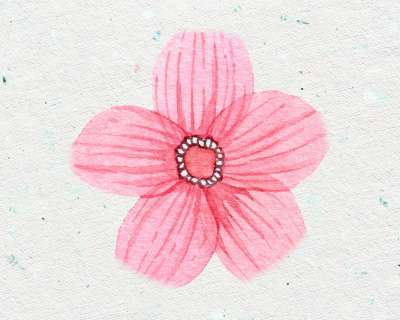 Hardness = 90
Opacity (1-100). The amount of transparency of the brush strokes against the background colors. The parameter sets the opacity of the texture used when generating strokes: the smaller its value, the paler the color of the drawn lines is and the stronger their interaction with the background colors is.
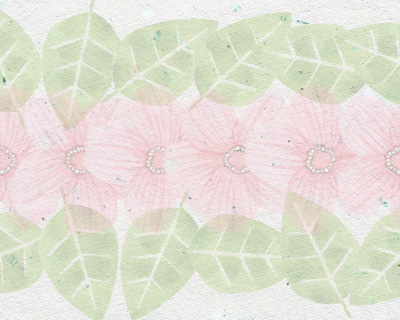 Opacity = 25
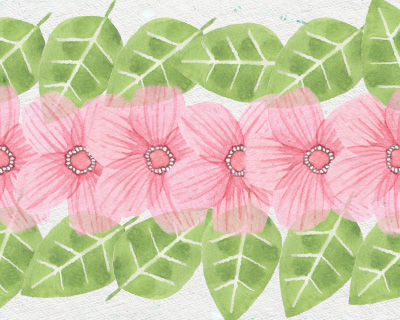 Opacity = 75
Fill (1-100). The parameter determines the density of the texture in the base element. If you hold the mouse button while drawing, the elements are overlapped and the filling effect increases (unlike the Opacity parameter). The smaller the parameter, the thinner and more transparent the layer of the applied texture is.
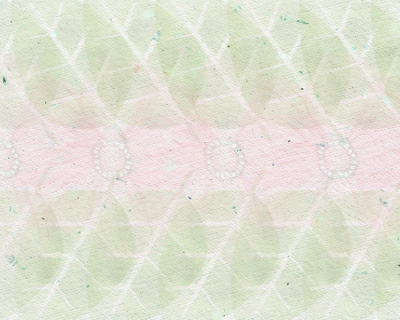 Fill = 25
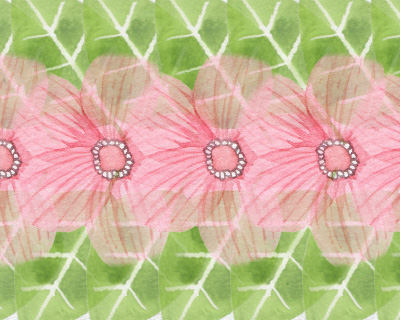 Fill = 75
Blend Mode. The parameter defines how the pixels of the brush strokes mix with the pixels of the layer being processed. The program provides 27 blend modes.
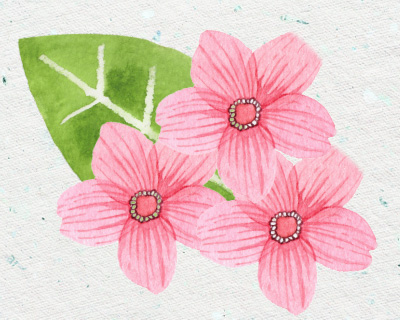 Blend Mode: Normal
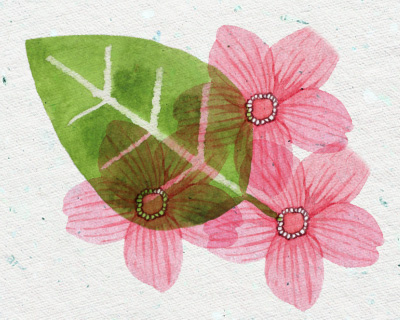 Blend Mode: Multiply
You can select and adjust the texture in the Texture tab by clicking the button  in the expanded Tool Options panel.
In the Texture Library, the available textures are shown as thumbnails.
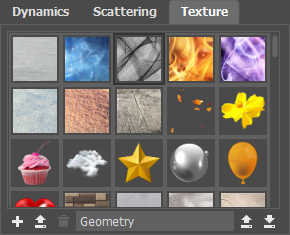 Texture Library
Under the texture list, the following options are located:
New Texture  . The button creates a texture from the contents of the active document (also, you can use the New Texture command in the Edit menu).
Add Texture  . The button loads an image from the disk, which will be used as a texture.
Delete Texture  . The button removes the selected texture from the list.
Attention! If you delete the texture that is recorded in the brush preset, the default texture will be used in the preset instead of it.
Texture Name. Make the field editable by clicking it, enter a new texture name and press the Enter key to apply it.
Import Library  . The button allows you to load a texture library from the disk (.brush_textures file).
Export Library  . The button allows you to save a texture library to the disk (with the .brush_textures extension).
The parameters of the selected texture:
Properties tab:
Scale (1-200). The parameter sets the size of the texture pattern. The default texture scale is 100%.
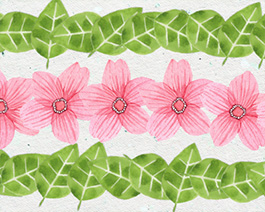 Scale = 50%
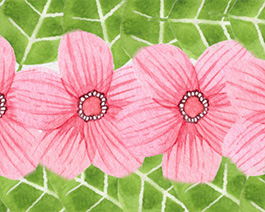 Scale = 100%
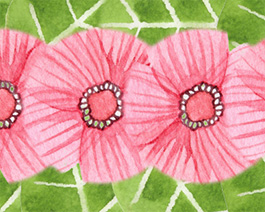 Scale = 150%
Tile. When the check-box is enabled, the texture is repeated several times to fill the entire area of the brush cursor (if Scale is less than 100%).
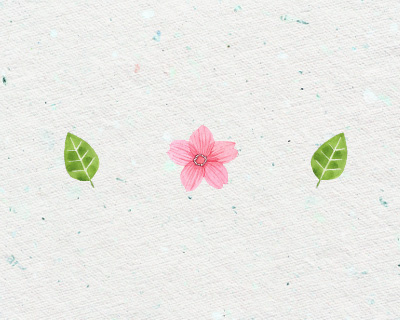 Check-box disabled
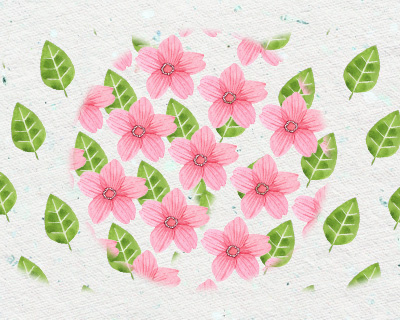 Check-box enabled
Mirror. When the check-box is enabled, adjacent textures are mirrored.
 Check-box disabled
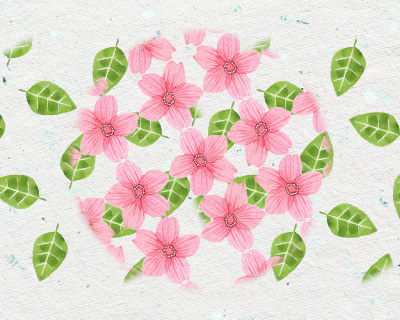 Check-box enabled
Flip Horizontal. Enable the check-box to interchange the left and the right parts of the texture.
Flip Vertical. Enable the check-box to interchange the top and the bottom parts of the texture.
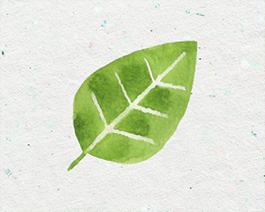 Source Texture
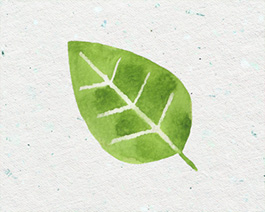 Flipped Horizontally
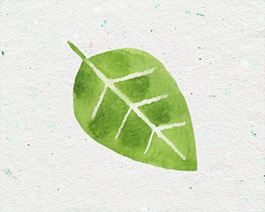 Flipped Vertically
Color Tab:
Apply per Tip. When the check-box is enabled, color variations will be will be applied to individual elements of the brush stroke. When the check-box is disabled - to individual strokes.
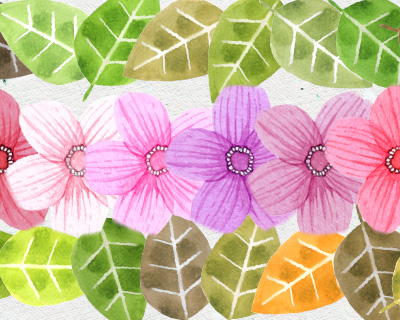 Check-box enabled
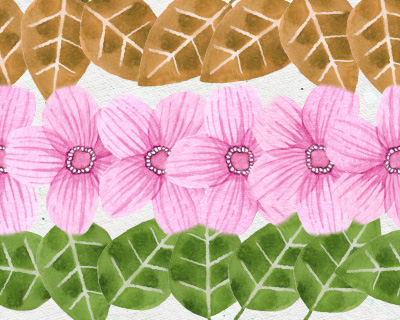 Check-box disabled
Hue (-100..100). The parameter shifts all colors by the same hue value.
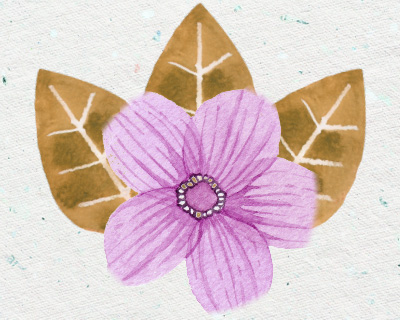 Hue = -25
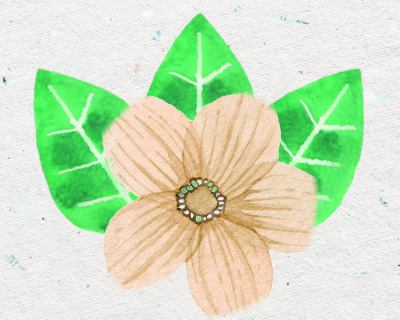 Hue = 25
Hue Variation (0-100). The parameter sets the variation of shades of the brush marks. At the value = 0, all the elements have the same color. The higher the value, the more shades are used.
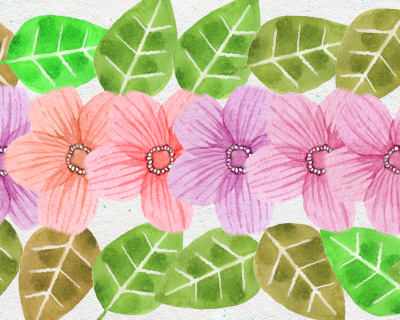 Hue Variation = 20
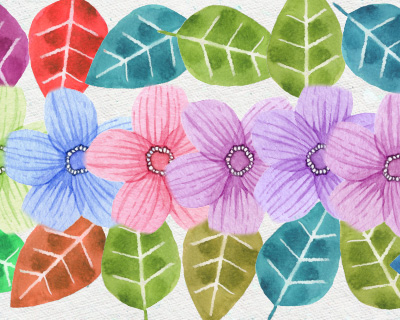 Hue Variation = 70
Saturation (-100..100). The intensity of the colors of the texture: from neutral gray (-100) to the brightest colors (+100).
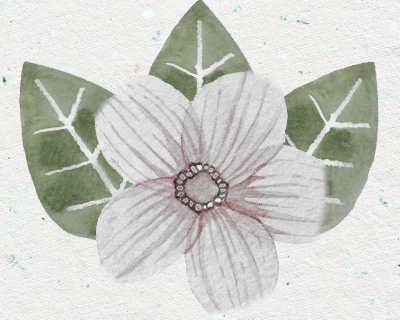 Saturation = -50
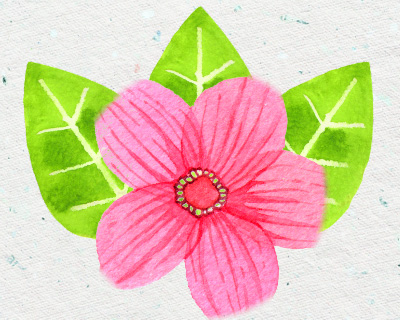 Saturation = 50
Saturation Variation (0-100). The parameter sets the variation of saturation of the base element. At the value = 0, all the elements have the same saturation. At higher values, the saturation of individual elements will change.
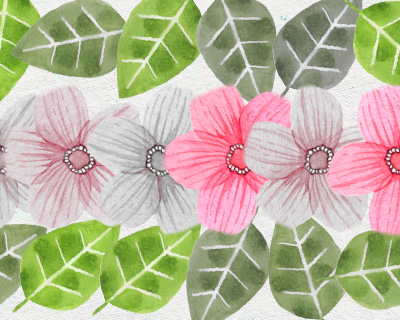 Saturation Variation = 40
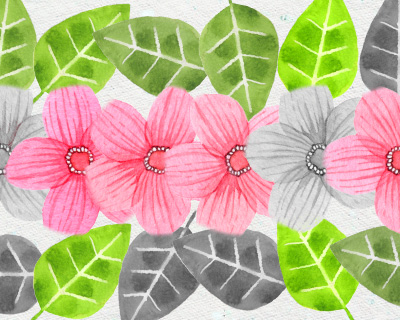 Saturation Variation = 90
Brightness (-100..100). The parameter adjusts the brightness of the texture. As the parameter increases, the texture becomes brighter, and when the parameter decreases, the texture becomes darker.
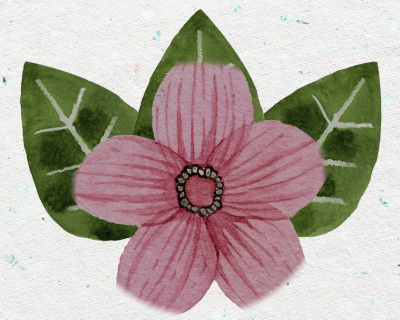 Brightness = -25
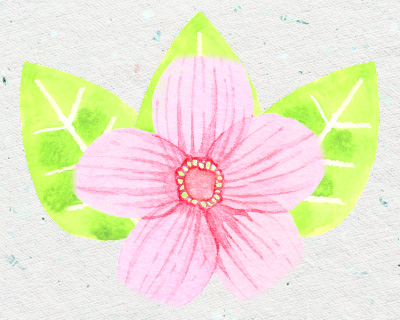 Brightness = 25
Brightness Variation (0-100). The parameter sets the variation of brightness of the base element. At the value = 0, all the elements have the same brightness. At higher values, the brightness of individual elements may change.
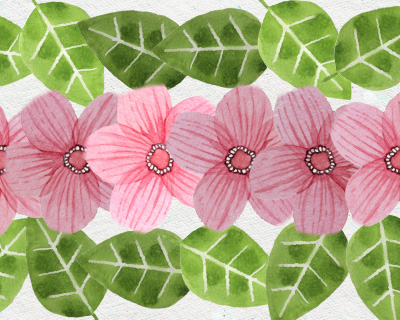 Brightness Variation = 10
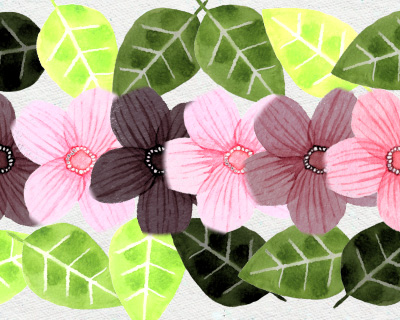 Brightness Variation = 50
In addition to the above-mentioned parameters, you can adjust the advanced settings that affect the shape and position of the brush marks.
If the preset's settings have been changed, you can restore them using the Default button.
To draw an arbitrary straight line, you need to left-click to specify the starting point, then hold Shift, move the mouse cursor, click at the end point and release the Shift key. If you do not release Shift, all the new points will be connected into a single line.
