Activate the FX Brush tool  and choose the Hair Brush from the drop-down list.
The Hair Brush leaves a trace that looks like a strand of thin long flowing lines starting from one point. Drawing realistic looking hair is essential when creating a portrait. The brush is also useful for making long-haired animals, drawing whiskers, grass, creating mesh and striped textures, and other thrilling effects.
Choose the brush color in the Color, Swatches, or Color Wheel panel, or from the image with the Eyedropper tool. To pick a color sample, press and hold the I key and then click the image with the Eyedropper tool. After the hotkey is released, the painting tool becomes active again.
The basic tool settings are shown in the Tool Options panel above the Image Window or by right-clicking on the image. To display the full list of parameters, press the tool icon in the Tool Options panel or use the F5 key. To specify the parameter settings, enter a numerical value in the parameter’s field or use the slider.
Size (5-500). The size of the base element of the brush (in pixels).
Line Width (1-100). The parameter defines the thickness of lines in a brush stroke. At low values, the lines are thinner and harder, increasing the value makes them wider and softer.
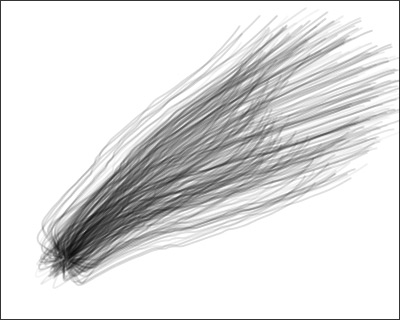 Line Width = 30
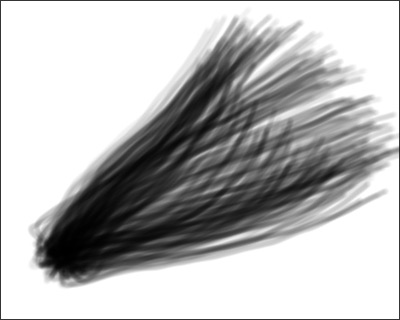 Line Width = 80
Density (1-100). The parameter sets the number of lines in a brush stroke.
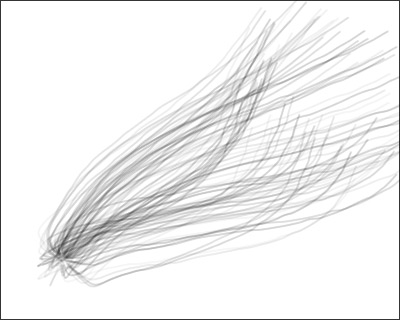 Density = 10
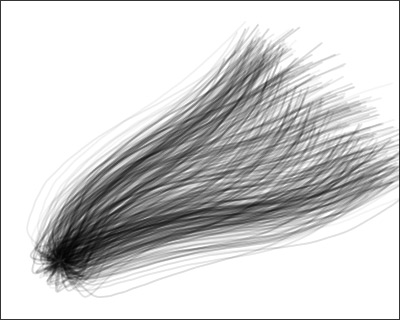 Density = 50
Strength (10-100). The parameter defines the stroke brightness. At low values, the lines are more transparent, increasing the value makes them brighter and denser.
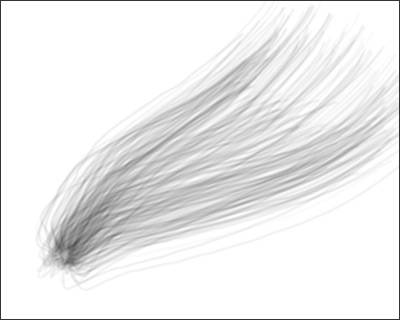 Strength = 25
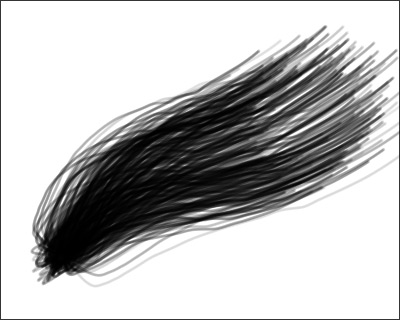 Strength = 75
Click Default to reset all settings to their default values.
