AliveColors is a powerful software for editing and correcting photos. The program provides a number of various effects for image enhancement and photo stylization.
Find them in the Effects menu:
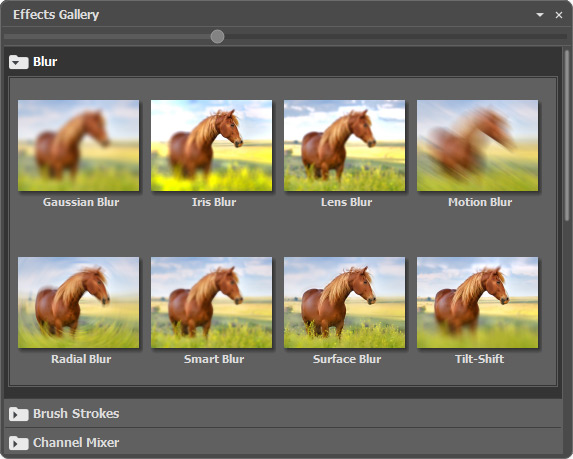
The AliveColors effects are also available in the Effects Gallery. The effects are divided into groups, each effect with its thumbnail. Click a thumbnail to open the effect parameters.
 Effects Gallery
When you select an effect, the Settings Panel appears to the right by default. You can drag the panel to the place where you want it and the next time the panel will appear in the selected position.
You can save the effect settings as Presets. Find all available presets in the drop-down list. If you modify the parameters, the preset name automatically changes to Custom, and the Save Custom Preset button  appears next to the list. To save the current settings, press this button.
A new preset is automatically assigned a name (for example, Custom_1, Custom_2, etc.) that can be changed as needed by entering any combination of letters and numbers in the highlighted field. After pressing Enter, a new preset will appear in the drop-down list.
To remove a user preset, select it and press the Delete Custom Preset button  .
.
Click  to export user presets to a .presets file. To load the presets into the program, press on
  .
.
Besides, in the Effects menu, some AKVIS Built-in Plugins are available. They significantly expand the already impressive editor's capabilities.
It's also possible to add third-party plugins to the image editor.
The Layer Effects are accessible here: Layers -> Layer Effects, or by clicking ![]() in the Layers panel.
in the Layers panel.
