The Refine Edges feature is extremely helpful for quick editing edges of selections or masks. It is called using the Select -> Refine Edges… command.


The Refine Radius tool  allows you to more accurately define the area of edge refinement for the selection or mask (blue zone).
The Restore Edge tool  restores the original selection/mask (red zone).
The Eraser tool  allows you to remove strokes, both blue and red.
The tool's options:
Size (10-3000). The maximum line width that can be achieved with a brush (in pixels).
Hardness (0-100). The degree of blurriness of the outer edge of the brush.
Show Strokes check-box. When the check-box is enabled, the area drawn with the tool is always displayed; when it is inactive, it is hidden.
Using the buttons  /
/  you can undo/redo the operations with the tools.
Adjust edges with the following parameters:
Radius (0-250). The parameter specifies the width of the area around the selection/cutout, where the edge refinement is applied.
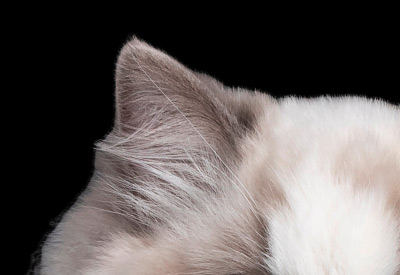 Radius = 5
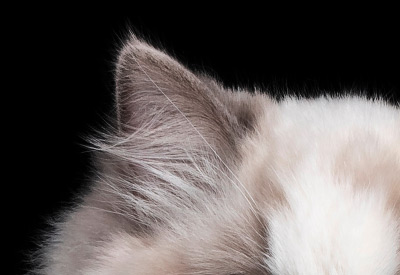 Radius = 50
Threshold (-10..90). The parameter specifies the brightness/color range of pixels that will be deleted when increasing the parameter.
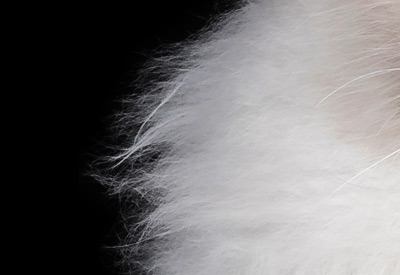 Threshold = -5
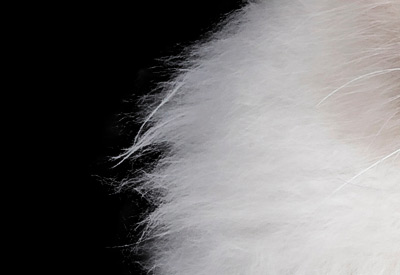 Threshold = 25
Transition (0-100). The parameter increases the smoothness of the transition within the specified area.
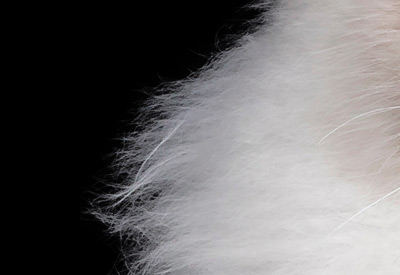 Transition = 25
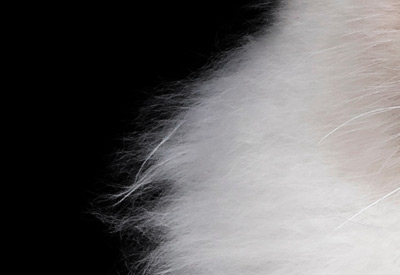 Transition = 75
Note: The Threshold and Transition parameters affect the image only if the value of the Radius parameter is not zero or the Refine Radius tool was used.
The Radius parameter and the Refine Radius tool work in a similar way, with the main difference being that the parameter sets the same width for the area along the entire edge, and the tool allows you to change the size of the area in different parts of the border.
 Smoothness = 5
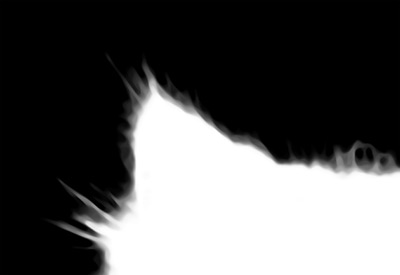 Smoothness = 50
Feather (0-100). The parameter softens the transition between the selection/mask and the surrounding background creating a semi-transparent area.
 Feather = 5
 Feather = 25
Contrast (0-100). The parameter sharpens the edges of the selection or mask.
 Contrast = 10
 Contrast = 50
Shift (-100..100). The parameter reduces or enlarges the selection/mask within the transition area.
 Shift = -50
 Shift = 50
In the View Mode menu, choose how to display the selection/mask in the Image Window.
In the Result menu, choose how the result with the refined edges will be shown: selection, mask, layer, or layer with a mask.
You can save the settings as Presets. Find all available presets in the drop-down list. If you modify the parameters, the preset name automatically changes to Custom, and the Save Custom Preset button  appears next to the list. To save the current settings, press this button.
A new preset is automatically assigned a name (for example, Custom_1, Custom_2, etc.) that can be changed as needed by entering any combination of letters and numbers in the highlighted field. After pressing Enter, a new preset will appear in the drop-down list.
To remove a user preset, select it and press the Delete Custom Preset button  .
.
Click on  to export user presets to a .presets file. To load the presets into the program, press on
  .
.
Press OK to apply changes, or Cancel to close the options.
