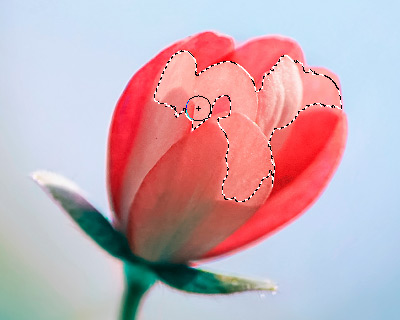
The Quick Selection tool ![]() selects an object by analyzing colors of neighboring pixels. Draw with this brush over the image, and the selection expands, automatically finding edges and filling areas.
selects an object by analyzing colors of neighboring pixels. Draw with this brush over the image, and the selection expands, automatically finding edges and filling areas.
The tool's parameters are shown in the Tool Options panel above the Image Window or by right-clicking the image. To specify the parameter settings, enter a numerical value in the parameter’s field or use the slider.
Tool's Parameters:
Selection Modes (in the form of icons) - logic operations, which determine the result of the interaction between selected areas.
New  . When creating a new selection, the previous selection disappears.
Add  . The selection area will be increased by adding new fragments. To activate this mode, you can also press the Shift-key.
Subtract  . This mode lets removing the part of the selection. To activate this mode, press the Alt-key.
Intersect  . This mode lets keeping only the intersection area of the selections. To activate this mode, press Shift+Alt.
Size (1-250). This parameter specifies the diameter of the tool. All similar colors will be selected considering the edges of the objects and the value of the Tolerance parameter.
Tolerance (0-250). When the value of this parameter is increased, more colors are included in the selected area. If it is set to 0 the brush selects only the areas where it's applied.
 Tolerance = 10
 Tolerance = 50
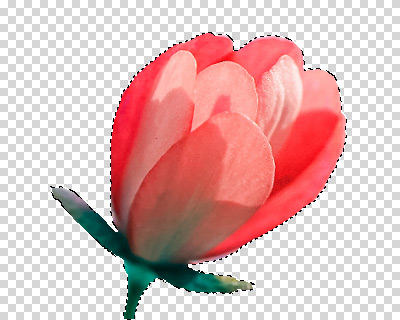
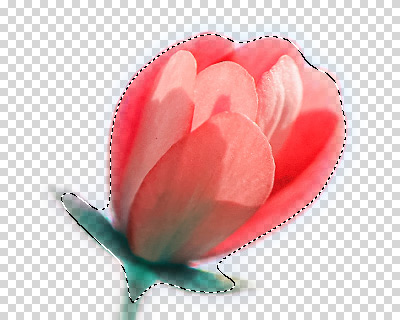
Feather (0-250). The parameter lets blurring edges of the selection.
 Feather = 0
 Feather = 10
All Layers check-box. If the check-box is enabled, the pixels are selected based on the merged color data from all visible layers. Otherwise, based on the color data of the current layer.
 Check-box is disabled
 Check-box is enabled
In the View Mode drop-down list, you can choose a mask view mode. All view modes except for "marching ants" allows editing the selection using the standard brushes.
 Selection: Marching Ants
 Selection: Black Background
Click the Default button to reset the settings to their original values.
Using the Refine Edges feature you can quickly adjust edges of selections.
To create and manipulate selections, you can also use the standard commands.
All selections are displayed in the Selections Panel.
