
AliveColors provides a wide variety of photo stylization options. This tutorial shows how to give your photos a retro look and create a vintage postcard effect. Add a unique touch to your work!

(mouse over to see the original image)
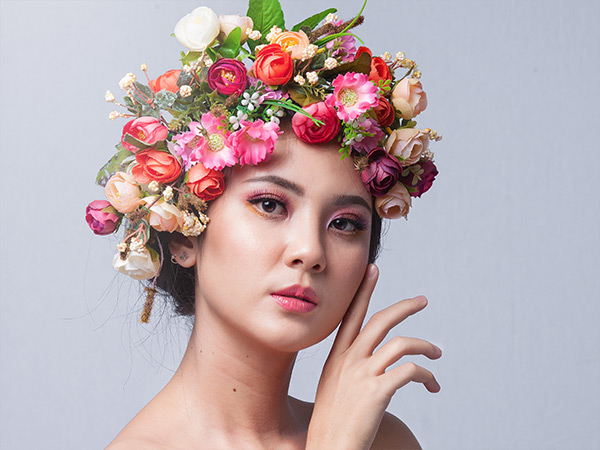
Open the original photo in the AliveColors graphic editor.
Desaturate the image. To do this, create a new Black & White adjustment layer above the background layer by clicking  on the Layers panel and selecting Adjustment Layer → Black & White...
Use the multicolored hexagon to adjust the grayscale values. In this example, we darkened the red areas to make the model's lips darker; and then lightened the yellow areas to give the skin a lighter tone.
 Default Values
 Adjusted Values
Lighten the dark areas of the image using the Curves adjustment layer (Layers → New → Adjustment layer → Curves). Adjust the curve as follows:
 Curves Adjustment Layer
 Lightened Image
Add a smooth sepia tone to the image. Select the Black & White adjustment layer on the Layers panel and double-click the layer thumbnail to open the parameters panel. In the gradient circle drag the white point from the center to the orange area. Place the point near the center. Try to achieve the traditional sepia tone.
 Black & White Adjustment Layer
Add a white frame to the photo. To do this, activate the background image, click the button  in the Layers panel and select Stroke.
 Color Stroke Effect
You can view the final result below. The delicate vintage effect makes the image more appealing and eye-catching:
Result