
AliveColors comprises a wide choice of effects. This tutorial shows how to enhance a portrait photograph with the High Pass effect in a few simple steps. We will apply the effect twice for complete image editing, enhancing the sharpness of selected edges and slightly smoothing desired areas.

(mouse over to see the original image)
Open a photo in AliveColors.
Make two copies of the background layer by right-clicking on it and selecting Duplicate in the context menu.
 Layers Panel
Select the top layer and call the High Pass effect. Adjust the value of the Radius parameter to make only thin edges visible.
 High Pass Effect
In the Layers panel, change the blend mode of the processed layer to Overlay to sharpen edges in the photo.
 Sharpening Edges
Turn off the visibility of the top layer and switch to the lower one.
 Layers Panel
Call the High Pass effect again. Increase the value of the Radius parameter. You need to use a higher value than the first time to get an intense effect.
 High Pass Effect
Invert the result (Image → Adjust → Invert command).
Change the blend mode to Soft Light to improve the skin in the portrait.
 Smoothed Photo
Add a layer mask (button  on the Layers panel). In the Toolbar, select the Color Brush and paint with black on the mask the places that you want to sharpen (eyes and lips).
 Adding a Mask
Turn on the visibility of the top layer.
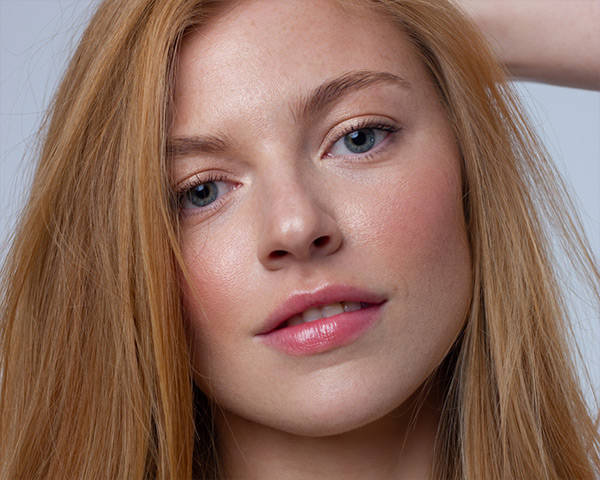
The result of these simple actions is a portrait of a girl with smoother skin and well-defined facial features, a representation of natural and perfect beauty.
 Enhanced Photo
(click to see the image in a larger size)