The AliveColors image editor is a wonderful tool that can be helpful for both professional and casual users alike. Using AliveColors, you can apply a variety of image-enhancement and stylizing effects to your images. This tutorial shows how to create a mosaic effect using the Texture Brush and layer effects.
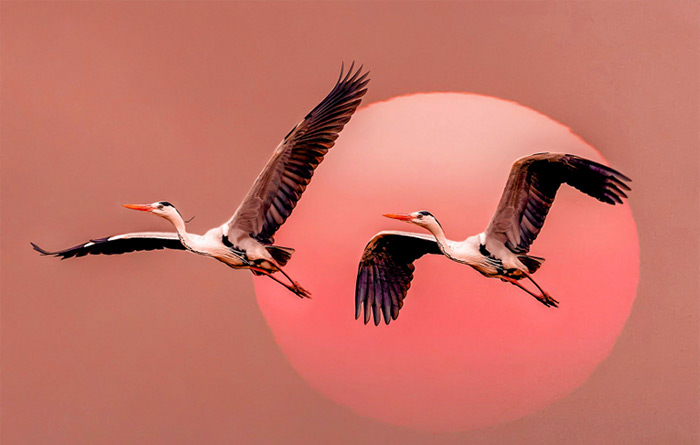
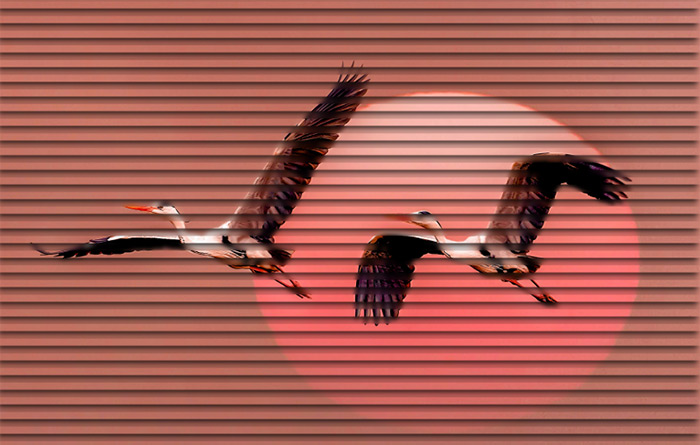
(mouse over to see the original image)
Creating a Texture
Create a new document (File → New...). In the Width field, enter 1 px; in the Height field, enter 10 px. Click OK.
Select the Color Pencil tool  , set the size to 1 px and fill the top five pixels with black.
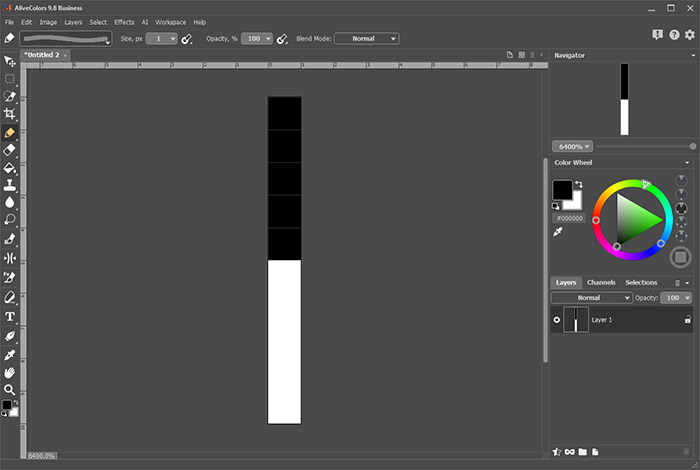 Creating a New Texture
Save the created image as a texture. To do this, select the New Texture... command in the Edit menu, enter the name of the texture and click ОК.
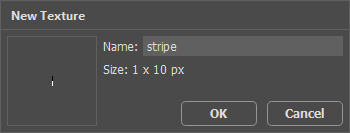 Adding a New Texture
Select the Texture Brush in the toolbar and press the F5 key to open the Tool Options panel. Select the Hard Square Brush preset, adjust the size to cover the width of the photo, go to the Texture tab, select the created texture in the list, reduce the Scale value in the Properties tab to 2% and enable the Tile check-box.
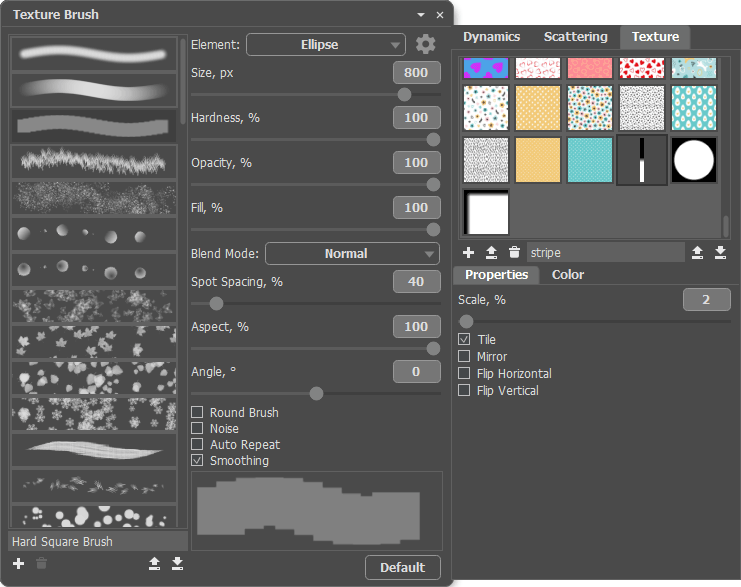 Texture Brush Parameters
Creating an Effect
Open the photo in the AliveColors image editor.
Duplicate the background layer by right-clicking on it and selecting Duplicate... in the context menu.
Add a mask to the layer copy by clicking  at the bottom of the Layers panel.
Fill the mask using the Texture Brush  with the settings specified above. You should get the following:
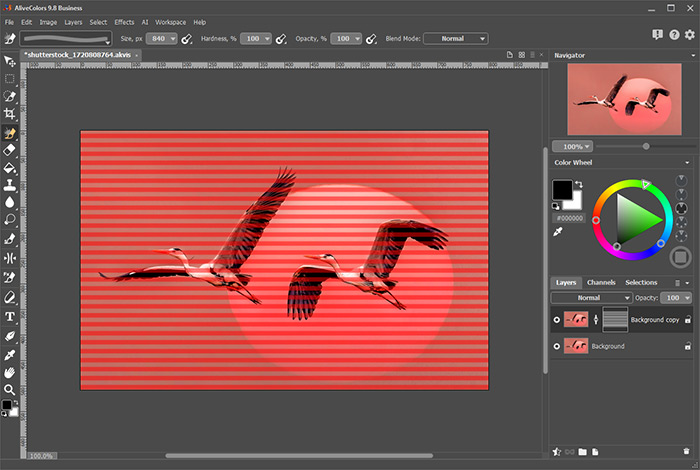 Creating a Layer Mask
At the bottom of the Layers panel, click  and select the Outer Shadow effect. Adjust the effect parameters:
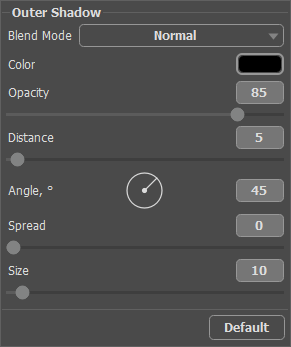 Applying an Outer Shadow Effect
Switch to the background layer and blur it (Effects → Blur → Gaussian Blur...). Here is the result:
 Result
You can get different mosaic effects by creating different textures for the Texture Brush.
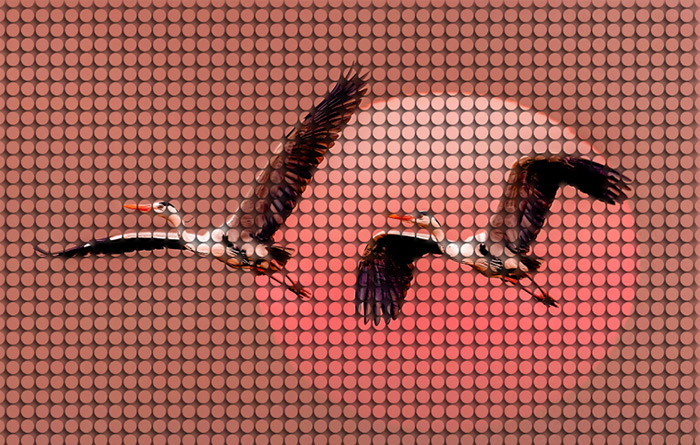 Circle Mosaic
 Square Mosaic
