Want to give your photo that special aged look, as if it was taken a long time ago? Read the tutorial to learn how to create vintage effects in AliveColors image editor!


(mouse over to see the original image)
Open the original image in the AliveColors graphics editor.
Resize the photo (Image -> Image Size...). In this example, we reduced the size of the image to 2500 pixels on the larger side.
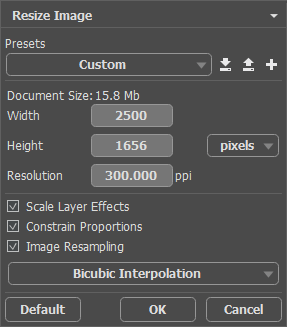 Image Resizing
Reduce the saturation of the image. To do this, create a Hue/Saturation adjustment layer with the following parameters:
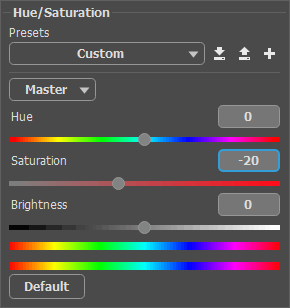 Hue/Saturation Adjustment Layer Settings Panel
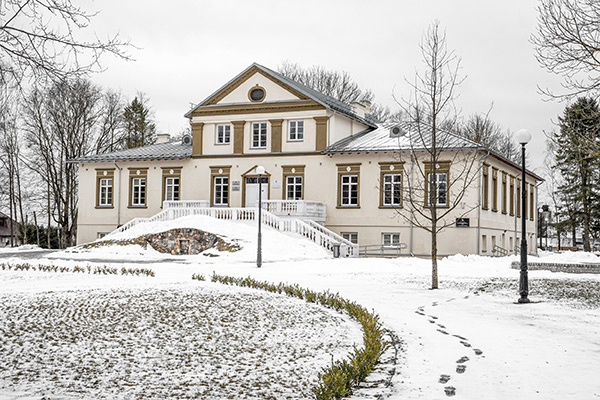 Saturation Reduced
Create a new layer and fill it with white using the Paint Bucket tool  . Then select the Color Brush tool
  and press the F5 hotkey to open the full list of parameters. In the list of presets, select Soft Round Brush and adjust the parameters as follows:
Size = 70,
Spot Spacing = 50,
Size Variation = 100,
Min Size = 20,
Scatter = 500.
In the Swatches panel, select black color and paint on the layer. It should look like this:
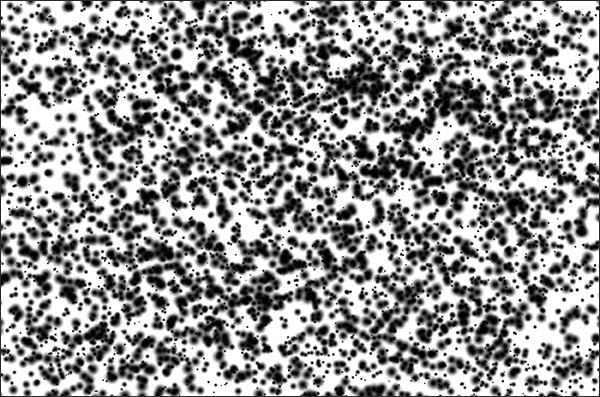 Adding Black Dots
Blur the layer using the Lens Blur effect from the Effects -> Blur menu. Adjust the settings as shown below:
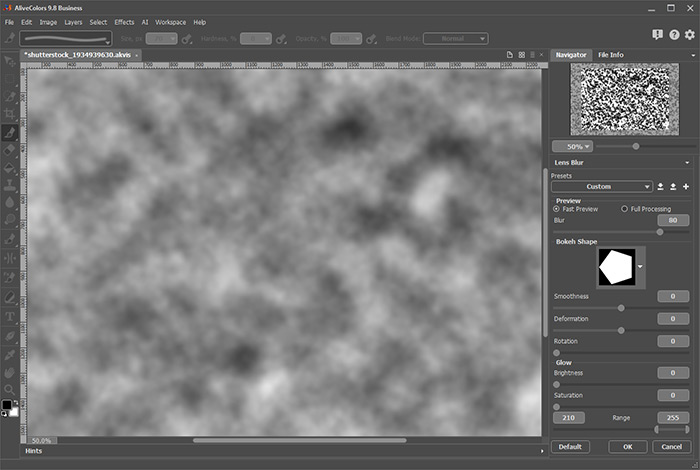 Lens Blur Effect
Change the blend mode to Subtract and reduce the Opacity to 52.
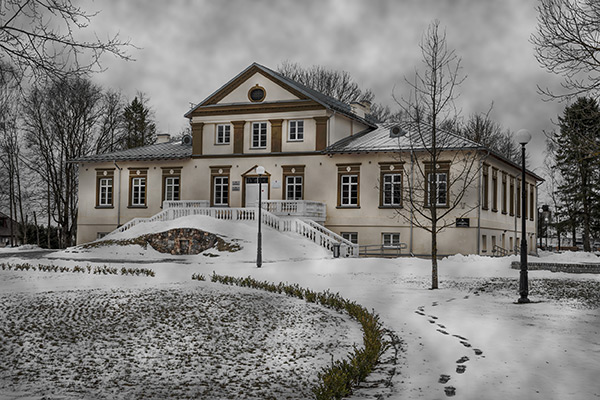 Giving an Aged Look
Create a new layer and fill it with white. Apply the Add Noise... effect (Effects -> Noise -> Add Noise...).
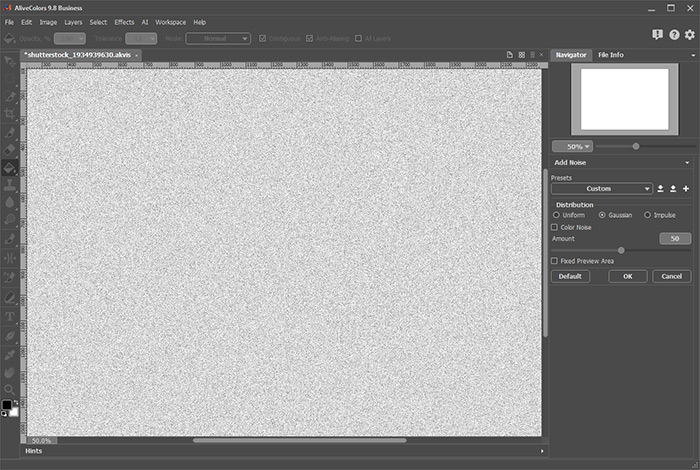 Noise Effect
Change the blend mode of this layer to Multiply and reduce the Opacity to 40.
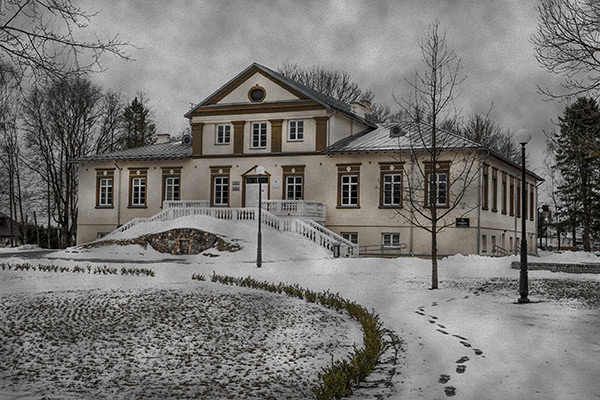 Noise Added
Add a Black & White adjustment layer and reduce its Opacity to 30. Adjust the settings as shown below:
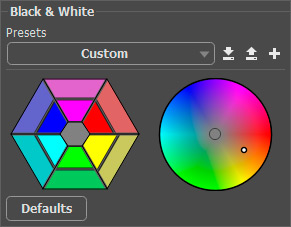 Black & White Adjustment Layer Settings Panel
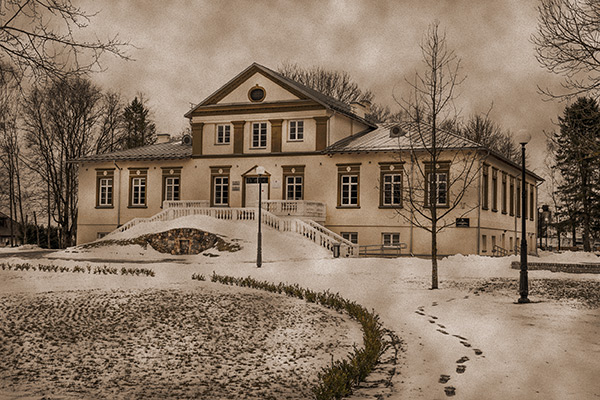 Sepia Tint Added
Create a new layer below the Black & White adjustment layer.
Click the color plate in the toolbar to open the Select Color dialog box. In the Web Colors field, enter the value 766851 and press the Enter key.
Select the Color Brush tool  and press the F5 hotkey to open the full list of parameters. In the Element list, select Select Shape. Use the elements Blot 2 and Blot 3 from the Shape tab, add some stains to the layer, changing their size, rotation, and transparency.
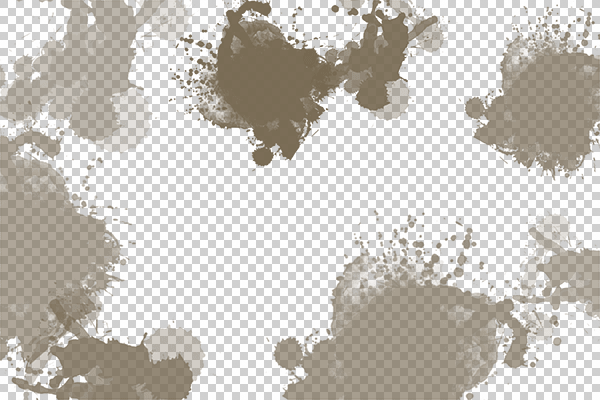 Adding Stains
Change the blend mode of the layer to Overlay.
To complete the vintage look, add a black frame to the photo. To do this, select the background layer, click the button  at the bottom of the Layers panel, and apply the Inner Glow effect. Adjust the effect parameters:
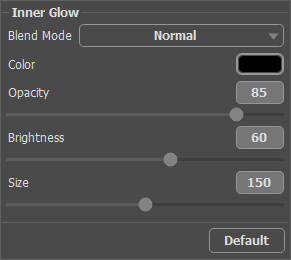 Inner Glow Effect
Save the resulting image.
 Result
