AliveColors provides a wide variety of image stylization options and tools. This tutorial shows how to create a pop art portrait inspired by works of Andy Warhol.
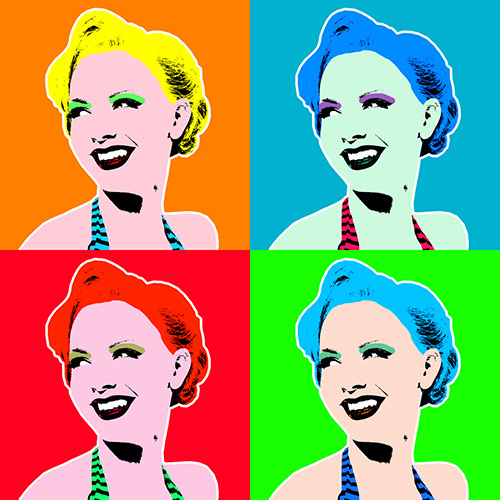 Pop Art Portrait
Open a portrait photo in the AliveColors image editor.
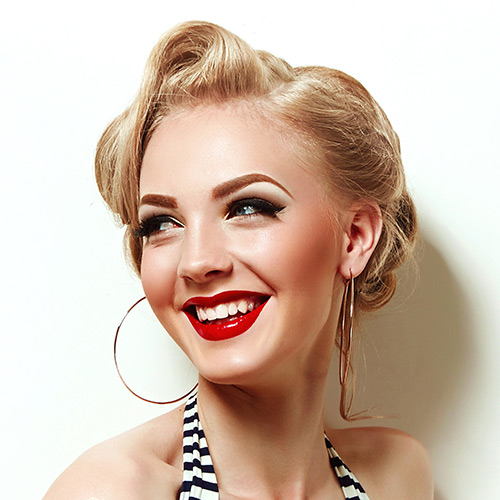 Original Photo
In the Toolbar, select one of the selection tools, for example, Lasso  , and separate a person from the background.
Copy the selected area to a new layer (Ctrl+J hotkey) and turn off the visibility of the background layer.
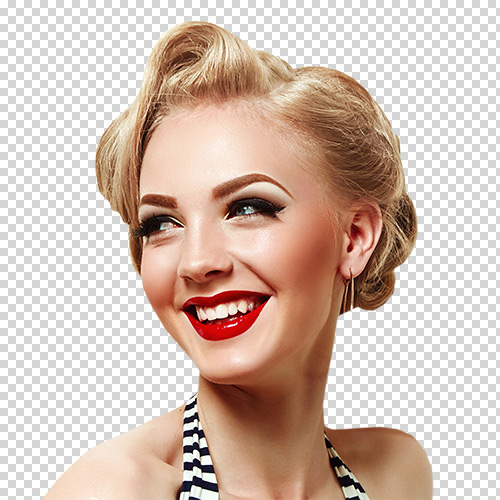 Background Removal
Apply the Threshold adjustment to the layer.
If necessary, edit the resulting black and white image using the Color Brush  with black and white colors.
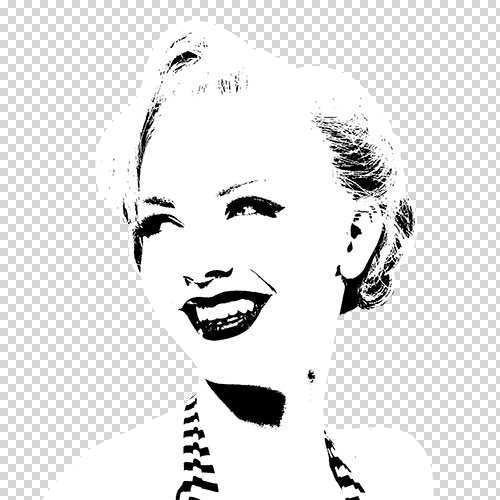 Using Threshold
Turn on Lock Transparent Pixels  for the layer so that subsequent actions do not affect the area outside the portrait.
Select hair in the portrait using any selection tool. Activate the Color Brush  , choose the Hard Round Brush preset, set the blend mode to Multiply, and paint the selected area with the desired color.
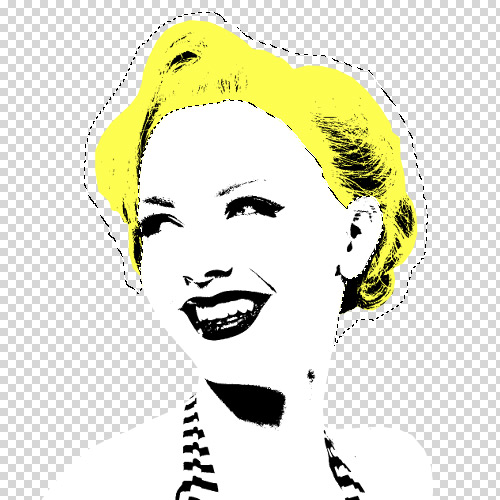 Hair Coloring
Similarly, paint the rest of the portrait: lips, skin, clothes, etc.
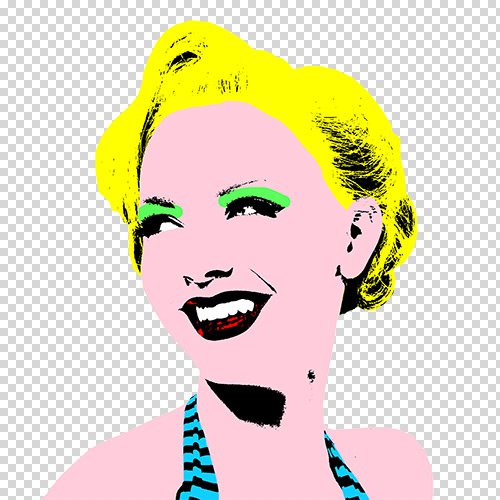 Colored Portrait
Optionally, add a color outline to the portrait using the Stroke layer effect.
Make a colored background. To do this, create a new raster layer below the portrait layer and fill it with color using the Paint Bucket tool  .
.
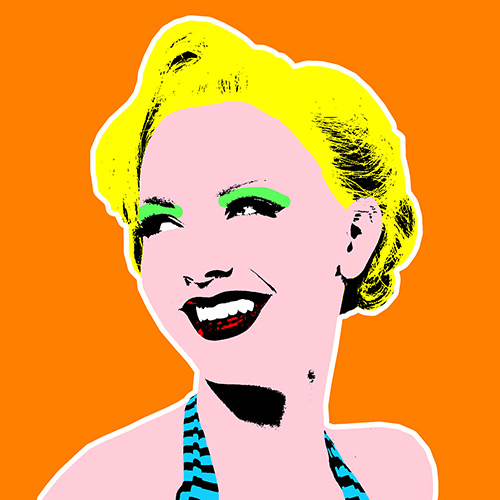 Colored Background
Merge the portrait and the color background. In the Layers panel, select both layers holding down the Ctrl key and then press Ctrl+E.
Increase the canvas size (Image → Canvas Size...). Set the parameters as shown below.
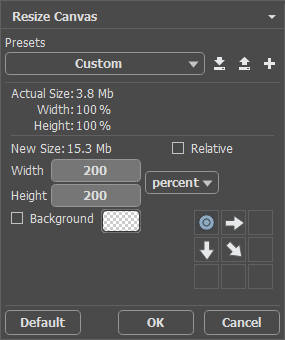 Resize Canvas
Create three copies of the portrait layer and place them at the corners of the canvas, to get the following result:
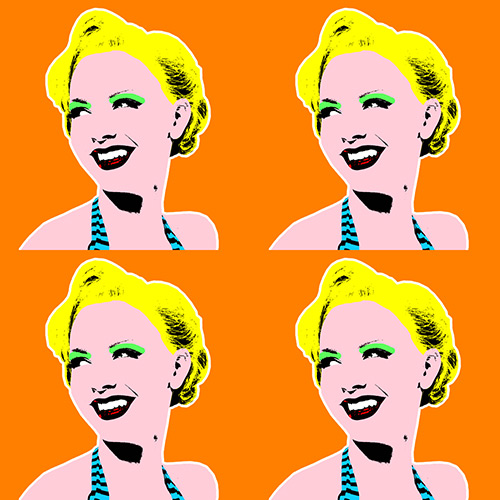 Four Identical Portraits
Change colors for each layer copy using the Hue/Saturation adjustment — and you're done! Here is your pop art in the style of Andy Warhol!
 Andy Warhol Style Pop Art Portrait
