
The Photoshop Brushes in AliveColors include extensive settings and allow you to imitate a variety of painting styles.


The basic tool settings are displayed in the Tool Options panel above the Image Window. The full list of parameters (Ps Brush Editor) can be accessed by clicking the tool icon in the Tool Options panel (or by pressing the F5 key).
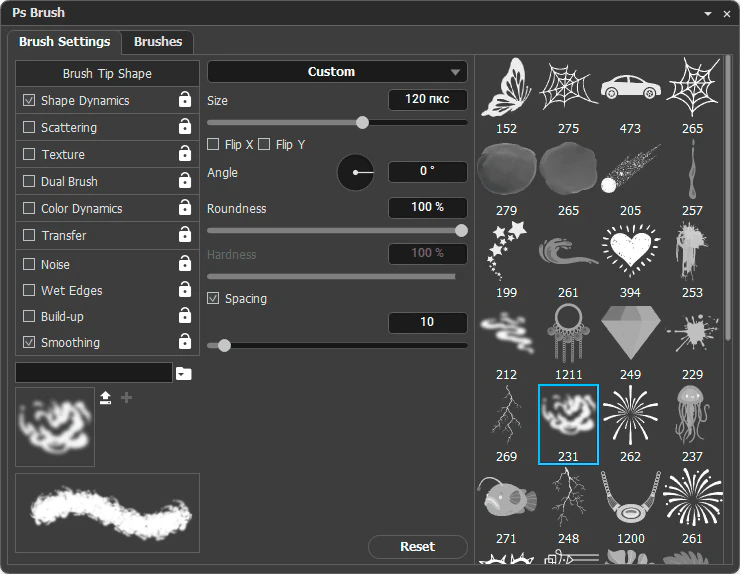 Photoshop Brushes Dialog
All available brushes are displayed in the Brushes tab.
The selected brush can be customized using the parameters in the Brush Settings tab. The parameters are grouped into categories. Check the flag next to the group name to activate the parameters.
The Brush Tip Shape tab contains parameters that affect the shape of the brush tip.
The list on the right displays all available brush shapes. Click to select the desired shape. The number below each shape shows the original size in pixels.
 Brush Tip Shape
In the drop-down list, select the type of the brush tip: Ellipse or Custom.
Size (1-5000). The size of the brush shape (in pixels).
Flip X. When the check-box is activated, the brush shape will be flipped horizontally.
Flip Y. When the check-box is activated, the brush shape will be flipped vertically.
Shape (1-100). The compression of the brush tip shape. At 1, the brush flattens into a line; at 100, it becomes a circle. Intermediate parameter values correspond to ellipses. The lower the compression coefficient, the more the ellipse is stretched along the direction specified by the Angle parameter.
Angle (-180..180). The tilt angle of the brush shape.
Hardness (0-100). The degree of blurriness of the outer edge of the brush shape. The higher the value, the sharper the brush edge. At 100%, the brush draws almost as sharply as a pencil; decreasing hardness creates a smoother transition between unprocessed and processed areas.
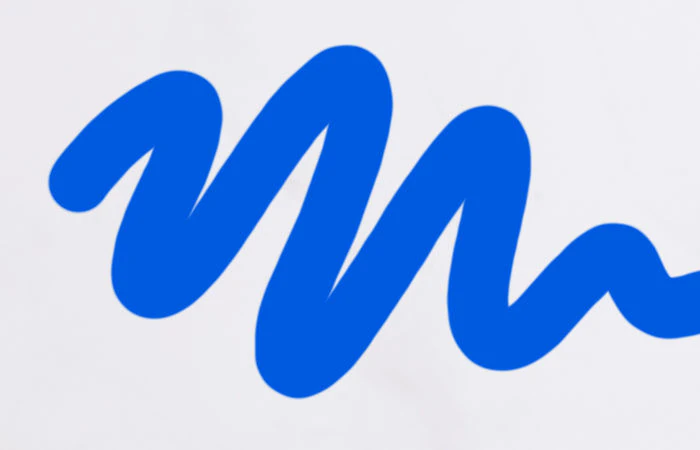
Spacing. If the check-box is disabled, the spacing depends on the mouse movement speed - the faster the movement, the greater the distance. If enabled, it is set using the corresponding parameter.
Spacing (1-1000). The spacing of the elements that make up the brush stroke. Increasing this parameter allows you to get a sequence of dots instead of a continuous stroke, with the distance between them depending on the selected spacing value.
The Shape Dynamics tab contains parameters that randomize the brush tip shape.
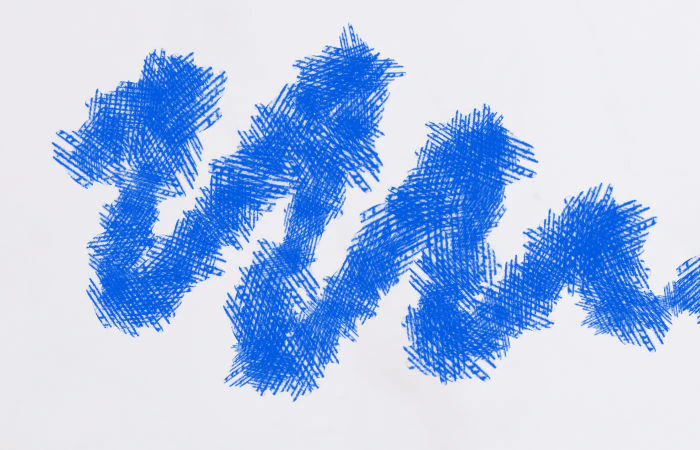 Shape Dynamics
Size Jitter (0-100). Sets the size variation of the brush shape (as a percentage of the specified brush size). At 0, all elements have the same size; as the parameter increases, smaller elements will appear.
Minimum Diameter (0-100). Sets the minimum percentage to which the brush shape can be reduced.
Tilt Scale (0-200). The compression coefficient of the brush shape when changing the pen tilt.
Note. Only available when working with a graphics tablet and if the Control parameter is set to Pen Tilt.
Angle Jitter (0-100). Sets the change in the rotation angle of the brush shape. At 0, all elements are rotated at the same angle; as the parameter increases, the rotation angle of individual elements will vary relative to the original angle.
Roundness Jitter (0-100). Sets the change in the compression coefficient of the brush shape. At 0, all elements are compressed by the same amount; as the parameter increases, the compression of individual elements will increase.
Minimum Roundness (0-100). Sets the minimum percentage to which the brush shape can be compressed.
Flip X Jitter. When enabled, adds random horizontal flips to the brush.
Flip Y Jitter. When enabled, adds random vertical flips to the brush.
The Scattering tab contains parameters that affect the number and position of brush elements in a stroke.
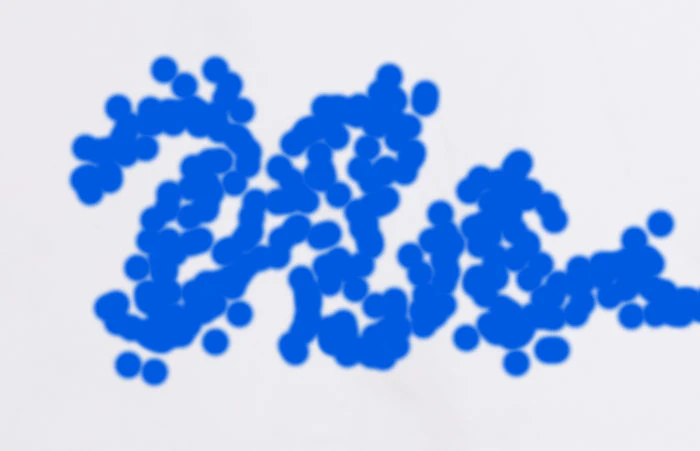 Scattering
Scatter (0-1000). Sets the distribution of brush elements. Higher values place the elements further from the brush cursor.
When the Both Axes check-box is disabled, the elements are distributed across the direction of brush movement; when enabled, scattering occurs in both directions.
Count (1-20). Sets the number of brush elements in one step.
Count Jitter (0-100). Sets the variation in the number of brush elements in one step. At 0, the number of elements equals the value specified by the previous parameter. As the parameter increases, the number of elements in individual steps can become smaller.
The Texture tab allows adding a pattern to brushes.
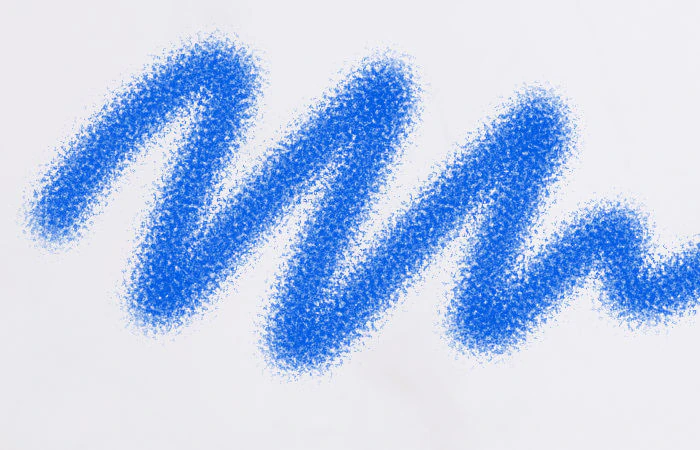 Texture
On the right, there is the Texture Library, which contains all available textures.
Invert. When the check-box is enabled, the texture colors will be inverted.
Scale (10-400). The size of the texture pattern.
Brightness (-150..150). When increased, the texture becomes lighter; when decreased, it becomes darker.
Contrast (-50..100). When increased, the light pixels of the texture become lighter, and the dark pixels become darker.
Texture Each Tip. When the check-box is enabled, the selected texture is applied to each brush mark; when disabled, it is applied to the entire stroke.
Blend Mode. Determines how the texture pixels blend with the selected brush color.
Depth (0-100). The degree of the texture visibility.
The Dual Brush tab contains parameters for adding a mask to the brush using another shape.
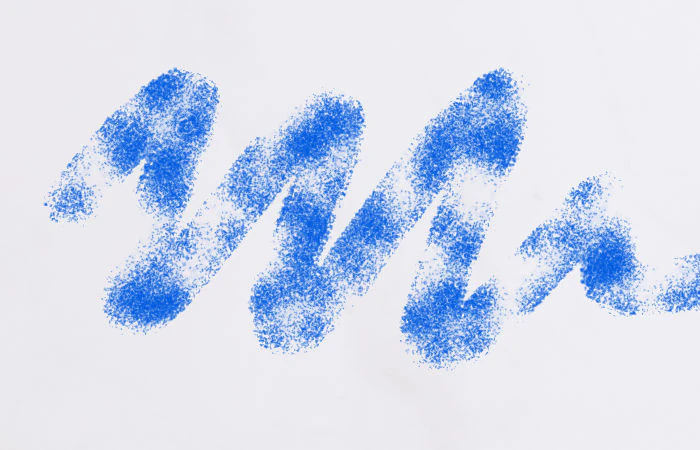 Dual Brush
On the right side, there is the Shape Library, where you can select a brush tip shape that will be used as a mask.
Flip. When the check-box is enabled, the shape will be mirrored.
Size (0-100). The size of the brush shape.
Spacing (1-1000). The spacing of the elements that make up the mask. Increasing the value creates a sequence of dots instead of a continuous stroke, with the distance between them depending on the selected spacing value.
Scatter (0-1000). Sets the distribution of brush elements. Higher values place the elements further from the brush cursor.
When the Both Axes check-box is disabled, the elements are distributed across the direction of brush movement; when enabled, scattering occurs in both directions.
Count (1-20). Sets the number of brush elements in one step.
Blend Mode. Determines how the selected brush shape mixes with the primary brush shape.
The Color Dynamics tab contains parameters that randomize the hue, saturation, and brightness of the brush color.
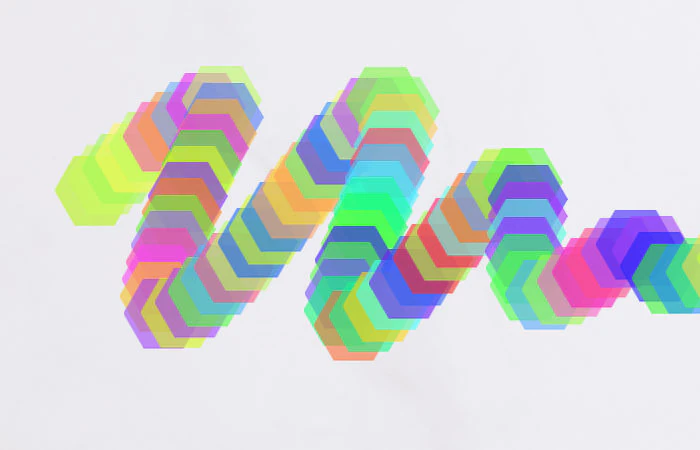 Color Dynamics
Apply Per Tip. When the check-box is enabled, color variations will be applied to individual elements of the brush stroke; when disabled, they are applied to individual strokes.
Foreground/Background Jitter (0-100). Sets the color variation of the foreground and background color.
Hue Jitter (0-100). Sets the hue variation of the brush stroke. At 0, all elements are the same color; increasing the parameter increases the variety of hues.
Saturation Jitter (0-100). Sets the saturation variation of the brush stroke. At 0, all elements have the same saturation; as the parameter increases, the saturation of individual elements will change.
Brightness Jitter (0-100). Sets the brightness variation of the brush stroke. At 0, all elements have the same brightness; as the parameter increases, the brightness of individual elements may change.
Purity (-100..100). Sets the overall color saturation. The parameter value ranges from –100 (grayscale) to +100 (very bright tones).
The Transfer tab contains parameters that determine how the paint changes across a stroke.
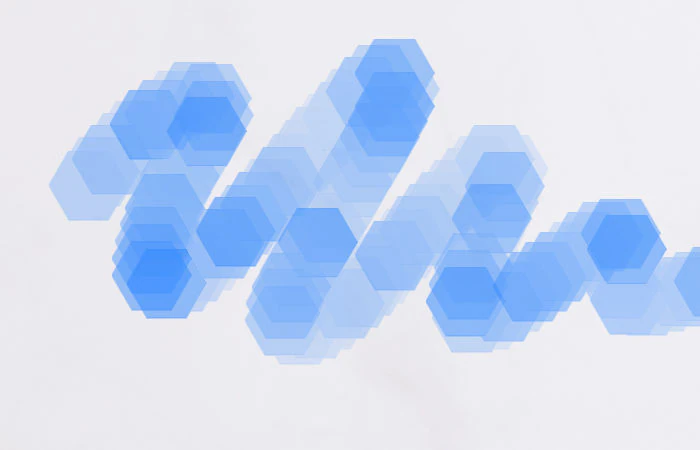 Transfer
Opacity Jitter (0-100). Sets the opacity variation of of the brush stroke. At 0, all elements have the same opacity; as the parameter increases, the transparency of individual elements will increase.
Minimum (0-100). Sets the minimum percentage to which the stroke opacity can vary.
Flow Jitter (0-100). Sets the fill variation of the brush stroke. At 0, all elements have the same fill density; as the parameter increases, the fill of individual elements will decrease.
Minimum (0-100). Sets the minimum percentage to which the stroke fill can vary.
Wetness Jitter (0-100) (only for the Ps Mixer Brush). Sets the wetness variation of the brush stroke. At 0, all elements have the same wetness; as the parameter increases, the wetness of individual elements will decrease.
Minimum (0-100). Sets the minimum percentage to which the stroke wetness can vary.
Mix Jitter (0-100) (only for the Ps Mixer Brush). Sets the mixing variation of the brush stroke. At 0, all elements mix with the background colors equally; as the parameter increases, the mixing of individual elements will decrease.
Minimum (0-100). Sets the minimum percentage to which the stroke mixing can vary.
Noise check-box. Adds noise to the soft edge of the brush.
 Check-box Disabled
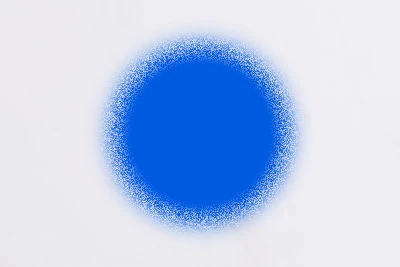 Check-box Enabled
Wet Edges check-box. Adds a paint absorption effect to the stroke.
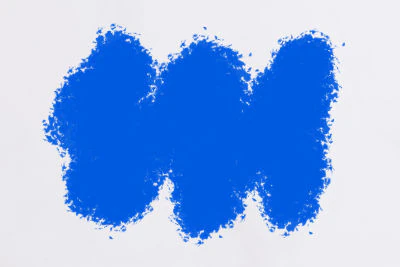 Check-box Disabled
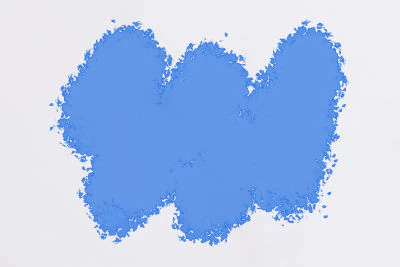 Check-box Enabled
Build-up check-box. Enables automatic (continuous) drawing mode when the cursor is held in one place.
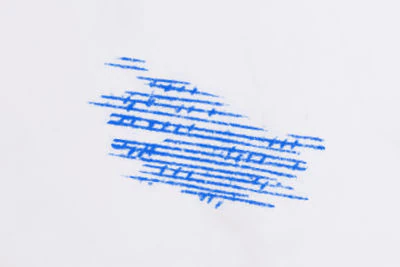 Check-box Disabled
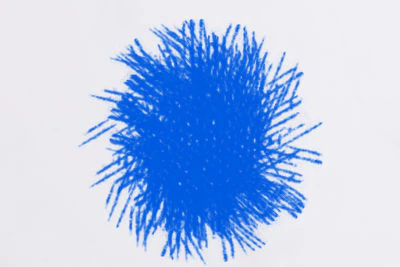 Check-box Enabled
Smoothing check-box. When the check-box is enabled, the stroke path will be smoother.
When the check-box is enabled, the Smoothing parameter becomes active on the top panel to adjust the smoothing percentage of the stroke path.
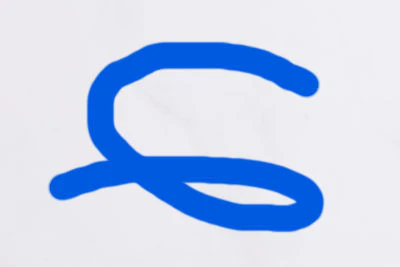 Check-box Disabled
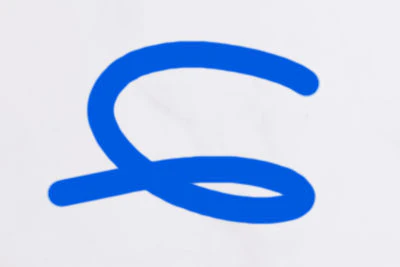 Check-box Enabled
Control. When clicked, a drop-down list appears, allowing you to select how this brush parameter should be controlled:
Off. No control is applied.
Fade. Decreases the value of the selected parameter to the minimum over the number of steps specified in the field next to it.
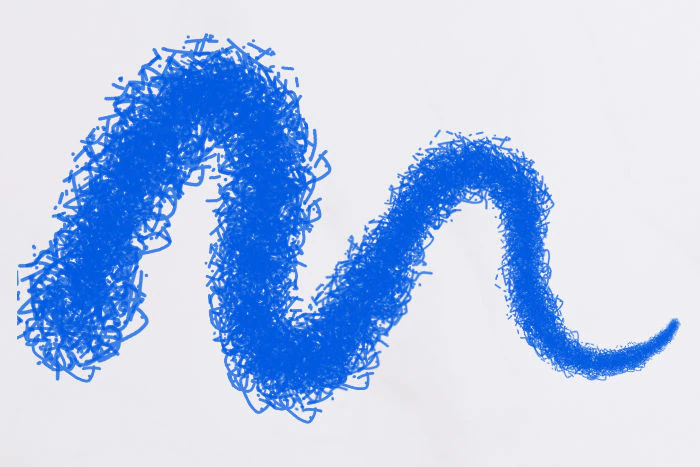 Fade Control
Pen Pressure  . Controls the parameter using the pressure of the graphics tablet pen.
Direction. Maintains the specified tilt angle of the element along the direction of movement (when Angle Jitter = 0).
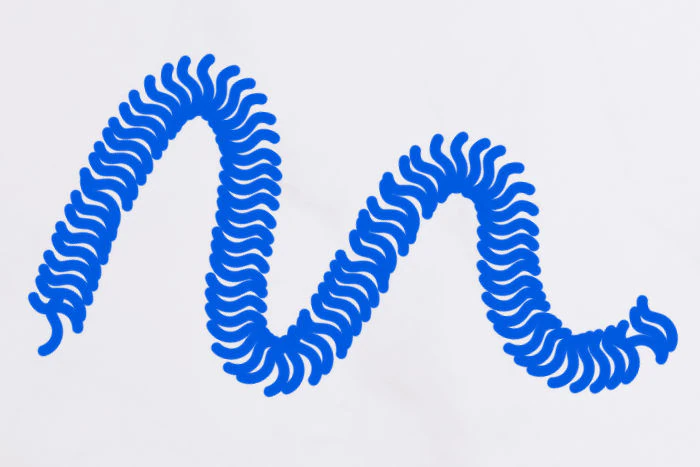 Maintaining Rotation Angle
Click Reset to reset all parameters to their default values.